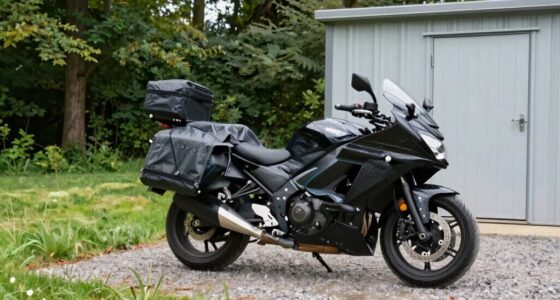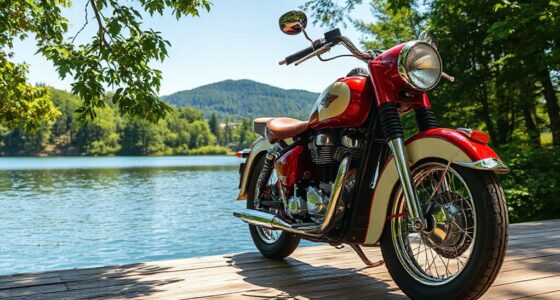
To wake your vintage motorcycle from winter storage, start by inspecting your storage space for humidity, leaks, and pests, then carefully remove and check your cover for damage or dirt. Reinstall and fully charge the battery, topping off with distilled water if needed. Check fluids, tires, suspension, and mechanical parts for any issues. Test all electrical systems, lights, and safety features. Continue exploring to guarantee a smooth, reliable restart for the riding season.
Key Takeaways
- Inspect and clean the motorcycle, cover, and storage area to prevent moisture buildup and pest damage.
- Reinstall, charge, and secure the battery; check fluid levels and clean terminals for reliable starting.
- Drain old fuel, fill with fresh gasoline, and top off oils to ensure smooth operation.
- Examine tires, suspension, and mechanical parts for damage, wear, or corrosion; tighten or replace as needed.
- Test all electrical systems, lights, and safety features to confirm proper functionality before riding.
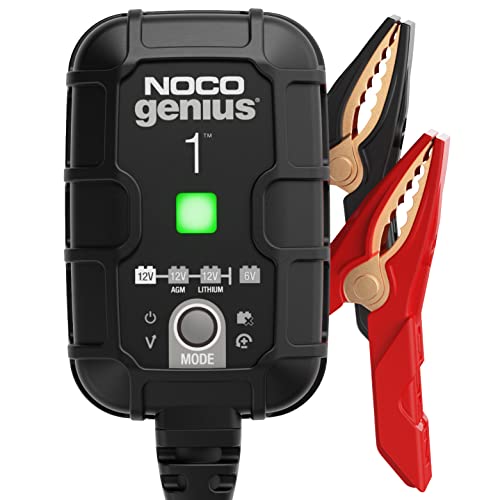
NOCO GENIUS1: 1A 6V/12V Smart Battery Charger – Automatic Maintainer, Trickle Charger & Desulfator with Overcharge Protection & Temperature Compensation – for Lead-Acid & Lithium Batteries
MEET THE GENIUS1 — Similar to our G750, just better. It's 35% smaller and delivers over 35% more…
As an affiliate, we earn on qualifying purchases.
As an affiliate, we earn on qualifying purchases.
Inspect Your Storage Area and Prepare the Environment

Before storing your motorcycle, thoroughly inspect the storage area to guarantee it provides a safe, dry, and stable environment. Check for any leaks, drafts, or sources of moisture that could promote rust or corrosion. Ensure the space is well-ventilated but free of pests or rodents that might damage wiring or upholstery. Confirm the temperature stays consistent and avoid areas prone to freezing or extreme heat fluctuations. Clear out clutter that could cause accidents or hinder access. If you’re storing the bike indoors, consider adding moisture absorbers or a dehumidifier to control humidity levels. Make sure the floor is clean and dry, avoiding concrete directly underneath the motorcycle to prevent moisture transfer. A well-prepared environment helps protect your motorcycle and makes spring startup easier. Additionally, understanding the importance of proper environmental conditions can significantly extend your bike’s lifespan. Maintaining a stable climate in your storage area is essential to prevent corrosion and other damage caused by fluctuating temperatures and humidity. Ensuring proper ventilation helps reduce condensation buildup that can lead to rust over time. Proper insulation can further help regulate temperature fluctuations and protect your motorcycle during seasonal changes.

STA-BIL Storage Fuel Stabilizer, 16 oz – Treats 40 Gallons – Keeps Fuel Fresh 24 Months, Gas Stabilizer for Storage, Prevents Corrosion
Great Product
As an affiliate, we earn on qualifying purchases.
As an affiliate, we earn on qualifying purchases.
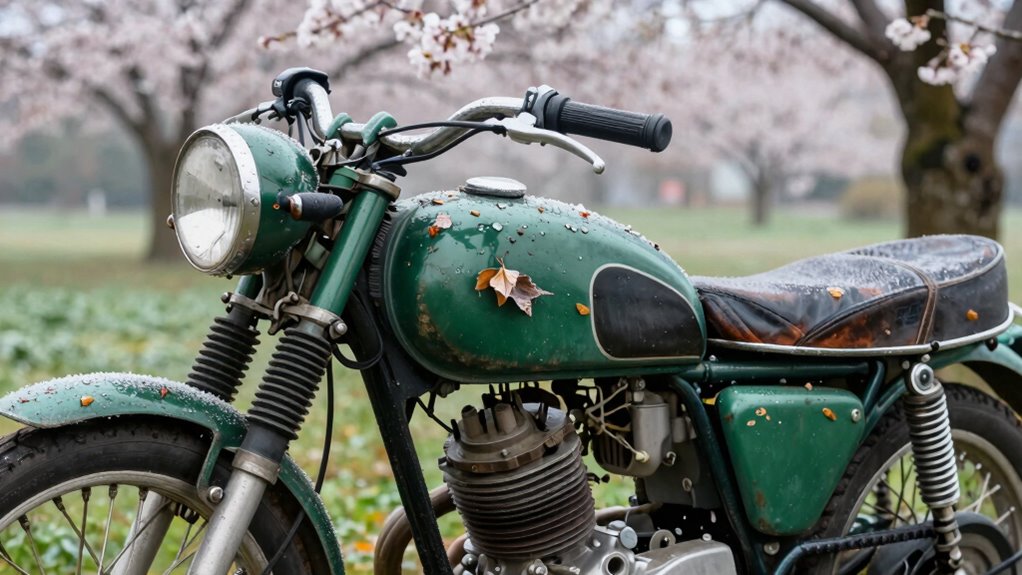
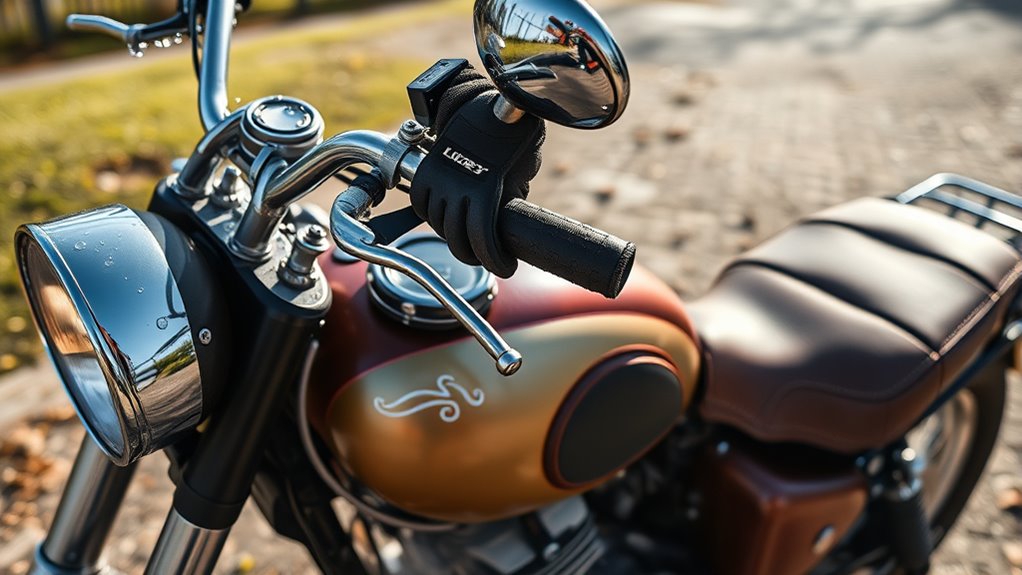
Remove and Examine Your Motorcycle Cover
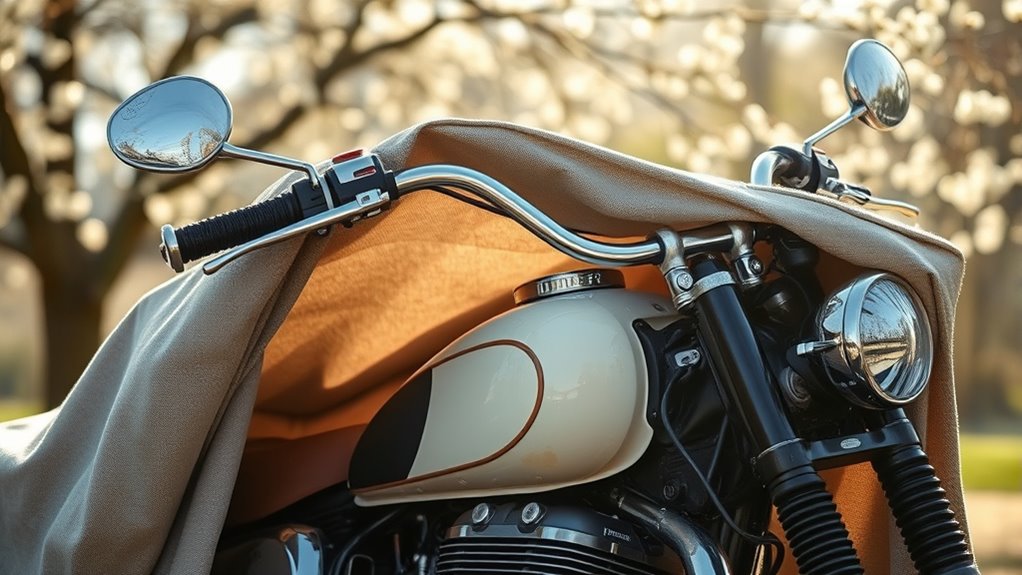
Once you’ve removed the motorcycle cover, take a close look at it for any signs of damage, dirt, or moisture buildup. Check for tears, holes, or weak spots that could let dust, pests, or moisture reach your bike. Look for accumulated dirt or debris that might have collected underneath, especially if the cover wasn’t breathable. Feel for dampness or condensation that could indicate moisture trapped inside, which can lead to rust or corrosion. If the cover is dirty, clean it according to the manufacturer’s instructions. Consider replacing it if it’s torn or no longer provides proper protection. Ensuring your cover is in good shape helps keep your motorcycle dry, clean, and protected from pests, dust, and environmental elements as you prepare for your first ride. Additionally, inspecting the cover for ventilation considerations can help prevent trapped moisture and prolong its lifespan. Proper ventilation also helps reduce the risk of mold or mildew developing on the cover. Regularly checking for moisture buildup can further help avoid corrosion and keep your vintage motorcycle in top condition. Paying attention to moisture and ventilation can significantly extend the life of your cover and safeguard your bike from potential damage. Incorporating proper storage practices will further enhance protection during your motorcycle’s off-season.

Favoto Motorcycle Cover Waterproof Outdoor Motorcycle Cover Heavy Duty All Weather Rain Sun UV Protection with Lock-Holes Motorcycle Tarp with Night Reflective Strips & Storage Bag Fits up to 96.5"
[ UNIVERSAL FIT ] – Dimension: 96.5'' L x 41'' W x 50'' H, designed to be compatible…
As an affiliate, we earn on qualifying purchases.
As an affiliate, we earn on qualifying purchases.
Reinstall and Charge the Battery Properly
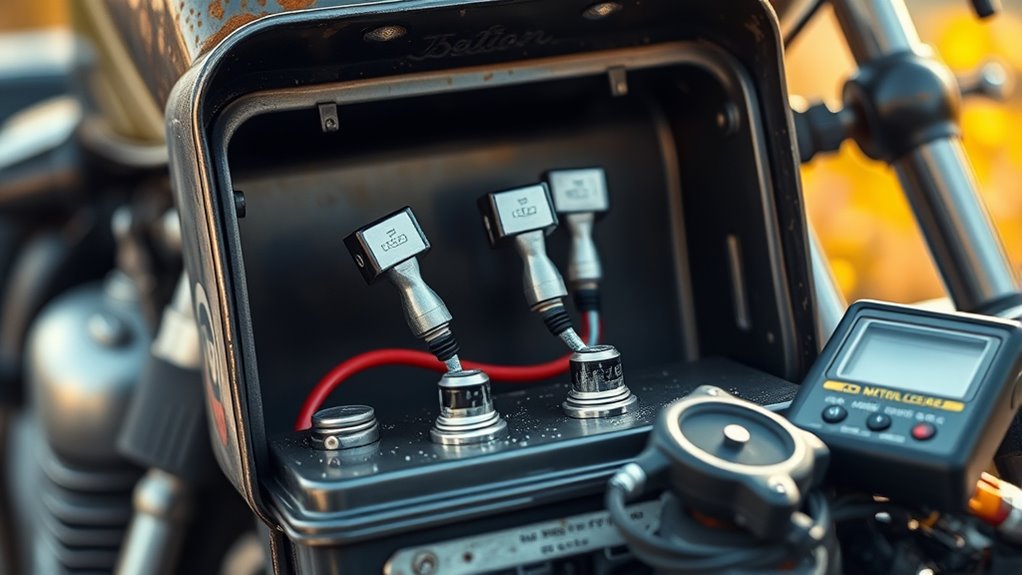
Once you’ve removed your battery for storage, it’s important to reinstall it correctly and guarantee it’s charged properly before your first ride. Make sure the terminals are clean and securely connected to prevent electrical issues. A full charge will help your battery perform reliably and extend its lifespan throughout the riding season. Additionally, using a properly maintained battery, including regular checks and recharging as needed, can further ensure optimal performance. Regularly inspecting your battery’s condition helps prevent unexpected failures and keeps your motorcycle ready to ride. Being aware of your battery’s health can save you from breakdowns during the riding season. Maintaining a battery’s charge level with a suitable charger can also prevent sulfation and other issues associated with deep discharges.
Reinstall and Secure Battery
Reinstalling and securing the battery is a crucial step in preparing your motorcycle for riding after storage. First, carefully reconnect the battery terminals, ensuring the positive terminal attaches securely first, then the negative. Use a wire brush or terminal cleaner to remove any corrosion on the posts and connectors, applying a corrosion-preventive spray afterward. Tighten the terminal nuts firmly but avoid over-tightening, which can damage the terminals. Once reconnected, secure the battery in its tray or compartment to prevent movement during riding. If your battery has removable caps, check fluid levels and top off with distilled water if needed. Additionally, inspecting the electrical connections for any signs of wear or damage helps maintain optimal performance. Performing a battery check can identify potential issues early and ensure reliable starting. Regular maintenance of the battery and electrical system ensures reliable performance and prolongs the lifespan of your motorcycle’s electrical system. Incorporating proper storage practices like disconnecting the battery during extended periods can also prevent unnecessary drain and corrosion.
Properly Charge Before Use
After reconnecting and securing the battery in its proper place, it’s important to guarantee it’s fully charged before hitting the road. Use a quality charger or a trickle charger designed for motorcycle batteries. Avoid using a standard car charger, as it may overcharge or damage the battery. Connect the charger according to the manufacturer’s instructions, ensuring correct polarity. Keep the battery on the charger until it reaches full capacity—usually indicated by a steady light or display. If you notice any corrosion on terminals, clean it before charging. A fully charged battery ensures reliable starts, ideal electrical performance, and prevents early failure. Regularly check the charge level during storage if you plan to keep the battery connected. Proper charging is essential for a smooth, trouble-free ride this spring. Proper charging practices help extend the lifespan of your motorcycle battery and ensure safety during operation. Additionally, battery maintenance can prevent unexpected failures and keep your bike ready to ride. Incorporating battery testing into your routine can further help detect potential issues early. Remember, understanding the lifecycle and performance metrics of your battery can guide you in making informed reconditioning decisions.

Dehumidifier, 95OZ Dehumidifier for Home 1000 Sq.Ft – Quiet with Auto Shut Off & Relaxing 7 Color Ambient Light,Ideal for Livingroom, Bedroom, Basement(Black)
Semiconductor dehumidifiers use thermoelectric cooling to remove moisture from the air. They create a drier, more comfortable environment…
As an affiliate, we earn on qualifying purchases.
As an affiliate, we earn on qualifying purchases.
Check and Replenish Fluids and Lubricants

Have you checked your motorcycle’s fluid levels recently? After storage, it’s vital to verify all fluids are at proper levels before riding. Start by inspecting the engine oil; top it off if it’s low or change it if it looks dirty or degraded. Check the coolant level and refill if necessary, ensuring it’s within the recommended range to prevent overheating or freezing. Examine brake fluid, looking for contamination or low levels, and top off or replace if needed. Don’t forget to verify the transmission or gear oil, especially in older bikes. Lubricate all moving parts, cables, and linkages with fresh oil or appropriate lubricants to prevent stiffness and corrosion. Proper fluid and lubricant levels keep your vintage motorcycle running smoothly and reliably as you hit the road.
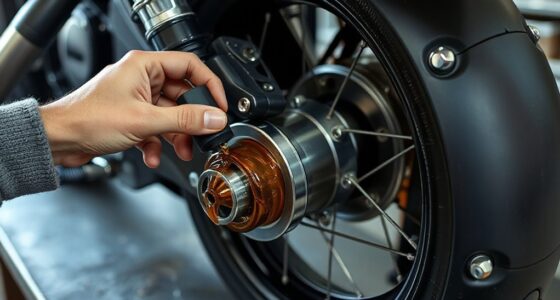
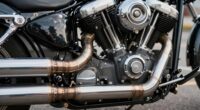
Inspect Tires, Suspension, and Mechanical Components
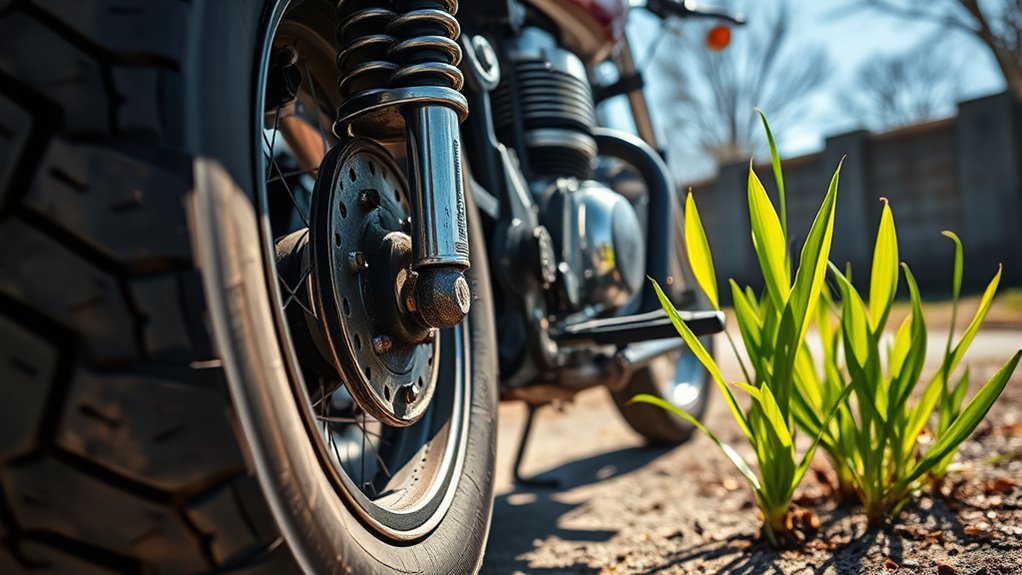
Before you start riding again, thoroughly inspect your tires, suspension, and mechanical components to verify they’re in good condition. Check tires for cracks, embedded debris, or signs of wear, and make sure they’re inflated to the recommended PSI. Spin the wheels to detect any wobbling or uneven rotation, indicating possible damage or misalignment. Examine the suspension forks and shocks for leaks, corrosion, or stiffness; move them through their travel to feel for smooth operation. Inspect all mechanical parts like brake calipers, cables, and linkages for rust, corrosion, or stiffness. Look for loose bolts, worn belts, or damaged components. Address any issues before riding to guarantee safety and maximum performance. Properly maintained tires and suspension contribute considerably to your bike’s handling and safety. Additionally, mechanical maintenance can help you identify and fix potential problems early. Regular inspection routines are essential to maintain your motorcycle’s reliability and longevity. Implementing a comprehensive maintenance log can help you keep track of maintenance records and ensure timely inspections.
Test Electrical Systems and Lights
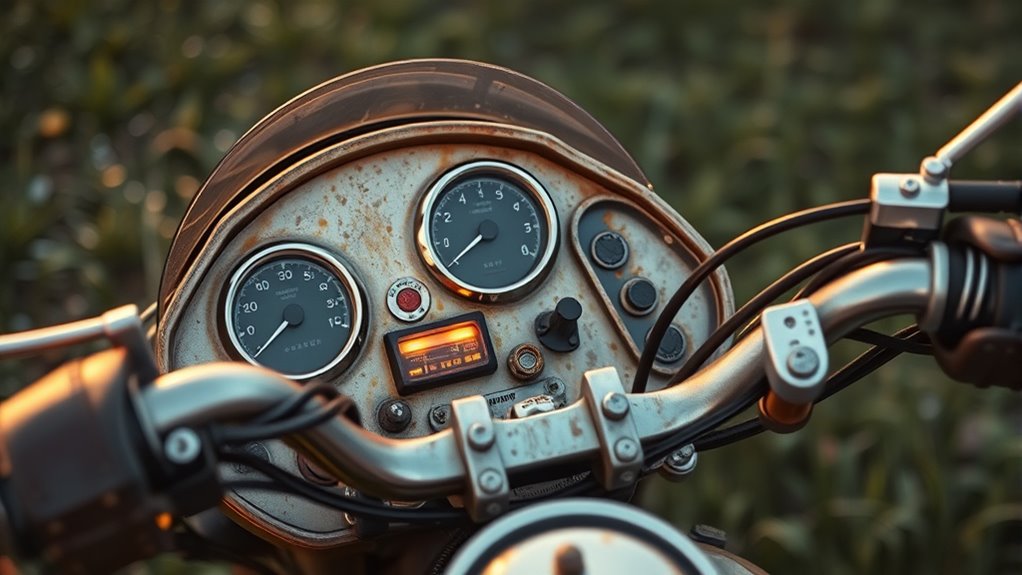
Once you’ve checked the mechanical condition of your tires and suspension, turn your attention to the motorcycle’s electrical systems and lights. Start by turning on the ignition to see if the dashboard lights up properly. Test all exterior lights, including headlights, taillights, brake lights, turn signals, and indicator lights. Replace any bulbs that aren’t functioning and ensure all wiring connections are secure and free of corrosion. Check the battery’s charge level and recharge or replace it if needed. Use a multimeter to verify proper voltage output. Confirm that switches, relays, and fuses are intact and working correctly. Properly functioning electrical systems are essential for safety and visibility, so don’t skip this step before heading out.
Perform a Safety and Functionality Inspection Before Riding
Before hitting the road, you need to make certain your motorcycle is safe and ready to ride. Start by checking your brake and clutch for proper operation, and test all your lights and signals to stay visible. This quick inspection helps prevent accidents and keeps you confident on your first spring ride.
Check Brake and Clutch
Checking your brake and clutch systems is crucial to guarantee your motorcycle operates safely and smoothly. Begin by inspecting the brake fluid levels; top off if needed, and look for signs of contamination or leaks. Squeeze the brake lever and brake pedal to ensure they feel firm and responsive, adjusting or bleeding the system if necessary. For the clutch, pull the lever to check for smooth engagement and proper free play; adjust the cable tension if it feels too slack or tight. Examine brake pads and clutch plates for wear or damage, replacing them if necessary. Test the brake and clutch operation at low speed to confirm they engage and disengage properly. Properly functioning brakes and clutch are essential for safe riding, so don’t skip these checks.
Test Lights and Signals
Testing your lights and signals is essential to guarantee your motorcycle is safe and visible on the road. Turn on your ignition and activate each light—headlights, taillights, brake lights, and turn signals. Confirm they all illuminate properly and respond correctly. Check that your brake light comes on when you apply the brake. Test your horn to ensure it’s functioning. If your motorcycle has a hazard or emergency flashers, activate them to verify they work. Inspect the wiring and connections for any corrosion or damage that may have occurred during storage. Replace any bulbs that are flickering or out. Ensuring all lights and signals operate correctly improves your safety and helps other drivers see you clearly, especially during dawn, dusk, or foul weather.
Frequently Asked Questions
How Can I Detect Hidden Rust or Corrosion Beneath the Surface?
You can detect hidden rust or corrosion beneath the surface by performing a thorough visual inspection, looking for discoloration or bubbling paint. Use a small screwdriver or pick to gently tap or scrape suspected areas—listen for dull or crunchy sounds indicating corrosion. Also, check for any unusual stiffness or roughness in moving parts, and feel for any soft spots or inconsistencies that suggest rust forming underneath paint or protective coatings.
What Are Signs of Fuel System Issues After Winter Storage?
Did you know that fuel system issues are among the top causes of engine trouble after winter? Signs include difficulty starting the motorcycle, rough idling, or sputtering during acceleration. You might notice a decrease in power or strange smells from the exhaust. If the engine stalls or runs poorly, it’s likely gummed-up carburetor parts or stale fuel. Regular inspection and cleaning, along with fresh fuel, help prevent these issues.
How Do I Verify My Battery’s Health Before Reinstalling?
You should first check your battery’s voltage with a multimeter, aiming for around 12.6 volts for a healthy, fully charged battery. If it’s below 12.4 volts, give it a slow charge before reinstalling. Inspect the terminals for corrosion or loose connections, clean them with a wire brush or terminal cleaner, and make certain the cables are tightly connected. If the battery doesn’t hold a charge, consider replacing it.
What’s the Best Way to Check Tire Pressure After Months of Storage?
You should start by removing the valve caps from each tire and using a reliable pressure gauge to check the current PSI. Compare the readings to the manufacturer’s recommended PSI, usually found on the sidewall or in your owner’s manual. If the pressure is low, use a portable air pump to bring the tires up to the correct level. Always check both tires carefully before your first ride.
How Can I Identify Electrical Problems Caused by Dormant Wiring?
You notice flickering lights or unexpected electrical glitches when you turn on your motorcycle. These issues might signal dormant wiring problems—corrosion, loose connections, or frayed wires hiding behind the panels. Carefully inspect wiring harnesses and connectors for corrosion or damage. Use a multimeter to check for continuity and voltage drops. Address any irregularities promptly to prevent future breakdowns, ensuring your vintage bike runs smoothly into spring.
Conclusion
As you fire up your vintage motorcycle for the first ride of spring, think of it as awakening a sleeping giant. Just like a well-tended garden blooms after careful preparation, your bike will run smoothly and reliably if you’ve checked every detail. Remember, a little attention now prevents bigger issues later. With patience and care, you’ll enjoy the thrill of riding your vintage marvel, feeling the wind and history come alive beneath you.