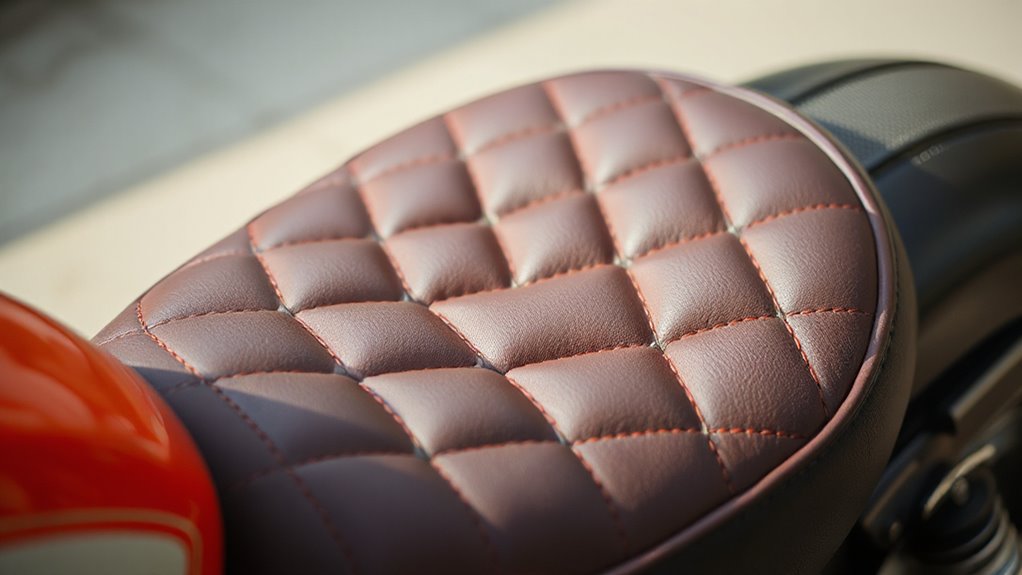
Revitalizing or customizing your motorcycle seat through DIY upholstery is a budget-friendly way to restore comfort and improve its look. Start by removing the old cover, then replace the worn foam with high-density, supportive material cut to match the seat’s shape. Use strong stitches for durability and secure the new cover tightly with staples or tacks. With proper techniques, you can create a professional finish and extend your seat’s lifespan—continue on to discover all the essential steps.

Get business pricing on garage and car supplies
- Business-only prices and quantity discounts
- Tax-exempt purchasing
- Multiple users, one account, clear invoices
Key Takeaways
- Carefully remove the old seat cover and foam, then select high-density foam that matches your seat’s shape for support and durability.
- Cut new foam precisely to ensure a snug fit, providing consistent support and a smooth appearance.
- Use strong, even stitches with durable thread to reinforce seams and prevent tearing over time.
- Tightly stretch and secure the new cover using staples or tacks, working from the center outward for a smooth finish.
- Take your time throughout the process to achieve a professional-looking, comfortable, and personalized motorcycle seat.
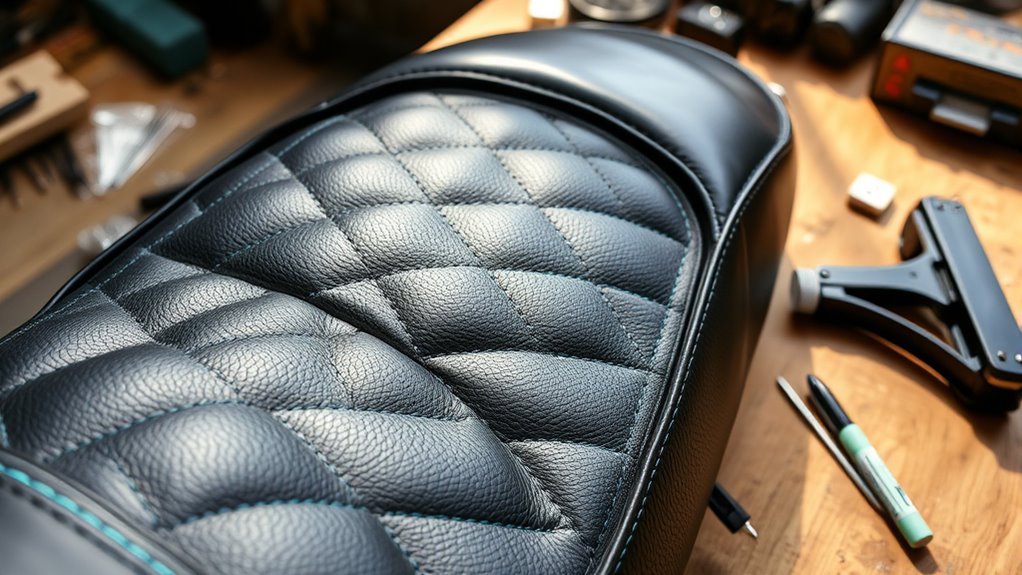
Ever wondered how to breathe new life into an old, worn-out seat? Restoring or customizing your motorcycle seat can be a rewarding project, and it all begins with understanding the importance of quality components like seat foam and stitching techniques. Over time, the foam inside your seat compresses and deteriorates, making your rides uncomfortable and reducing the seat’s visual appeal. Replacing the old foam with fresh, high-density seat foam instantly boosts comfort and gives your seat a new lease on life. Choosing the right foam is essential—look for dense, resilient material that offers support without feeling too firm. Once you remove the existing upholstery, carefully cut your new foam to match the seat’s shape. This step is vital because well-fitted foam ensures even support and prevents any uncomfortable pressure points during your ride. Additionally, high-density foam provides better longevity and support compared to softer alternatives. When it comes to reupholstering, paying attention to stitching techniques makes a significant difference in durability and aesthetics. Using strong, durable thread, such as polyester or nylon, you want to sew the new cover onto the seat base with secure, even stitches. Double-stitching along the edges reinforces the seams, preventing tears or unraveling over time. If you’re new to sewing, practicing on scrap fabric first can help you master the tension and stitch length, so your final work looks professional and holds up under the stresses of riding. Remember, tight, consistent stitches not only improve longevity but also contribute to a clean, polished appearance.
Replacing old foam with high-density support enhances comfort and extends your seat’s lifespan.
As you work on your seat, keep in mind that the cover should be pulled taut and secured tightly around the foam and seat base. Use a staple gun or heavy-duty upholstery tacks to attach the fabric, working systematically from the center outward to avoid puckering. During this process, take your time to ensure the fabric stays smooth and wrinkle-free. Proper tension on the cover, combined with precise stitching at the seams, results in a sleek, factory-finish look. If you’re customizing your seat, you can add decorative stitches or contrasting thread colors to give it a unique touch.
Ultimately, revitalizing your motorcycle seat is about more than just aesthetics; it’s about comfort and durability. With the right seat foam, careful stitching techniques, and patience, you can transform your old, sagging seat into one that looks great and feels even better. This DIY project not only saves you money but also gives you the satisfaction of creating a personalized, professional-looking upgrade for your motorcycle.
Frequently Asked Questions
What Tools Are Essential for Motorcycle Seat Upholstery?
You’ll need essential tools like a staple gun, upholstery scissors, and a screwdriver to tackle motorcycle seat upholstery. Don’t forget a good fabric selection suited for outdoor use and comfort. Keep your tools in top shape through regular tool maintenance to guarantee smooth work. These tools help you securely attach new fabric, trim edges, and make adjustments, making your DIY project easier and more professional-looking.
How Long Does a Typical DIY Upholstery Project Take?
A typical DIY upholstery project takes about 4 to 8 hours, depending on your skill level and the complexity of the seat. If you’re experienced, you might finish in a single day, but beginners should allocate extra time for learning and troubleshooting. Plan your project timeline accordingly, and don’t rush — patience guarantees a better finish and a more comfortable seat.
Is Professional Reupholstering More Cost-Effective?
Professional reupholstering isn’t always more cost-effective, especially if you compare the cost difference versus skill requirements. If you lack experience, you might spend more on mistakes or tools, making DIY more budget-friendly. However, a professional guarantees a quality finish and saves you time. Consider your skill level and the project scope to determine if the higher cost of a pro is worth it for your motorcycle seat.
How Do I Choose the Right Fabric for My Seat?
To choose the right fabric for your seat, consider fabric durability to withstand weather and wear, ensuring it lasts long. Also, think about color coordination to match your motorcycle’s style and personal preferences. Opt for materials like marine vinyl or heavy-duty textiles for durability, and pick a color that complements or enhances your bike’s overall look. This way, you’ll create a seat that’s both functional and visually appealing.
Can I Repair Only Damaged Sections Instead of Reupholstering Entirely?
Can you fix just the damaged sections instead of reupholstering entirely? Absolutely. Patch repair works well when you match the fabric precisely, blending the repair seamlessly. You can focus on replacing only the torn or worn areas, saving time and effort, and maintaining the original look. Just make sure you find fabric matching your seat’s material and color, and carefully attach the patch for a clean, durable fix.
Conclusion
Revamping your motorcycle seat is like giving your ride a fresh coat of paint—it transforms the entire look and feel. With a little effort and creativity, you can turn a worn-out seat into a personalized masterpiece. Think of your seat as the foundation of your comfort domain—strengthen it, upgrade it, and enjoy the smoother, more confident ride ahead. Remember, a DIY touch is your ticket to a seat that’s as unique as your journey.
Halloween Picks
halloween
As an affiliate, we earn on qualifying purchases.