
To keep your old Harley running smoothly, focus on regular oil and filter changes every 2,500 to 5,000 miles, and check your oil level before rides. Inspect your brakes and rotors often for wear, and verify brake fluid stays topped off. Keep your chain or belt in good condition, and regularly check your battery terminals for corrosion. Proper tire pressure and suspension adjustments also help with safety. For more tips to maintain your Harley’s best performance, keep exploring the details.
Key Takeaways
- Regularly check and change engine oil and filters every 2,500 to 5,000 miles to keep the engine running smoothly.
- Inspect brake pads, rotors, and fluid levels frequently to ensure safe stopping performance.
- Maintain proper tire pressure, check tread depth, and inspect for damage before each ride.
- Keep the electrical system clean by inspecting terminals, applying dielectric grease, and charging the battery as needed.
- Follow the manufacturer’s recommended service intervals and use certified mechanics for repairs to prolong your Harley’s lifespan.

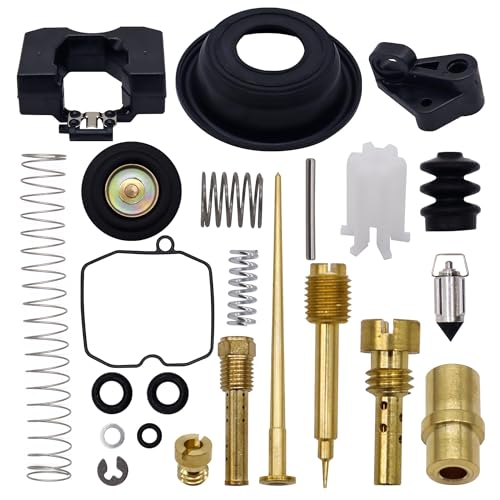
CV Carburetor Rebuild Kit for Harley Davidson CV40 27421-99C 27490-04 XL883 40mm Carb Repair Kit 27421-99A Rebuild Kit,CV40 Rebuild Kit, CV Carb Jet Kit by BOOTOP PIN
CV Carburetor Rebuild Kit,CV Carb Repair Kit for Harley Davidson CV40 CV 40mm XL883 XL1200 carb engine. CV...
As an affiliate, we earn on qualifying purchases.
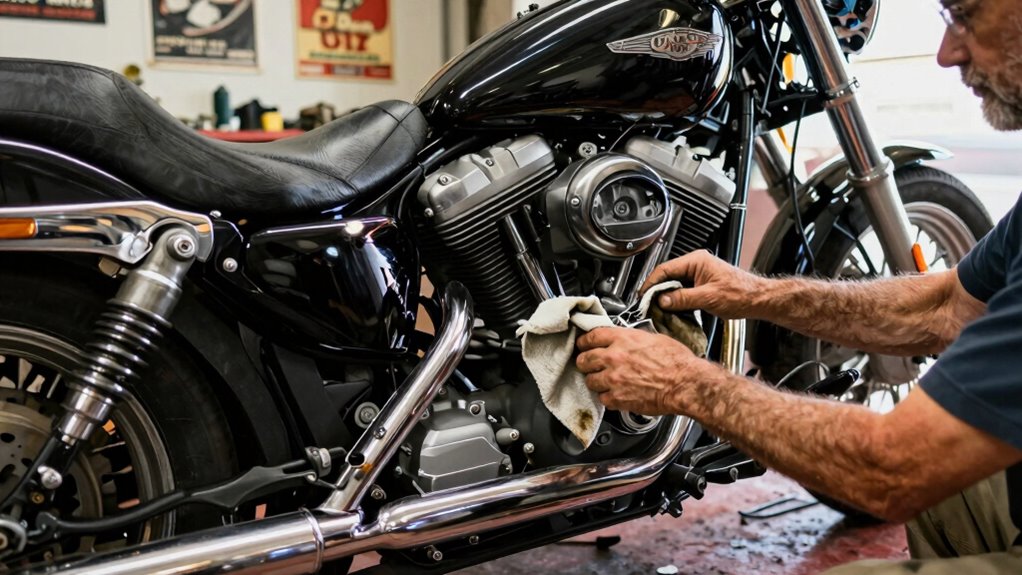
Regular Oil and Filter Changes

Regular oil and filter changes are essential to keep your Harley-Davidson running smoothly and performing at its best. Fresh engine oil lubricates moving parts, reduces friction, and prevents overheating, ensuring your bike stays reliable on the road. You should change the oil every 2,500 to 5,000 miles, depending on your riding conditions and model. Always check the oil level before each ride; low oil can cause engine damage. Use oils that meet Harley-Davidson specifications for ideal protection. Replace the oil filter with every oil change to keep contaminants out of your engine’s lubrication system. Proper maintenance not only extends your bike’s lifespan but also enhances performance and fuel efficiency. Staying consistent with oil and filter changes is one of the simplest ways to care for your Harley. Incorporating high-quality oils with proper viscosity can further optimize engine performance and longevity, especially when paired with regular inspection and maintenance. Additionally, using reliable, quality oils helps prevent engine wear and ensures your Harley continues to perform reliably over time. Following manufacturer guidelines for maintenance schedules ensures that your Harley remains in top condition and helps identify potential issues early. Regularly checking your oil levels with accurate dipstick measurements can prevent unexpected engine problems.
OXCANO 27421-99C Carburetor Rebuild Carb Repair Kit Compatible with Harley Davidson Dyna Sportster 40mm XL883 XLH1200, Keihin HD CV40, 883 Roadster XL, HD Super Glide FXR, HD Softail Deluxe FLSTN
[Fitment]-Compatible with Harley Davidson Sportster 40mm XL883 XLH1200,Keihin HD CV40 Carburetor,CV Carburetor,1200 Custom XLC,1200 Low XL,1200 Roadster XLR,1200...
As an affiliate, we earn on qualifying purchases.
Brake System Inspection and Maintenance
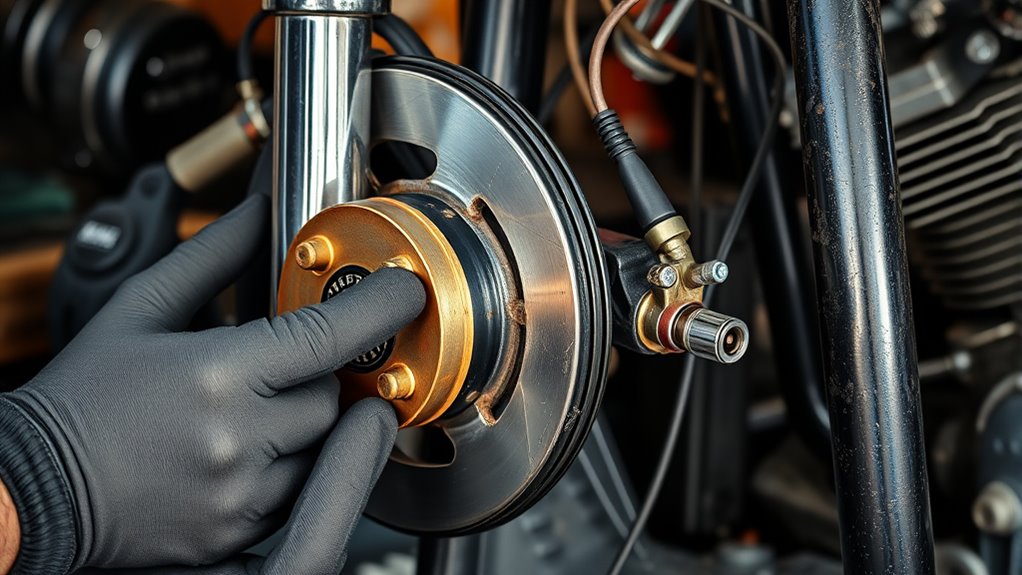
To keep your Harley’s braking system reliable, you need to regularly check your brake pads for signs of wear and replace them before they get too thin. Make sure your brake fluid levels are correct, and inspect the rotors and calipers for any damage or warping. Staying on top of these components guarantees safe and responsive braking every time you ride. Incorporating proper maintenance procedures can help maintain the longevity of your brake components by reducing exposure to environmental factors. Regular inspection and servicing of your braking system is essential to identify potential issues early and ensure consistent performance.
Brake Pad Wear Signs
Pay attention to the signs of brake pad wear to guarantee your Harley-Davidson remains safe and responsive. If you notice decreased braking power, a spongy feel, or squealing sounds, your pads may be worn out. Visual inspection is key: look for thinning pads or uneven wear. Also, check for metal-on-metal contact, which indicates pads are completely worn down. Regularly inspecting your brake system can help prevent brake failure and ensure safe riding. Staying informed about security zone info can also help you understand the importance of proper maintenance. Proper adherence to regulatory compliance can prevent costly repairs and accidents. It’s also beneficial to be aware of the hidden costs associated with brake repairs to better plan your maintenance budget. Additionally, understanding the wear patterns can help identify specific issues early and prolong the life of your brake components. Stay alert to these signs to prevent brake failure and ensure safe riding. Regular inspections keep your brakes in top shape.
Fluid Level Checks
Are you checking your Harley-Davidson’s brake fluid levels regularly? You should inspect both the front and rear master cylinders before every ride to verify proper braking performance. Locate the reservoirs, and look for the fluid level marked on the side—make sure it stays between the “MIN” and “MAX” lines. If the fluid is low, top it off with the recommended brake fluid type specified in your owner’s manual. Never reuse old or contaminated fluid, and avoid overfilling. Check for any leaks around the master cylinders, hoses, and fittings. Maintaining proper brake fluid levels is essential for safe, responsive braking and helps prevent costly repairs down the road. Regularly inspecting your fluid levels can help you identify potential issues early and ensure your Harley’s braking system remains in top condition. Incorporating fluid level checks into your routine ensures your Harley remains comfortable, reliable, and aligned with European cloud innovation for optimal performance. Additionally, keeping an eye on brake fluid quality can prevent corrosion and extend the lifespan of your braking components.
Rotors and Calipers
Regular inspection of your Harley’s rotors and calipers is essential for safe braking performance. Check the rotors for warping, scoring, or cracks, especially after long rides or rough roads. Feel for any unevenness or vibrations when braking, which could indicate rotor issues. Calipers should move smoothly and not stick; inspect for leaks or damaged seals. Ensure brake pads are not excessively worn and replace them before they thin too much, as this can damage the rotors. Keep an eye on brake fluid levels, topping off if needed, and consider flushing the system periodically. Listen for squealing or grinding sounds, which signal pad or rotor wear. Proper maintenance of these components guarantees effective braking and rider safety at all times. Additionally, automatic braking systems and other modern features can enhance safety when properly maintained and calibrated. Regularly checking the brake fluid ensures optimal hydraulic pressure and prevents failures. Incorporating visual inspections into your routine helps catch issues early before they affect braking performance. Staying attentive to component wear and addressing problems promptly can extend the lifespan of your braking system and improve overall safety. For added security, consider inspecting your brake lines regularly for signs of deterioration or damage.

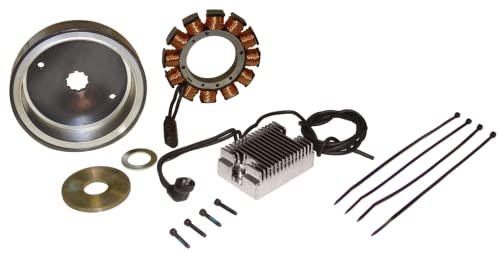
32 Amp Alternator Charging System for 1970-1984 Shovelhead & 1984-1999 "EVO Evolution Big Twin FX/FL, Softail, Dyna, FXR, Touring Models (Except Twin Cam & EFI Models) with Stator, Rotor, Reg/Rec
Upgrade your '70-'84 Big Twins weak charging system with this upgraded 32 Amp Kit! These systems are the...
As an affiliate, we earn on qualifying purchases.
Drive Belt and Chain Care
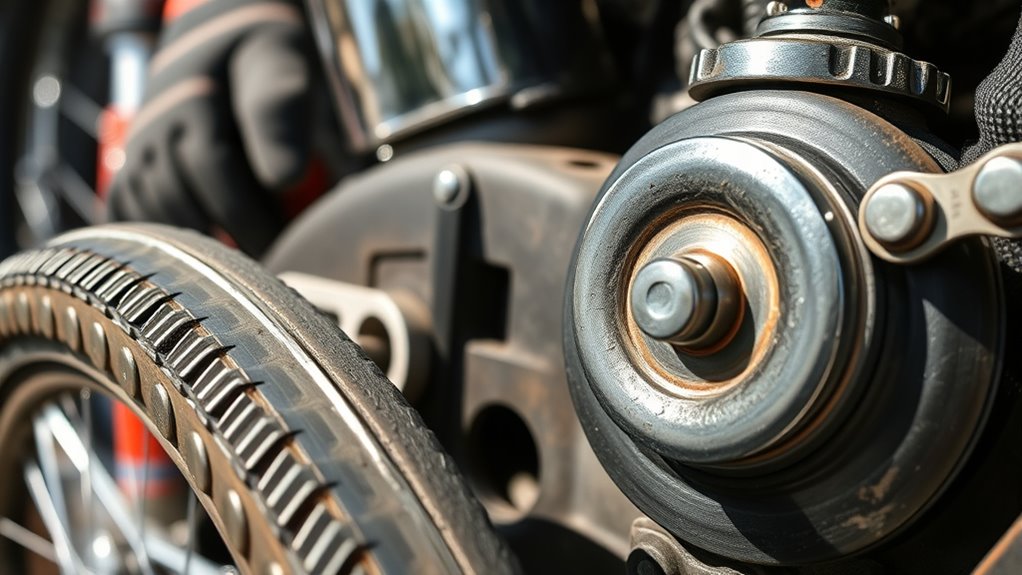
Maintaining your drive belt and chain is essential for ensuring smooth power transmission and safe riding. Regular inspections help identify wear, cracks, or fraying early, preventing potential failures. For belts, check tension and deflection according to your manual; replace if signs of cracking or excessive wear appear. Chains need lubrication every 280-590 miles and tension adjustments to avoid slippage. Also, inspect sprockets and belts for damage or wear. Proper care keeps your bike performing optimally. Incorporating proper maintenance techniques can extend the lifespan of your drive system components and enhance safety. Consistent feedback and visual cues are valuable tools to monitor your components’ condition effectively.
Heavy Duty 32 Amp Alternator Charging System w/HD One-Piece Rotor for 1970-1984 Harley Shovelhead & 1984-1999 EVO Big Twin Motor (Except Twin Cam & EFI Models) Chopper Bobber
Upgrade your '70-'84 Big Twins weak charging system with this HEAVY DUTY 32 Amp Kit! These systems are...
As an affiliate, we earn on qualifying purchases.
Battery and Electrical System Checks
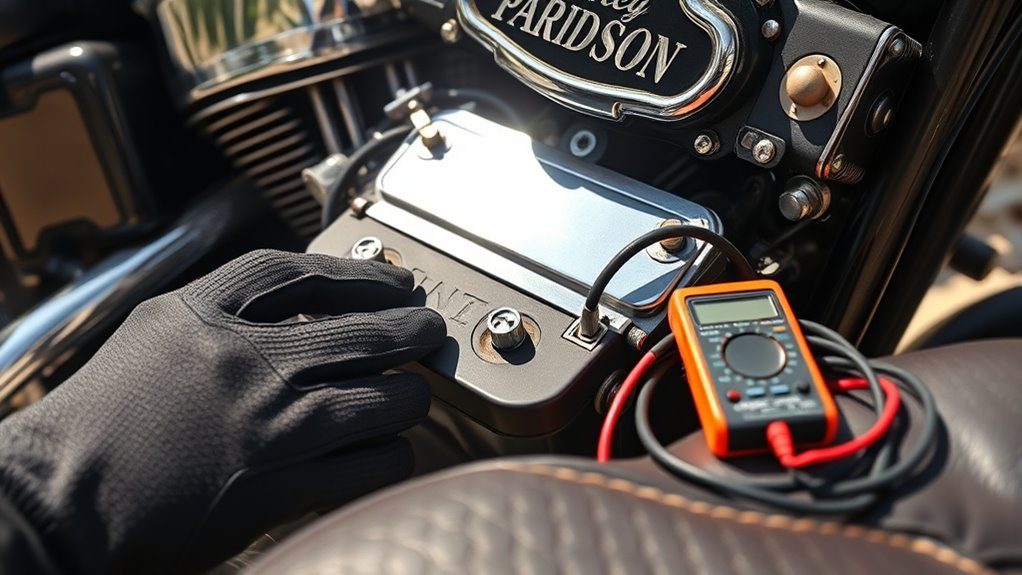
You should regularly check your battery terminals for corrosion and clean them to guarantee a solid connection. Keep your battery charged, especially during storage or off-season, using a trickle charger if needed. Inspect the battery for signs of swelling, leaks, or damage, and replace it every 3 to 5 years to prevent unexpected failures. Additionally, ensure your electrical system components are free of corrosion and debris, which can interfere with proper operation.
Battery Terminal Maintenance
Ensuring your Harley’s electrical system performs reliably starts with keeping the battery terminals clean and free of corrosion. Corrosion can impede electrical flow, leading to starting issues or electrical failures. Regularly inspect the terminals for a white, green, or bluish buildup, and clean them promptly. Use a mixture of baking soda and water, applying a wire brush to remove corrosion, then rinse with clean water. After cleaning, tighten the terminal nuts securely to ensure good contact. Protect your terminals with a dielectric grease to prevent future corrosion. Proper maintenance of the battery terminals ensures consistent starting power and prolongs battery life.
- Use a wire brush or terminal cleaner for thorough cleaning
- Apply dielectric grease to prevent corrosion
- Tighten terminal nuts securely but avoid over-tightening
- Check for any signs of swelling or leaks
- Replace corroded or damaged battery terminals promptly
Charging and Storage Tips
Proper charging and storage practices are essential to keep your Harley’s electrical system reliable, especially during periods of inactivity. Always keep your battery fully charged, using a trickle charger if your bike will sit for extended periods. Check the terminals regularly for corrosion or looseness, cleaning them with a wire brush as needed. When storing your bike, disconnect the battery or connect it to a tender to prevent discharge. Store your Harley in a cool, dry place away from direct sunlight and extreme temperatures. If your bike will be inactive for months, consider removing the battery altogether. Periodically inspect the electrical system, including fuses and connectors, to catch potential issues early. Proper maintenance ensures your Harley starts reliably and keeps the electrical system in top condition.
Tire and Suspension Maintenance

Did you know that regular inspection and maintenance of your tires and suspension are crucial for safe and smooth rides? Proper care ensures ideal handling, safety, and longevity of your Harley. Start by checking tire pressure before every ride, matching it to the manufacturer’s specifications. Examine tread depth and sidewalls for cracks, punctures, or damage. For suspension, visually inspect front forks, shock absorbers, and steering head bearings for leaks, wear, or looseness. Adjust suspension settings to your weight and riding conditions. Replace tires before they become unsafe or worn beyond recommended limits. Maintain suspension components to prevent handling issues. Regular checks help you identify potential problems early, avoiding costly repairs and ensuring a confident, stable ride.
- Confirm tire pressure matches specs before rides
- Inspect tread and sidewalls for damage
- Check suspension for leaks or wear
- Adjust suspension for rider weight
- Replace worn tires and suspension parts
Following the Manufacturer’s Service Schedule
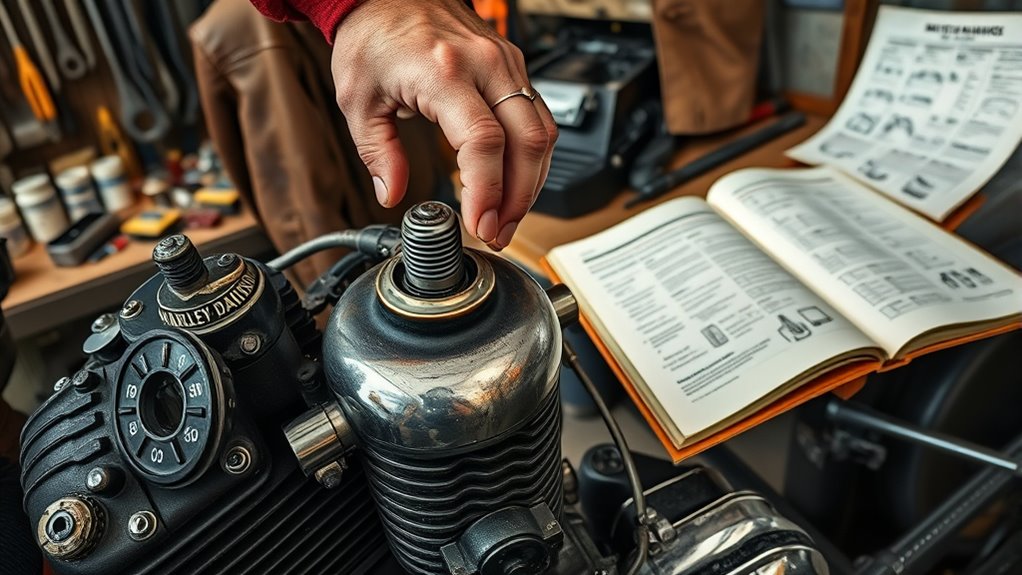
Following the manufacturer’s service schedule is essential to keep your Harley-Davidson performing at its best. Sticking to the recommended maintenance intervals guarantees your bike runs smoothly, safely, and reliably. Regularly scheduled services, like oil changes at 2,500 to 5,000 miles and brake inspections, help prevent costly repairs and maintain peak performance. Keep detailed records of each service to track what’s been done and when. Visiting authorized Harley-Davidson dealers or certified mechanics ensures proper procedures and quality parts. Don’t ignore the manual’s guidelines; they’re tailored to your bike’s specific model and year. Consistent maintenance also protects your warranty and resale value. Prioritize scheduled checkups, and you’ll enjoy a hassle-free ride and the satisfaction of a well-maintained Harley.
Frequently Asked Questions
How Do I Check for Oil Leaks on My Harley?
You check for oil leaks by visually inspecting your Harley’s engine, transmission, and primary case areas regularly. Look for fresh oil spots, wetness, or drips around seals, gaskets, and fittings. Run the engine briefly, then turn it off and examine these areas closely. If you notice any oil pooling or unusual spots, address the leak promptly to prevent engine damage and maintain peak performance.
When Should Brake Fluid Be Flushed and Replaced?
You should flush and replace your brake fluid every 1 to 2 years or according to your Harley’s manual. Regularly check the brake fluid level and look for signs of contamination, like discoloration or moisture. If you notice squealing brakes, spongy feel, or decreased braking performance, it’s time for a flush. Maintaining fresh brake fluid ensures peak braking response and safety on every ride.
What Signs Indicate My Drive Belt or Chain Needs Replacing?
You notice a strange squealing noise or feel a noticeable slack or tightness in your drive belt or chain. Cracks, fraying, or missing teeth on sprockets signal it’s time to replace them. Don’t ignore these warning signs—they can lead to sudden failure, risking safety and costly repairs. Regular inspections and prompt replacements keep your Harley running smooth, giving you peace of mind on every ride.
How Often Should I Clean and Maintain Electrical Connections?
You should clean and maintain your electrical connections at least every 6 months or during routine maintenance. Regularly inspect terminals and connectors for corrosion, dirt, or loose fittings. Use a contact cleaner or dielectric grease to keep connections clean and protected. If your bike experiences electrical issues or if you notice corrosion, clean and tighten connections immediately to ensure reliable performance and prevent electrical failures.
What Are the Best Practices for Storing My Harley During Winter?
Think of your Harley as a trusty steed ready for hibernation. To store it properly during winter, you should clean it thoroughly, then top off the fuel with a stabilizer to prevent varnish buildup. Keep the battery charged using a tender, and cover the bike with a breathable cover. Store it in a dry, cool place, and check on it periodically to make certain all systems stay in good shape until spring.
Conclusion
By staying consistent with your Harley’s care, you’ll keep it cruising, conquering, and creating countless memorable miles. Regularly review, repair, and replace to resist rust, rattle, and routine repairs. Keep your bike’s battery bright, brakes bold, and belts balanced. With a little vigilance and a lot of love, your old Harley will remain a dependable, daring, and dynamic ride. Remember, proper maintenance makes your machine mighty, manageable, and ready for many more memorable journeys.