Maintaining your vintage motorcycle’s battery involves choosing the right type and voltage—6V batteries match older systems, offering a classic look, while 12V batteries provide more power and easier starting. Modern AGM or lithium-ion replacements are maintenance-free and durable options. Proper care includes regular checks, maintaining electrolyte levels, and using compatible chargers. Upgrading to a 12V system may require electrical modifications. Keep exploring to learn detailed tips for ideal battery care and system upgrades.
Key Takeaways
- Match the battery voltage (6V or 12V) to your vintage bike’s electrical system for proper operation.
- Upgrading from 6V to 12V requires rewiring, updated components, and compatible battery size and terminal placement.
- Modern replacements like AGM or lithium-ion batteries offer maintenance-free operation, higher CCA, and longer lifespan.
- Regularly inspect terminals, electrolyte levels (for lead-acid), and ensure proper charging with compatible chargers.
- Store batteries in a cool, dry place, disconnect during storage, and use trickle chargers to prolong battery life.

WPS Western Power Sports Conventional 6V Standard Battery with Acid Pack
NOW INCLUDES Electrolyte PACK
As an affiliate, we earn on qualifying purchases.
As an affiliate, we earn on qualifying purchases.
Overview of Vintage Motorcycle Battery Types and Voltages

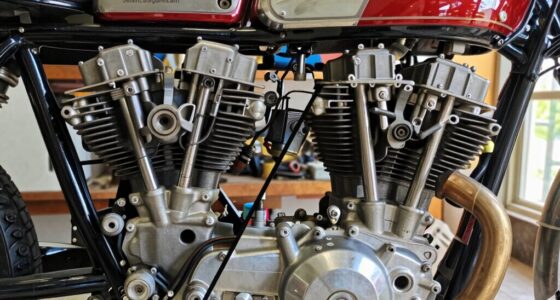
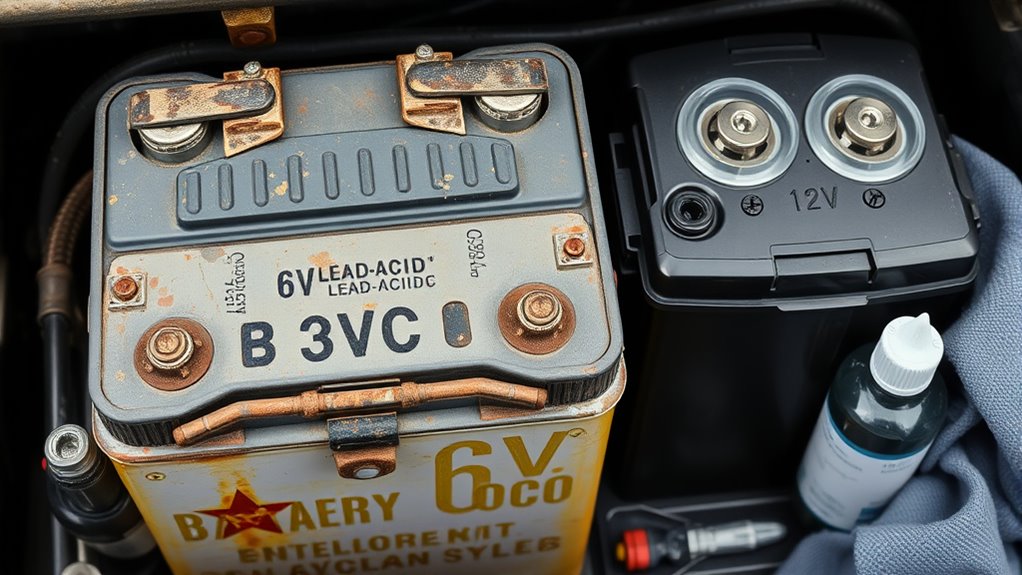
Vintage motorcycles typically use lead-acid batteries, with most models running on either 6V or 12V systems. The 6V batteries are common in older bikes, offering lower capacity and power output, suitable for the simpler electrical systems of classic models. On the other hand, 12V batteries are more prevalent in later vintage bikes or when upgrading older models for better reliability. These batteries are usually wet cell (flooded) type, requiring regular maintenance like electrolyte checks and water top-ups. The voltage determines the starting power and electrical performance. Converting from 6V to 12V involves replacing the battery and some electrical components. Modern replacements, such as AGM or sealed lead-acid batteries, provide maintenance-free options that fit within vintage bike specifications. Choosing the right battery type is essential for ensuring optimal performance and longevity of your vintage motorcycle’s electrical system. Additionally, proper battery care practices can significantly extend the lifespan of your vintage motorcycle’s electrical components, especially considering the aging electrical systems of classic bikes. Implementing battery maintenance routines can help prevent corrosion and ensure consistent power delivery, maintaining reliable operation. Ensuring that your electrical system remains reliable and efficient through appropriate battery maintenance can help prevent unexpected failures and improve overall riding experience.
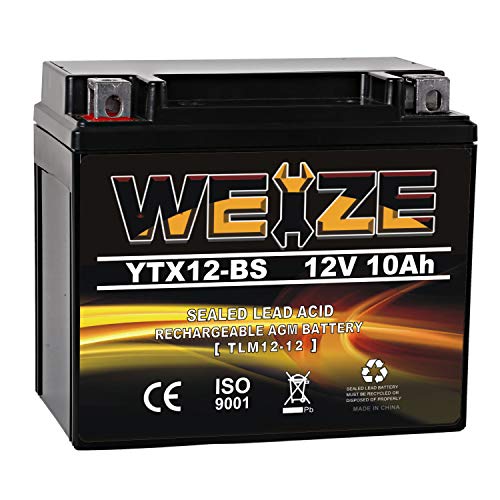
Weize YTX12-BS Motorcycle Battery High Performance – Maintenance Free – Sealed YTX12 BS AGM Rechargeable ATV Batteries compatible with Honda Kawasaki Suzuki
Battery dimensions: 5.91 in x 3.43 in x 5.12 in; Weight: 7.92 Lbs; Voltage: 12 volt; Amperage: 10…
As an affiliate, we earn on qualifying purchases.
As an affiliate, we earn on qualifying purchases.
Benefits and Challenges of 6V Vs 12V Batteries
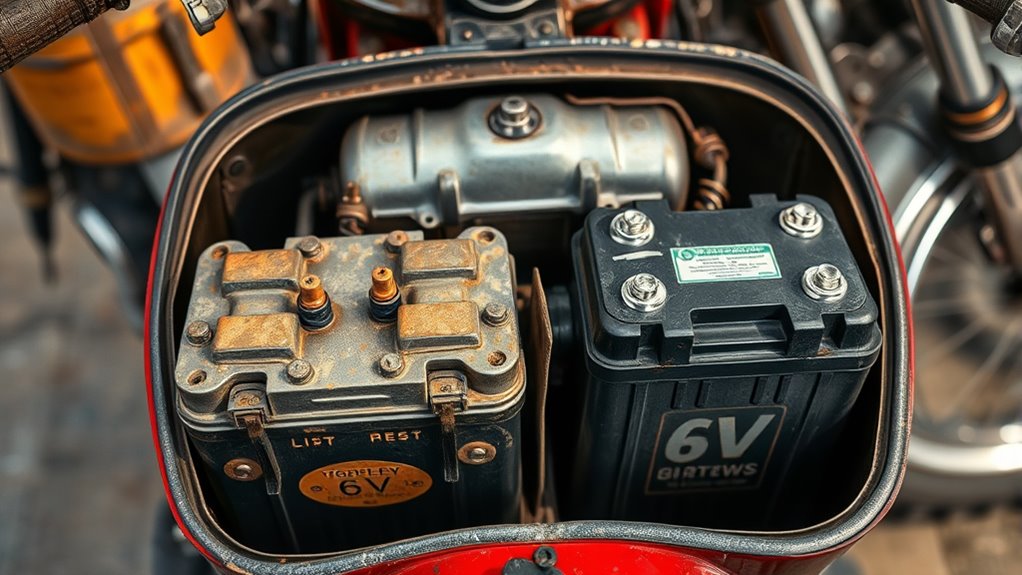
While 6V batteries maintain the classic look and simplicity of early motorcycle electrical systems, 12V batteries offer notable advantages in power and reliability. The main benefits include:
6V batteries preserve the vintage look, but 12V options provide more power and reliability for modern needs.
- Increased Power Output: 12V batteries deliver higher starting power, making engine cranking easier and more reliable, especially in colder conditions.
- Compatibility with Modern Components: They support modern accessories and upgrades, reducing the need for extensive electrical modifications.
- Maintenance and Longevity: Modern 12V AGM or sealed lead-acid options require less maintenance and tend to last longer if properly cared for.
- Compatibility with modern accessories can make upgrades more seamless and less complicated. Properly managing electrical load is essential when upgrading to 12V systems to prevent overload issues.
However, challenges exist. Converting from 6V to 12V can involve rewiring and replacing electrical parts. Additionally, 12V systems may require more careful handling to prevent overcharging and damage.

Varstrom 48V 10.4Ah Lithium-Ion Battery – Universal Power Pack for Ele-c-tric Bike, Scooter, Motorcycle, Tricycle, Compatible with 0-1200W Motor, 1000W 750W 500W 250W E-b-ike Conversion Kit
Broad Compatibility : This 48V 10.4Ah lithium battery is compatible with a wide range of motors from 50W…
As an affiliate, we earn on qualifying purchases.
As an affiliate, we earn on qualifying purchases.
Selecting the Right Modern Replacement for Vintage Batteries

Choosing the right modern replacement battery for your vintage motorcycle involves understanding compatibility, performance, and maintenance needs. First, identify your bike’s voltage—6V or 12V—and match it accordingly. Next, consider the type: AGM, sealed lead-acid, or lithium-ion, based on your maintenance preferences and riding climate. Measure the physical dimensions and terminal layout to ensure proper fit. Performance-wise, check the Cold Cranking Amps (CCA) to guarantee reliable starts, especially in colder weather. Additionally, ensure that your outdoor gear and electrical system are compatible with the new battery type. Being aware of battery technology advancements can help you make an informed choice. Proper battery maintenance can extend the lifespan of your new battery and ensure reliable performance. Awareness of modern battery options can help you select the best fit for your vintage bike. Here’s a quick comparison:
| Battery Type | Voltage | Maintenance Level | Typical CCA |
|---|---|---|---|
| AGM | 12V | Low | High |
| Sealed Lead-Acid | 6V/12V | Very Low | Moderate |
| Lithium-ion | 12V | Minimal | Very High |
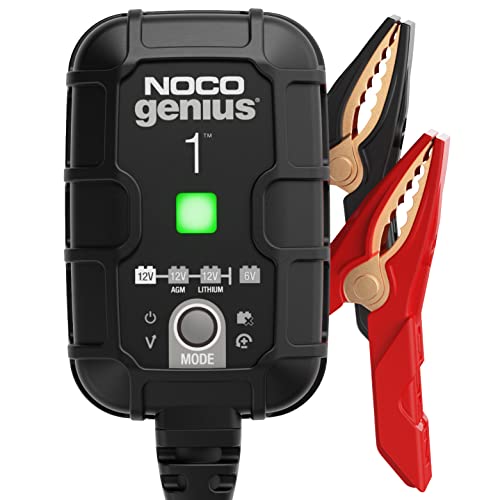
NOCO GENIUS1: 1A 6V/12V Smart Battery Charger – Automatic Maintainer, Trickle Charger & Desulfator with Overcharge Protection & Temperature Compensation – for Lead-Acid & Lithium Batteries
MEET THE GENIUS1 — Similar to our G750, just better. It's 35% smaller and delivers over 35% more…
As an affiliate, we earn on qualifying purchases.
As an affiliate, we earn on qualifying purchases.
Proper Charging Techniques for Vintage and Modern Batteries
Proper charging techniques are essential to maintaining your motorcycle battery’s health and ensuring reliable starts. To get the most from your batteries, follow these tips:
- Use a charger compatible with your battery type—flooded, AGM, or lithium-ion—and set it to the correct voltage and current. For vintage flooded batteries, a slow charge at about 0.6 amps for 5–10 hours works best.
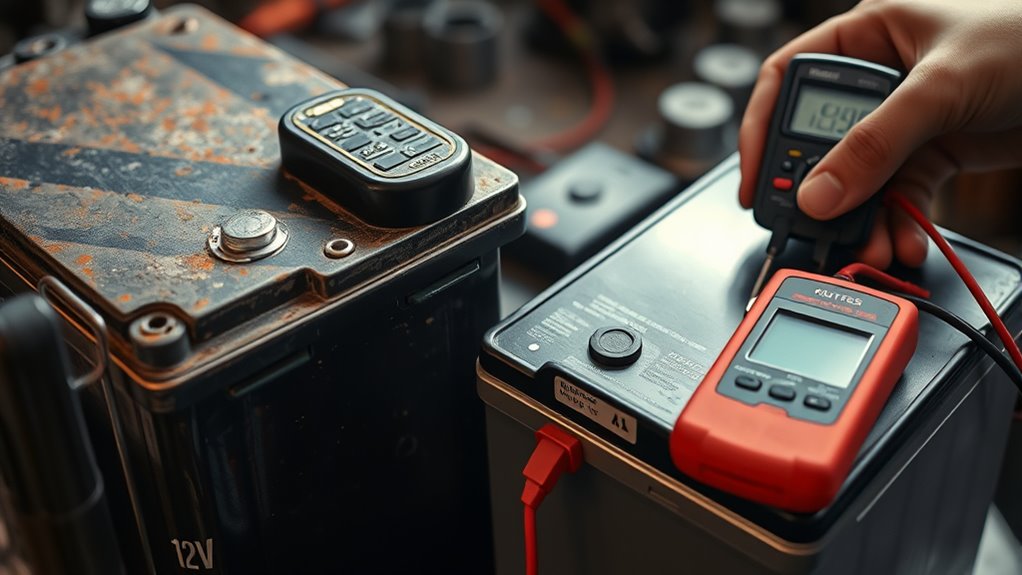
- Avoid overcharging by monitoring voltage with a multimeter; a full charge reads around 12.5V or higher. Modern smart chargers automatically prevent overcharge.
- For storage, disconnect the battery and use a trickle charger periodically to maintain full charge, preventing sulfation and extending battery life.
Consistently applying proper techniques keeps your vintage or modern battery reliable and in top condition.
Storage Best Practices to Preserve Battery Health

To preserve your vintage motorcycle battery’s health during storage, you should disconnect it from the bike if you’ll be away for more than two weeks. Store it in a clean, dry place between 15°C and 25°C to reduce charge loss. Use a trickle charger or perform weekly top-ups to maintain a full charge, preventing sulfation. Regularly inspect terminals and apply dielectric grease to prevent corrosion. Keep electrolyte levels checked for flooded batteries, topping off with distilled water as needed. For AGM or sealed batteries, less maintenance is required, but periodic checks are still recommended. Use the table below to guide your storage practices:
| Action | Tools Needed | Frequency |
|---|---|---|
| Disconnect battery | Wrench | When storing |
| Store in cool, dry place | Storage area | During storage |
| Charge periodically | Trickle charger | Weekly or monthly |
| Inspect terminals | Brush, dielectric grease | Monthly |
| Check electrolyte levels | Distilled water | Monthly |
Additionally, choosing a compatible modern replacement can help simplify maintenance and improve long-term battery health during storage. Proper charging techniques are vital as they help minimize sulfation and extend your battery’s lifespan, especially during periods of inactivity. Using appropriate storage practices can further protect your investment from damage caused by environmental factors and prolong the battery’s usable life. Regularly using a battery maintainer during storage can also help keep your battery in optimal condition, reducing the risk of failure when you need it again. To ensure your battery remains reliable, consider proper charging techniques that minimize sulfation and extend lifespan.
Managing Electrolyte Levels and Maintenance Tips
Maintaining the correct electrolyte levels is essential for keeping your vintage lead-acid battery healthy and functioning reliably. Proper electrolyte management prevents plate exposure, reduces sulfation, and extends battery life. Here are key tips:
- Use only distilled water to top off cells, avoiding tap water contamination.
- Keep electrolyte levels between the minimum and maximum marks; overfilling can cause leaks and cross-contamination.
- Check electrolyte levels monthly, especially during storage, and top up as needed to maintain proper function.
Always handle electrolyte with care, wearing gloves and eye protection. Avoid adding acid or other substances. Regular maintenance ensures your battery remains reliable, preventing premature failure and maximizing performance.
Troubleshooting Common Battery Issues in Vintage Bikes
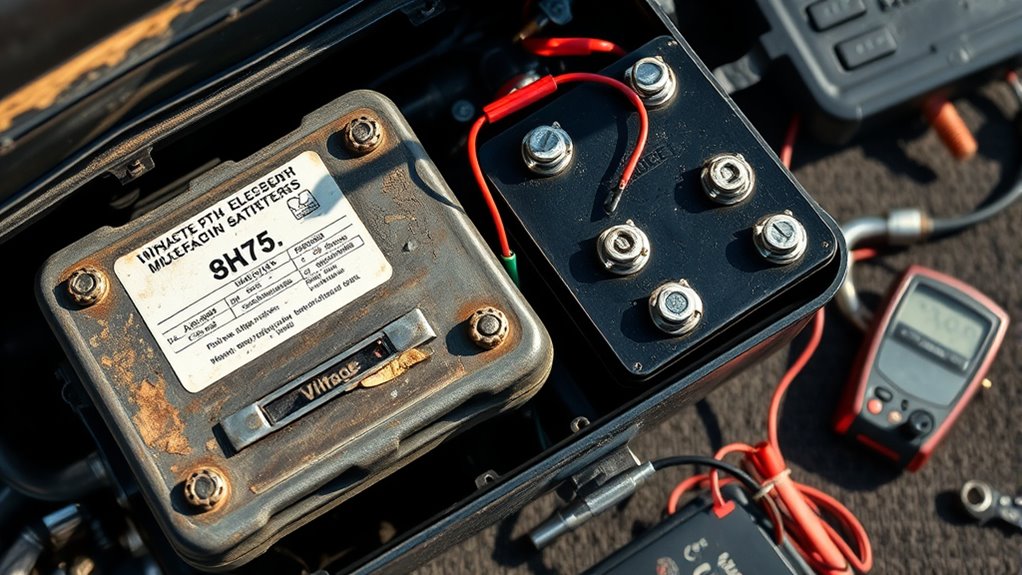
When your vintage bike’s battery isn’t performing as expected, pinpointing the root cause can save you time and prevent further damage. Start by inspecting the terminals for corrosion or looseness, as these cause poor connections and weak starting power. Check the voltage with a multimeter—under 12.5V usually indicates a discharged or faulty battery. Look for signs of swelling, leaks, or discoloration, which suggest overcharging or damage. Ensure the cables are intact and tightly connected; loose or damaged cables lead to voltage drops. If the battery won’t hold a charge, sulfation might be present, reducing capacity. Regularly clean terminals and test the voltage to catch issues early. Being aware of the affect of batteries on overall performance can help you maintain your vintage bike’s reliability and extend battery life. Additionally, understanding the costs associated with battery maintenance can motivate timely repairs and replacements. Monitoring the battery’s state of health is essential for preventing unexpected failures and ensuring optimal performance. To further safeguard your vintage bike, consider using appropriate charging techniques that prevent overcharging and extend battery longevity. Proper piercing care and hygiene can also prevent infections and complications if your bike’s electrical system involves sensitive components. Addressing these common problems promptly can keep your vintage bike reliable and extend battery life.
Upgrading Your Vintage Motorcycle’s Battery System

Upgrading your vintage motorcycle’s battery system means considering compatibility and size to guarantee a proper fit. You’ll need to evaluate whether a voltage conversion from 6V to 12V is necessary and what electrical changes are involved. Modern batteries like AGM or lithium-ion offer benefits such as maintenance-free operation and higher performance, making them worthwhile options to explore. Additionally, understanding how different battery technologies impact longevity and safety can help you make an informed choice. It’s also important to consider the warranty implications of reconditioning or upgrading batteries, as some manufacturers explicitly prohibit modifications that could void coverage. Being aware of market options can help you select the best replacement for your vintage bike’s needs. Moreover, considering electrical system compatibility ensures that your upgraded battery integrates seamlessly with your motorcycle’s existing electrical components.
Compatibility and Size
Choosing the right battery size and guaranteeing compatibility are essential steps when upgrading your vintage motorcycle’s electrical system. You need to verify that the new battery fits your bike’s frame and meets the terminal layout requirements. Incorrect size or incompatible terminals can cause installation issues or electrical faults. To help, consider these key points:
- Physical Dimensions: Measure the battery compartment to match the length, width, and height of your replacement.
- Terminal Placement: Confirm that the positive and negative terminals align with your wiring harness.
- Capacity and CCA: Guarantee the battery’s capacity and cold cranking amps match or exceed your bike’s specifications for reliable starting.
Always double-check the manufacturer’s specifications and compatibility charts before purchasing. Proper fit and connection are vital for safe, effective performance.
Voltage Conversion Needs
Converting your vintage motorcycle’s battery system from 6V to 12V can markedly improve starting reliability and overall performance. To do this, you need to replace the battery with a 12V unit and update your electrical components, such as the regulator, rectifier, and wiring, to handle the increased voltage. This upgrade ensures your bike’s electrical system works efficiently, providing more consistent spark and better power delivery. You might also need to modify or replace the charging system to match the new voltage requirements. Keep in mind, some models may require subtle adjustments to fit larger or differently wired 12V batteries. Proper conversion not only boosts performance but also enhances reliability, making your vintage bike easier to start and maintain over time. Smart design can play a role in ensuring these modifications integrate seamlessly with your bike’s overall aesthetic and functionality.
Modern Battery Benefits
Modern batteries offer significant advantages for vintage motorcycles, making them more reliable and easier to maintain. Upgrading to modern options like AGM or lithium-ion batteries can improve your bike’s performance and reduce hassle.
Here are three key benefits:
- Maintenance-Free Operation: Modern sealed batteries don’t need electrolyte checks or water additions, saving you time and effort.
- Higher Cold Cranking Amps (CCA): They provide better starting power, especially in cold weather, ensuring your bike starts reliably every time.
- Enhanced Durability: Modern batteries resist vibration and corrosion, extending their lifespan and reducing replacements.
Switching to these batteries simplifies upkeep, improves performance, and keeps your vintage bike running smoothly without the fuss of traditional lead-acid maintenance.
Frequently Asked Questions
How Do I Know if My Vintage Battery Needs Replacement?
You’ll know your vintage battery needs replacing if it no longer holds a full charge, shows a voltage below 12.5V, or struggles to start your motorcycle. Look for signs like swelling, corrosion, or leakage around terminals. If your battery frequently needs charging or doesn’t respond to maintenance, it’s likely time for a new one. Regular voltage checks and visual inspections help catch these issues early.
Can I Convert My Vintage Bike From 6V to 12V Easily?
You can convert your vintage bike from 6V to 12V, but it’s like upgrading a vintage watch—careful adjustments are needed. You’ll have to replace the battery, upgrade the wiring, and possibly modify the electrical components to handle the higher voltage. This process isn’t a quick fix; it requires patience and attention to detail. With proper planning, your bike will run more reliably, breathing new life into its classic charm.
Are Lithium Batteries Suitable for Vintage Motorcycles?
Yes, lithium batteries can be suitable for vintage motorcycles, but you need to guarantee they fit physically and match your bike’s electrical requirements. They’re lighter and offer higher performance, making starting easier. However, you’ll need compatible chargers and possibly adapt your electrical system. Always check the manufacturer’s specifications and consider professional advice to prevent damage or compatibility issues before replacing your vintage battery with a lithium one.
What Are the Signs of Electrolyte Depletion or Damage?
Think of your battery like a delicate garden—if electrolyte levels drop, it’s a sign your battery’s health is withering. You’re likely to see lower fluid levels, exposed plates, or buildup of white, crusty deposits called sulphation. You might also notice reduced performance, difficulty starting, or swelling of the case. Regularly checking electrolyte levels and topping up with distilled water keeps your vintage bike’s battery thriving and prevents costly damage.
How Often Should I Check My Battery’s Electrolyte Levels During Storage?
You should check your battery’s electrolyte levels monthly during storage. Regular inspections help prevent plate exposure and avoid permanent damage. Use only distilled water to top off the cells if needed. Make certain the electrolyte levels stay between the minimum and maximum marks. If you notice low levels or signs of damage, consider recharging or replacing the battery to keep it in ideal condition and prevent issues when you’re ready to ride again.
Conclusion
Just like a well-tuned engine keeps your vintage bike running smoothly, proper battery care guarantees longevity and reliable performance. Whether you choose a classic 6V or a modern 12V replacement, treating your battery with care is key—think of it as tending a vintage engine that, like a fine wine, only improves with patience and attention. Keep your battery healthy, and your ride will continue to tell its timeless story mile after mile.