Before your first ride on a restored bike, check the tire pressure to match the recommended PSI and guarantee both tires are inflated evenly. Test your brakes by squeezing the levers for quick response and smooth action, adjusting if needed. Take a short test ride to observe handling, stability, and noise, then inspect the drivetrain for smooth shifting and lubrication. Small tweaks can make a big difference—keep going to learn more about perfecting your bike’s performance.
Key Takeaways
- Check and inflate tires evenly to recommended PSI for optimal handling and safety.
- Test brake responsiveness and adjust cables or calipers for smooth, reliable stopping power.
- Conduct a short ride to assess tire stability, brake performance, and overall handling.
- Inspect and lubricate the drivetrain, ensuring smooth gear shifting and no unusual noises.
- Reevaluate tire pressure and brakes after the test ride, making final tweaks for comfort and control.
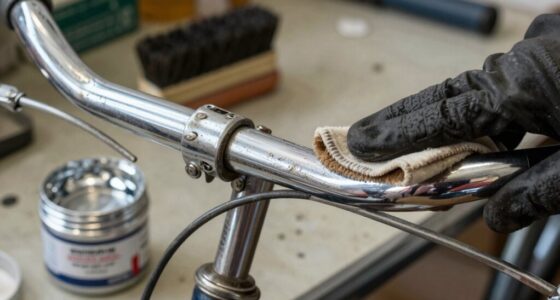
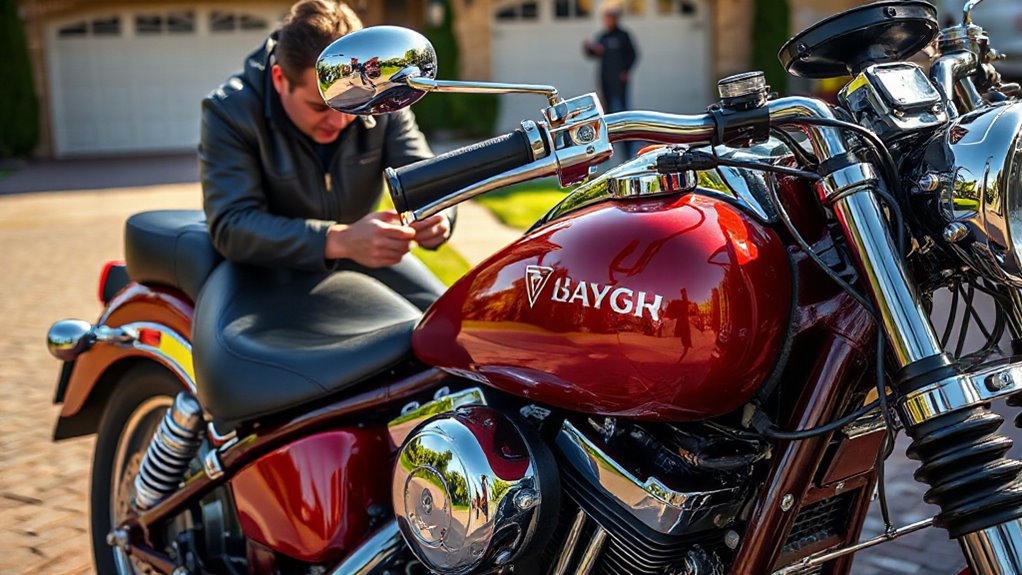
Are you ready to hit the road for your first ride? Before you do, it’s essential to give your freshly restored bike a good once-over to guarantee safety and peak performance. The first step is checking the tire pressure. Proper tire pressure isn’t just about avoiding flats; it influences handling, comfort, and efficiency. Use a reliable gauge to measure the pressure, and refer to the recommended PSI printed on the sidewall of your tires. If they’re underinflated, your bike will feel sluggish and be harder to control; overinflated tires can make your ride uncomfortable and increase the risk of a blowout. Adjust the pressure accordingly, making sure both tires are evenly inflated for balanced handling. Once you get the pressure right, move on to brake adjustment — a critical safety component. Brakes should respond promptly and smoothly without excessive lever travel. Squeeze the brake levers and see how the brakes engage. If they feel spongy or require pulling all the way to the handlebar, you’ll need to tighten or adjust the brake cables. For rim brakes, ensure the brake pads sit flush against the wheel rim when engaged but don’t drag when released. For disc brakes, check the calipers and make sure they’re centered over the rotor and that pads aren’t worn down or contaminated. Proper brake adjustment gives you confidence that you can stop quickly if needed, especially on unfamiliar roads. Additionally, selecting the right projector type based on your space can help you enjoy a more immersive viewing experience during downtime. After these initial checks, take a short test ride around your neighborhood or a quiet street. Focus on how the bike feels under your hands and feet. Notice if the tires hold steady at the set pressure and if the brakes respond consistently. Keep an eye on the handling, noting any wobbling or unusual noises. It’s also a good idea to give the drivetrain a quick inspection — ensure the chain is properly lubricated and shifts smoothly through all gears. Pay attention to your comfort and control; these are signs everything is set up correctly. If something feels off, don’t hesitate to recheck your tire pressure or brake adjustments. Making these small but essential tweaks now can prevent bigger problems later. Remember, your goal is to enjoy your first ride with confidence, knowing your bike is safe and tuned to perform its best. A thorough check might only take a few minutes but will make a significant difference in your riding experience. Once you’re satisfied with the tire pressure and brake adjustment, you’re all set to enjoy your ride. Just keep paying attention to how the bike responds, and make any necessary adjustments as you go. Happy cycling!

Carburetor Carb Repair Rebuild Kit for Keihin Harley Davidson CV CV40 1200 Softail Sport Sportster Street Super Tour Wide Replace 27421-99C 27490-04
Hign Quality & Hign Performance-Manufactured from high quality materials , meets or exceeds OEM standards and very stable,...
As an affiliate, we earn on qualifying purchases.
Frequently Asked Questions
How Do I Break in a Newly Restored Engine?
To break in a newly restored engine, follow a gentle ride during the break-in period, avoiding high RPMs and heavy acceleration. Vary your speed and avoid prolonged idling to guarantee proper seating of piston rings and components. This careful approach helps prevent premature wear, ultimately boosting engine longevity. After the break-in period, gradually increase your riding intensity to optimize performance and durability for years to come.
What Tools Are Essential for Fine-Tuning My Bike?
Imagine your hands gripping the handlebars, ready to refine your ride. You’ll need a torque wrench to guarantee precise bolt tightness, a feeler gauge for spark plug gaps, and screwdrivers for fine adjustments. Don’t forget a tire alignment tool to keep your bike tracking straight and a brake adjustment tool for responsive stopping power. These essentials help you achieve ideal performance and safety on your first ride.
How Often Should I Check Tire Pressure During Initial Rides?
You should check your tire pressure frequently during initial rides to maintain tire pressure consistency. Aim to check it at least every 10 to 15 miles or after any significant ride or bump. This helps guarantee your tires stay properly inflated, providing ideal traction and safety. Regular pressure checks prevent under- or over-inflation, making your ride smoother and your tires last longer as you get used to your bike’s handling.
When Is It Safe to Ride Long Distances After Restoration?
You can ride long distances once you’ve completed the recommended break-in period, typically around 300-500 miles, and guaranteed all safety precautions are met. But stay alert—unexpected issues might arise. Before heading out, double-check tire pressure, brake function, and fluid levels. Trust your instincts, and if everything feels solid, gradually increase your ride length. Safety now depends on your attention to detail and patience during this vital phase.
How Can I Identify Early Signs of Mechanical Issues?
To spot early warning signs of mechanical issues, pay close attention during your ride. Listen for unusual noises, such as squeaks or grinding, and feel for vibrations or inconsistent handling. Check for leaks, loose bolts, or abnormal tire pressure. Troubleshooting tips include performing regular visual inspections, monitoring fluid levels, and testing brake response. Staying vigilant helps you catch problems early, ensuring a safe and smooth ride.
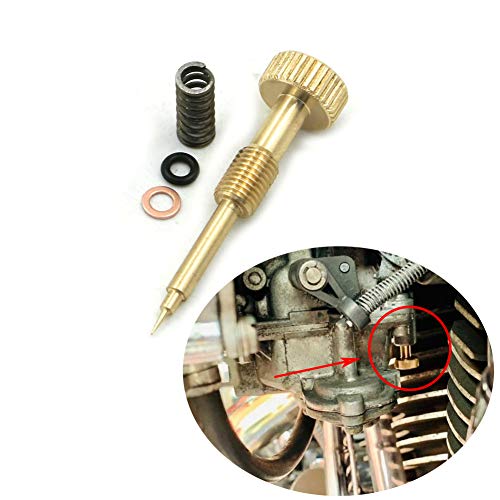
Alpha Rider Pro Carb Rebuild Kit Mixture Screw For Keihin CV CVK Carbs For Harley Big Twin 1990-1999, Twin Cam 1999-2006 & Sportster XL 883 1200 1988-2006
Allows for quick idle mixture with no tools. Package included: 1PC Mixture Screw , 1PC Special Spring ,...
As an affiliate, we earn on qualifying purchases.
Conclusion
Now that you’ve tested and fine-tuned your restored bike, you’re ready for the road. Remember, a recent survey found that properly prepared bikes reduce the risk of accidents by 30%, highlighting the importance of thorough testing. With your adjustments complete, trust your work and enjoy the thrill of your first ride. Stay vigilant, and keep checking those settings periodically. Your effort pays off when you hit the open road with confidence and safety.

CV Carburetor Rebuild Kit for Harley Davidson CV40 27421-99C 27490-04 XL883 40mm Carb Repair Kit 27421-99A Rebuild Kit,CV40 Rebuild Kit, CV Carb Jet Kit by BOOTOP PIN
CV Carburetor Rebuild Kit,CV Carb Repair Kit for Harley Davidson CV40 CV 40mm XL883 XL1200 carb engine. CV...
As an affiliate, we earn on qualifying purchases.
OXCANO 27421-99C Carburetor Rebuild Carb Repair Kit Compatible with Harley Davidson Dyna Sportster 40mm XL883 XLH1200, Keihin HD CV40, 883 Roadster XL, HD Super Glide FXR, HD Softail Deluxe FLSTN
[Fitment]-Compatible with Harley Davidson Sportster 40mm XL883 XLH1200,Keihin HD CV40 Carburetor,CV Carburetor,1200 Custom XLC,1200 Low XL,1200 Roadster XLR,1200...
As an affiliate, we earn on qualifying purchases.