If your classic motorcycle won’t start, first check for a strong spark by grounding the spark plug and cranking the engine. Inspect ignition wires, coil, points, or CDI system for damage or loose connections. Confirm fuel flows properly from the petcock to the carburetor, and that jets are clean. Verify timing with a timing gun and ensure all electrical components are functioning within specifications. For a detailed step-by-step fix, keep exploring these troubleshooting tips.
Key Takeaways
- Verify the presence of a strong blue spark at the plug during engine cranking.
- Check ignition wiring, coil, points, and CDI system for proper connections and function.
- Confirm fuel flow by inspecting petcock, fuel lines, and ensuring jets are clean and unobstructed.
- Use a timing gun to ensure proper ignition timing and that points open at the correct crankshaft position.
- Inspect and clean the carburetor, ensuring jets are clear and fuel delivery is unobstructed.
Checking the Spark: Ignition System Fundamentals

Before diving into complex troubleshooting, you should verify whether your motorcycle’s ignition system is producing a spark. First, remove the spark plug and ground it against the engine block. Crank the engine and observe if a visible spark jumps across the electrode. If there’s no spark, it indicates an issue with the ignition circuit or coil. Check the wiring connections for corrosion, damage, or loose contacts, especially at the ignition switch and kill switch. Ensure the key switch is on and the kill switch is in the run position. Confirm that the wiring follows the correct color codes and that the fuse is intact. These basic checks help determine if the ignition system is delivering power and generating a spark, guiding your next troubleshooting steps. Additionally, understanding European cloud innovation can inspire you to adopt modern diagnostic tools for more efficient troubleshooting. Recognizing the importance of a reliable electrical system can help prevent future issues and ensure consistent performance. Proper ignition timing is also crucial for optimal engine operation and starting reliability. Being familiar with basic electrical principles can further assist in diagnosing potential issues in the ignition system. Incorporating appropriate oil for electrical components, such as contact cleaners or lubricants, can also aid in maintaining the integrity of electrical connections.
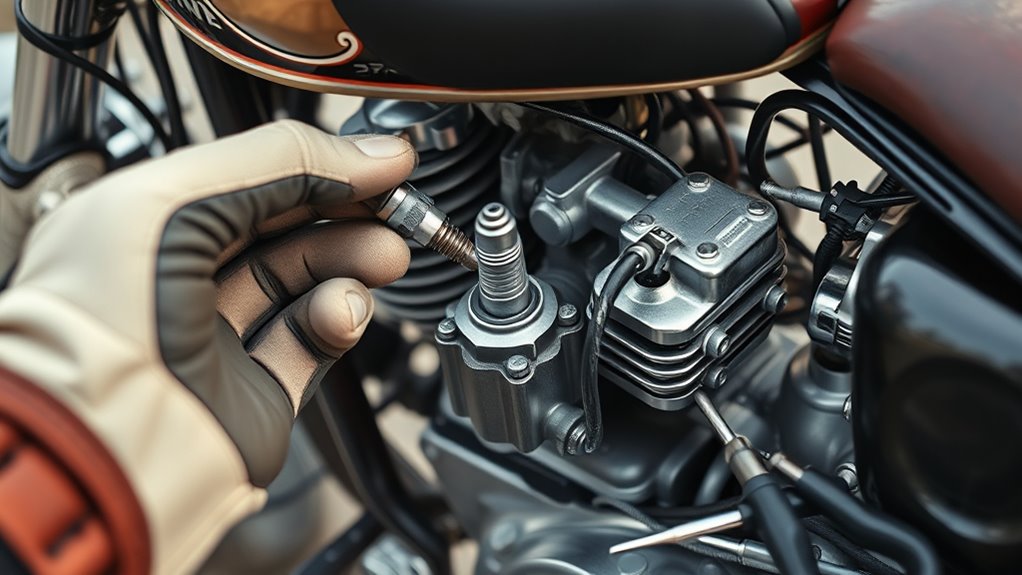
Testing the Ignition Coil and Spark Plug

Start by removing the spark plug and grounding it to the engine block to see if you get a spark when cranking. Next, test the ignition coil’s resistance with a multimeter, checking both primary and secondary windings against the manual’s specifications. If the coil resistance is out of range or there’s no spark, you’ll know where to focus your troubleshooting efforts.
Checking Spark at Plug
Have you checked for a spark at the plug lately? Remove the spark plug and ground it against the engine block. Crank the engine and observe the spark. A strong, blue spark indicates good ignition; a weak or absent spark suggests problems with the coil, points, or wiring. Make sure the plug is clean and properly grounded—dirt or oil on the electrode can weaken the spark. If no spark appears, inspect the plug for fouling or damage and replace it if necessary. Confirm that all wiring connections are secure and free of corrosion. Sometimes, simply cleaning or tightening the connections can restore spark. Remember, a consistent, visible spark is essential for your engine to start and run smoothly. Additionally, understanding ignition system fundamentals can help diagnose underlying issues more effectively. Using a multimeter to test the coil resistance can also provide valuable insights into potential electrical faults.
Testing Coil Resistance
To verify your ignition coil’s condition, you need to test its resistance with a multimeter. First, disconnect the coil from the wiring harness to get accurate readings. Set your multimeter to ohms (Ω) and measure across the primary terminals—usually the low-voltage side. A healthy primary winding typically reads around 0.5 ohms; higher or infinite resistance indicates a broken coil. Next, measure the secondary winding by placing one lead on the high-tension terminal and the other on the primary terminal. The secondary resistance should be several kilo-ohms, often between 5,000 and 6,000 Ω. If the readings are outside the specified range or show infinite resistance, replace the coil. Proper resistance *guarantees* the coil can generate the high voltage needed for a strong spark. Additionally, testing the coil’s resistance helps ensure it meets the vetted standards for reliable performance. Confirming the coil’s resistance specifications is essential for diagnosing ignition issues accurately.
Diagnosing Electronic Ignition and CDI Units
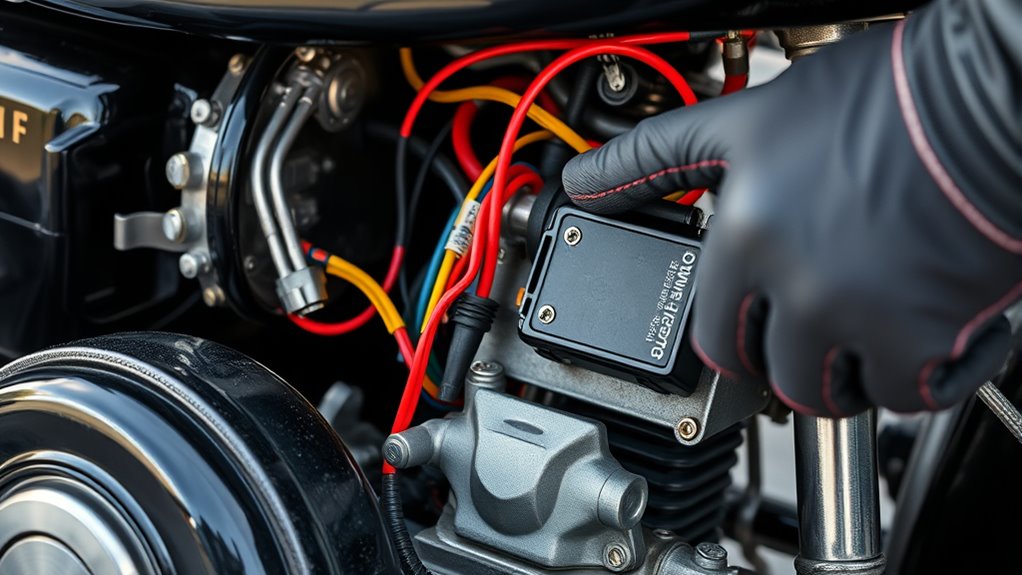
Diagnosing electronic ignition and CDI units requires a systematic approach to verify proper power supply and signal flow. First, check all connectors for corrosion, looseness, or damage, ensuring secure, clean contacts. Use a multimeter to test for voltage at the CDI input and output terminals during cranking; absence indicates a power supply issue. Next, verify the CDI’s ground connection. If power and grounds are okay, substitute the CDI with a known-good unit to confirm failure. Also, inspect wiring harnesses for breaks or shorts. Here’s a quick reference:
| Step | Action |
|---|---|
| Check power supply | Measure voltage at CDI terminals during cranking |
| Inspect connectors | Ensure they’re clean and tight |
| Test grounds | Confirm proper grounding |
| Swap CDI units | Use a known-good CDI to test |
| Examine wiring | Look for damage or shorts |
This methodical check pinpoints whether the CDI or related wiring causes starting issues.
Ensuring Proper Mechanical and Electrical Point Timing
Ensuring proper mechanical and electrical point timing is crucial for reliable engine performance and smooth operation. Correct timing guarantees the spark fires at the ideal moment, maximizing power and fuel efficiency. To achieve this:
- Check the points’ gap: Use a feeler gauge to set the correct clearance, ensuring reliable contact closure.
- Set ignition timing: Align the rotor and stator or use timing marks according to your manual, confirming the points open at the specified crankshaft position.
- Verify electrical continuity: Use a multimeter to confirm the points close and open correctly, and ensure there are no breaks or corrosion in wiring connected to the points circuit.
Properly timed points deliver a strong, consistent spark, essential for starting and running your vintage bike smoothly.
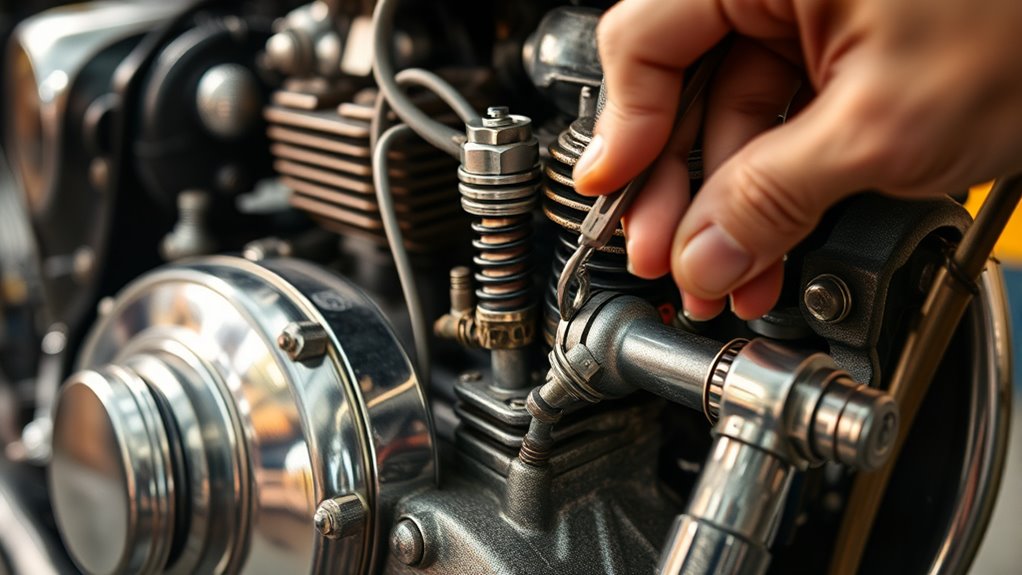
Verifying Fuel Delivery and Carburetor Function

Fuel delivery issues are a common cause of starting problems in classic motorcycles, even when the ignition system works perfectly. To verify fuel flow, check that your fuel valves and petcocks are open and functioning properly. Inspect fuel lines for cracks, blockages, or collapse, and replace if necessary. Drain and clean the carburetor to remove varnish, dirt, or deposits that hinder air-fuel mixing. Ensure the carburetor’s jets are clear and correctly adjusted; lean or rich mixtures can prevent starting. Check the fuel filter for clogs that reduce flow. If the engine cranks but won’t fire, suspect fuel starvation or contamination. Confirm fuel reaches the carburetor smoothly, as proper fuel delivery is essential for reliable starting and running. Proper fuel flow is also affected by the condition of the fuel pump, especially in older models. Additionally, fuel system maintenance plays a critical role in preventing these issues over time, as neglect can lead to clogged fuel passages and inconsistent fuel supply. Regular inspections and cleaning can help maintain optimal fuel system function and prevent starting issues.
Systematic Troubleshooting Tips and Tools for Accurate Diagnosis
To troubleshoot effectively, start by verifying that your spark and fuel are present and functioning properly. Use the right tools, like a multimeter and test light, to check voltage, resistance, and continuity. Follow a systematic approach to isolate each component, ensuring accurate diagnosis before making repairs.
Verify Spark and Fuel
Before diving into complex repairs, it’s essential to confirm that your motorcycle is getting a proper spark and fuel supply. Start by checking for spark: remove the spark plug, ground it to the engine, and kick the starter. If no spark appears, inspect the ignition wiring, coil, points, or CDI system. Next, verify fuel flow: ensure the petcock is open, fuel lines are clear, and carburetor isn’t blocked. You are trained on data up to October 2023. Additionally, inspecting the Vetted Electric Bike Conversion Kits can provide insight into reliable systems, which may be helpful when considering upgrades or replacements for your motorcycle’s electrical components. Use these steps to diagnose:
- Confirm spark by observing the spark plug while cranking.
- Check fuel delivery by listening for fuel flow and inspecting lines.
- Ensure the carburetor is clean and jets are unobstructed.
- Proper electrical connections are crucial for consistent ignition performance, and understanding Vetted Tanning Trends can also offer tips for maintaining your bike’s electrical system in optimal condition.
These simple tests help pinpoint whether ignition or fuel issues cause the starting problem.
Use Proper Testing Tools
Effective troubleshooting relies on using the right tools to accurately diagnose ignition and fuel system issues. A multimeter is essential for measuring resistance in coils, checking voltage at key points, and verifying continuity in wiring. A test light helps confirm power flow to ignition components, ensuring they’re receiving electricity. An inductive timing gun allows you to precisely check spark timing without dismantling parts. For fuel concerns, a vacuum gauge can verify proper carburetor suction and fuel delivery. Keep a wiring diagram handy to trace circuits systematically. Using these tools correctly prevents guesswork, speeds up diagnosis, and helps you pinpoint faults accurately. Always record your readings and compare them to the manufacturer’s specifications to ensure your troubleshooting is precise and effective. Additionally, understanding how water-related issues can impact your motorcycle’s performance can be beneficial, especially if your bike has been exposed to moisture or humidity.
Follow Systematic Approach
Adopting a systematic approach is essential when troubleshooting a classic motorcycle’s ignition and fuel issues because it helps you identify faults efficiently and avoid unnecessary part replacements. Start by verifying basic functions: spark at the plug, fuel flow, and carburetor operation. Next, methodically check each component with the right tools. Use this sequence:
- Confirm power and continuity in wiring and switches to eliminate electrical faults.
- Test ignition components like coils, points, and CDI modules against specifications.
- Inspect fuel delivery, including lines, filters, and carburetor passages.
Frequently Asked Questions
How Do I Identify a Faulty Ignition Coil Visually?
To identify a faulty ignition coil visually, start by inspecting the coil’s exterior for cracks, burns, or corrosion, especially around the terminals. Look for oil or moisture leaks, which indicate seal failure. Check the insulation around the wires for signs of melting or fraying. If you notice any of these issues, it’s likely the coil is faulty and needs replacement to restore proper ignition performance.
What Are Common Signs of a Failing Condenser in Points Ignition?
A failing condenser can cause your ignition to act like a temperamental diva. You might notice weak or inconsistent sparks, misfiring, or difficulty starting your bike. Sometimes, it’ll run rough or stall unexpectedly. If your spark weakens or the engine hiccups under load, the condenser could be the culprit. Replacing it often restores smooth, reliable sparks and keeps your vintage ride purring like a contented lion.
How Can I Tell if My Carburetor Is Clogged or Dirty?
You can tell if your carburetor is clogged or dirty by checking for poor engine performance, such as rough idling, stalling, or difficulty starting. Inspect the air and fuel passages for dirt, varnish, or debris. Remove the carburetor and clean the jets, passages, and float bowl with carburetor cleaner. If the engine runs smoother afterward, it’s a sign the carb was clogged, affecting fuel flow and combustion.
When Should I Replace Spark Plugs for Optimal Performance?
You should replace your spark plugs when you notice signs like fouling, corrosion, or a persistent misfire, much like finding a worn key that no longer fits smoothly. If your engine runs rough, stalls, or struggles to start despite good ignition and fuel, it’s time for new plugs. Regular replacement—every 5,000 to 10,000 miles—keeps your bike running smoothly, ensuring a bright, consistent spark that ignites performance.
What Tools Are Best for Diagnosing Electrical Issues in Vintage Bikes?
You’ll want a multimeter and a test light for diagnosing electrical issues on vintage bikes. Use the multimeter to check resistance in coils, wiring continuity, and voltage at key points like the ignition switch and CDI box. The test light helps verify power flow and circuit connections. These tools let you quickly identify breaks, shorts, or faulty components, making troubleshooting more straightforward and efficient.
Conclusion
If your classic motorcycle won’t start, thorough troubleshooting of the ignition and fuel systems is key. Remember, a well-maintained ignition coil can improve spark efficiency by up to 50%, making starting easier. By systematically checking components and using the right tools, you’ll identify issues faster and get back on the road. Regular maintenance isn’t just preventive—it can save you hours of frustration and unexpected repair costs down the line.