
If your headlights or turn signals flicker or go dead, start by inspecting the bulbs for damage and verify the sockets are clean and dry. Check your fuses and relays, replacing any that are blown or faulty. Examine wiring connections and ground points for corrosion or looseness, and tighten or clean as needed. Regular maintenance can prevent future issues—continue with the best troubleshooting steps to keep your lights bright and reliable.
Key Takeaways
- Inspect and replace burnt-out bulbs or corroded socket contacts to restore proper lighting.
- Check and replace blown fuses or faulty relays causing signal or headlight failures.
- Examine wiring connections and ground points for corrosion, looseness, or damage; clean and tighten as needed.
- Test the turn signal relay and switch for proper operation; replace if malfunctioning.
- Regularly clean, seal, and maintain electrical contacts to prevent moisture-related flickering or dead lights.
Common Causes of Headlight and Turn Signal Failures
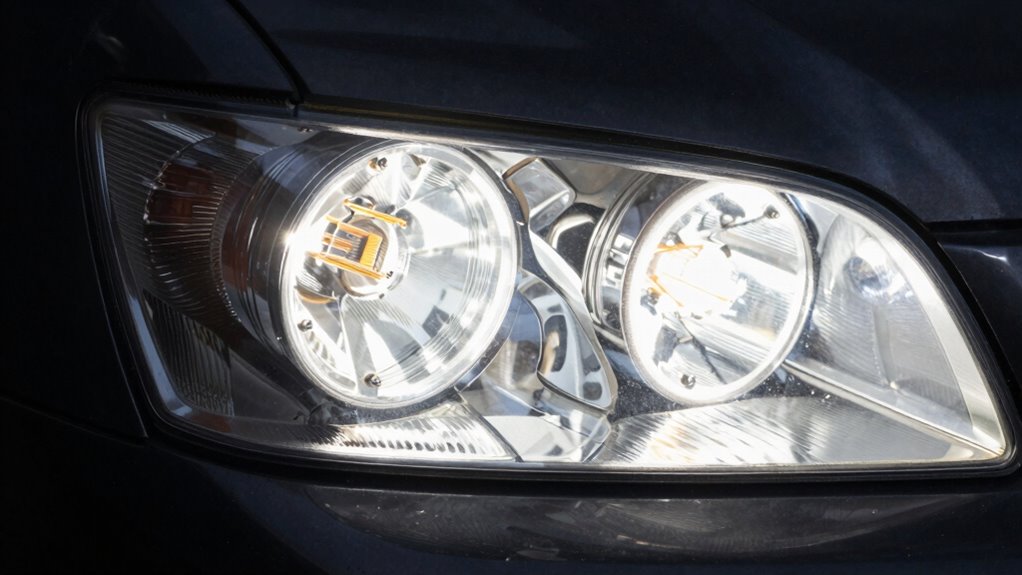
Headlight and turn signal failures are often caused by simple, easily identifiable issues that you can troubleshoot quickly. The most common culprit is a burnt-out bulb, which is a straightforward fix—just replace the faulty bulb. Corroded or dirty bulb sockets can also disrupt the electrical connection, causing flickering or dead lights. Faulty turn signal relays or flasher units are another frequent cause; if they malfunction, your signals may stop working or stay on constantly. Loose, damaged, or corroded wiring connections can interrupt current flow, resulting in intermittent or dead lights. Finally, blown fuses related to lighting or signals prevent power from reaching the lights. Regularly inspecting the electrical system can help identify issues before they lead to complete failure. Checking these components is your first step toward diagnosing and fixing the issue efficiently.
Recognizing Symptoms of Electrical Problems

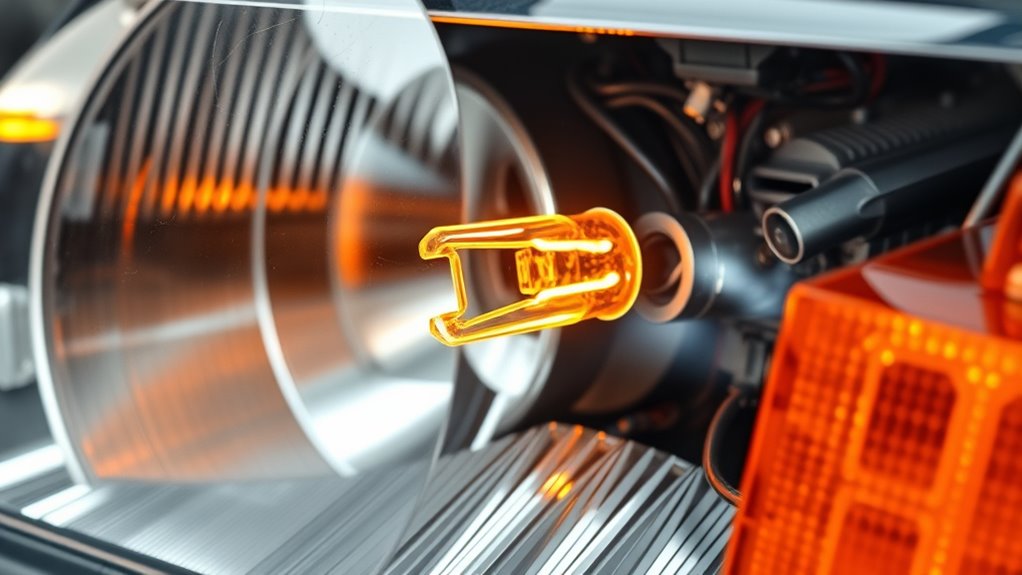
Electrical problems in your vehicle often reveal themselves through distinct symptoms that can help you identify the underlying issue. If your headlights or turn signals flicker, intermittently turn off, or won’t activate at all, these are clear signs of electrical trouble. For example, if your turn signals blink too fast or stay on without blinking, it suggests burnt-out bulbs or wiring faults. When headlights and signals both go dead simultaneously, it points to a possible ground connection issue or blown fuse. You might also notice hazard lights work but turn signals don’t, indicating a faulty relay or switch. Pay close attention to these symptoms, as they’re your first clues to diagnosing and fixing the electrical problem before it worsens. Understanding electrical system components can help you better troubleshoot and prevent future issues, especially since projector technology shares similar principles of electrical functionality. Being aware of wave and wind influences on electrical systems can also assist in diagnosing intermittent or flickering lights caused by electrical interference. Additionally, inspecting fuses and relays regularly can help detect early signs of electrical faults. Regular maintenance and awareness of voltage fluctuations can further safeguard your vehicle’s electrical system from unexpected failures.
Step-by-Step Diagnostic Procedures
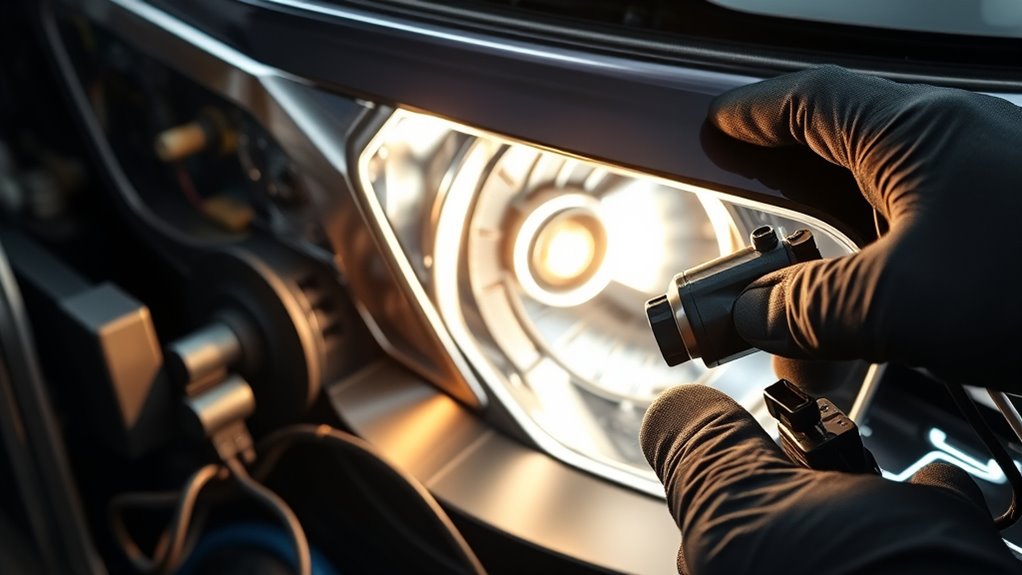
To effectively diagnose flickering or dead headlights and turn signals, start with a systematic approach that narrows down potential causes. First, inspect the bulbs; replace any burnt-out ones and check for corrosion or damage in the sockets. Next, test the electrical input at the bulb sockets using a test light or multimeter to confirm power and ground are present. Then, examine relevant fuses and relays; replace any blown or faulty components. Follow with a thorough inspection of wiring and connectors for corrosion, looseness, or damage, especially around the steering column and light housings. If electrical supply is confirmed, evaluate the turn signal switch by disconnecting and inspecting it. This process helps identify whether bulbs, wiring, fuses, relays, or switches are causing the issue. Additionally, navigation and wiring should be checked to ensure proper routing and secure connections, preventing intermittent faults. Proper electrical testing techniques are essential to accurately diagnose and resolve these lighting problems. Incorporating systematic diagnostic procedures can further streamline troubleshooting and ensure all potential issues are addressed efficiently. Furthermore, understanding the electrical system in your vehicle provides critical insight into how these components interact and influence lighting performance. Regularly monitoring the condition of body wiring and jewelry materials used in repairs can help prevent corrosion and electrical issues over time.
Troubleshooting Turn Signal Relays and Switches
When turn signals stop working properly or refuse to blink, faulty relays or switches are often to blame. Start by locating the turn signal relay, usually in the fuse box. Test the relay by swapping it with a similar one or using a multimeter; if it’s faulty, replace it. Next, inspect the turn signal switch—check for worn or damaged components inside the steering column. If signals still don’t work, the switch may need replacing. Here’s a quick guide to identify issues:
| Symptom | Possible Cause |
|---|---|
| No blinking, no sound | Faulty relay or switch |
| Signals stay on or flicker | Bad switch or relay |
| Hazard lights work, signals don’t | Defective relay or wiring |
Always verify connections before replacing parts. For optimal safety and reliability, ensure you understand the electrical system involved in these components and how vetted solutions can help maintain vehicle safety. Proper maintenance of these parts can prevent issues like flickering lights and ensure your signals operate reliably. Regular inspections help catch potential problems early and avoid unexpected failures that could compromise safety. Additionally, using professional diagnostic tools can assist in accurately locating the source of the problem.
Addressing Ground and Connection Issues

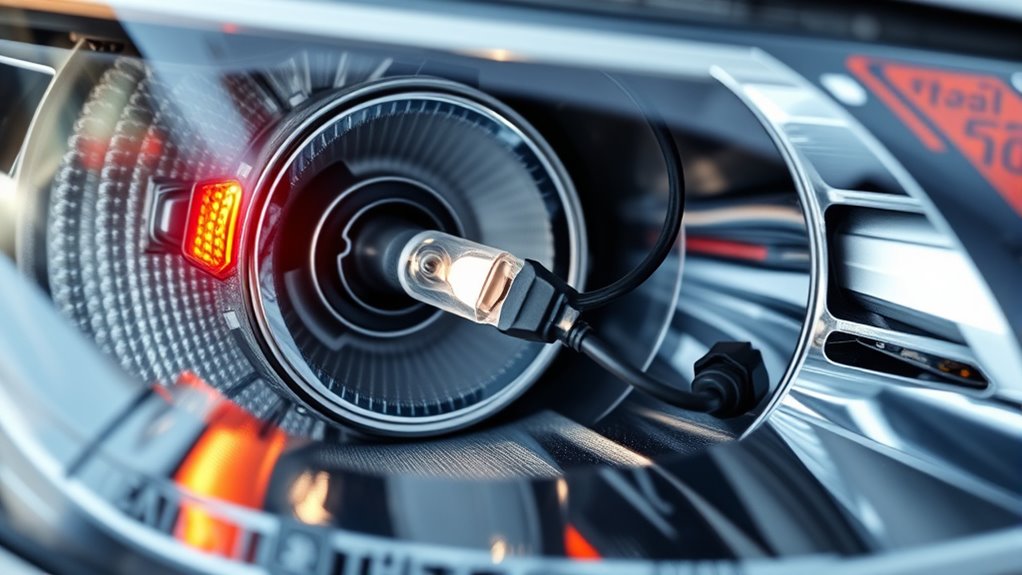
You should start by inspecting the ground connections for your headlights and turn signals, as loose or corroded grounds often cause flickering or failure. Make sure wiring and connectors are secure and free of corrosion, especially in areas exposed to moisture. Tightening or cleaning these connections can restore proper electrical flow and fix your lighting issues. Additionally, understanding thermal behavior of your vehicle’s electrical components can help diagnose if heat is affecting connection stability. Monitoring electrical load can also prevent overheating and ensure consistent performance of your lights. Being aware of ground integrity can further assist in diagnosing intermittent lighting problems. Recognizing the role of wiring quality can also be crucial in preventing future electrical issues. Regularly inspecting and maintaining connection security can help avoid recurring problems with your vehicle’s lighting system.
Ground Connection Inspection
Ground connection issues are a common cause of flickering or dead headlights and turn signals, especially when multiple lights are affected simultaneously. To inspect the ground, locate the grounding points near your headlights and turn signals—usually metal brackets or screws attached to the vehicle’s body or frame. Verify these connections are clean, free of rust, and tightly secured. Corrosion or dirt can hinder electrical flow, causing flickering or complete failure. Use a wire brush or sandpaper to clean the contact surfaces thoroughly. Check for damaged or frayed wires leading to the ground point and replace if necessary. After cleaning and tightening your ground connections, test your lights to see if flickering or outages are resolved. Proper grounding is essential for consistent, reliable operation of your lighting system. Additionally, ensuring the ground connection is adequately rated for your electrical load can prevent future issues. Ensuring the ground connection is properly installed can also help maintain electrical stability and prevent recurring problems. Regularly inspecting your ground connections and maintaining clean contacts can further reduce the likelihood of electrical issues in your vehicle. Moreover, incorporating visual and auditory cues in troubleshooting can assist in identifying intermittent electrical problems more effectively.
Securing Wiring and Connectors
Ensuring wiring and connectors are properly secured is essential for reliable headlight and turn signal operation. Loose or damaged connections can cause flickering or dead lights. Start by inspecting all wiring harnesses and connectors around the headlights, turn signals, and steering column. Look for corrosion, corrosion, frayed wires, or broken clips. Tighten any loose connections and clean corrosion from contacts with electrical contact cleaner. If you find damaged wiring, replace or repair it to restore proper current flow. Use dielectric grease on connectors to prevent moisture buildup, which can lead to corrosion and poor contact over time. Properly secured and clean wiring ensures consistent power delivery, reduces flickering, and prolongs the life of your headlights and turn signals. Additionally, implementing local automation techniques can help monitor and alert you to wiring issues before they cause complete failure.
Maintenance Tips to Prevent Future Problems

To keep your headlights and turn signals working smoothly, make a habit of inspecting and cleaning the bulb sockets and connectors regularly. Replacing bulbs in pairs helps prevent uneven wear and flickering issues down the road. Additionally, protect your wiring from moisture by sealing connections properly and using dielectric grease to extend their lifespan.
Regularly Inspect and Clean
Regularly inspecting and cleaning your headlight and turn signal components can considerably reduce the risk of electrical issues down the road. Dirt, grime, and corrosion can hinder proper contact, causing flickering or dead lights. By maintaining these parts, you guarantee reliable operation and extend their lifespan.
Make sure to:
- Check for corrosion or moisture around bulb sockets and clean with contact cleaner.
- Remove dirt buildup from connectors and wiring harnesses.
- Tighten loose connections to prevent intermittent faults.
- Inspect and replace damaged or worn wiring.
- Clean and inspect fuses and relays to ensure proper contact.
Consistent maintenance helps catch potential problems early, saving you time and money while keeping your lights functioning safely and efficiently.
Replace Bulbs in Pairs
Have you ever noticed a flickering headlight or turn signal that seems to come and go? If so, it’s a good idea to substitute bulbs in pairs. When one bulb begins to fail, the other is often close behind, even if it still appears to work fine. Replacing both at the same time ensures even brightness and consistent performance. This proactive approach prevents premature failures and reduces the chances of flickering or dead lights in the future. Plus, installing new bulbs together minimizes the hassle of repeated maintenance. Always check your vehicle’s manual for the correct bulb type and handle bulbs with clean gloves to avoid oil transfer, which can shorten bulb life. Replacing bulbs in pairs keeps your lighting system reliable and your visibility clear.
Protect Wiring From Moisture
Moisture exposure is a common cause of wiring corrosion and electrical issues in headlights and turn signals. To protect your wiring, start by sealing all connectors with dielectric grease, which repels moisture and prevents corrosion. Regularly inspect wiring harnesses, especially around vulnerable areas like the steering column and light housings, and tighten or replace damaged connectors promptly. Use weatherproof covers or seals over exposed wiring sections to prevent water intrusion. Keep drain holes clear in light housings to allow moisture to escape. Finally, park your vehicle in sheltered areas whenever possible, especially during severe weather.
- Apply dielectric grease to all connectors and bulb sockets
- Install weatherproof seals on vulnerable wiring sections
- Keep drain holes in light housings clear of debris
- Regularly inspect and tighten wiring connections
- Park in covered areas during storms
Frequently Asked Questions
How Often Should I Replace My Vehicle’s Bulbs to Prevent Flickering?
You should replace your vehicle’s bulbs in pairs every 1 to 2 years or when you notice flickering, dimming, or decreased brightness. Regularly inspecting your bulbs and sockets helps catch issues early. Don’t wait until they burn out completely. Replacing bulbs proactively ensures consistent visibility and prevents flickering. Also, check for corrosion or damage in the sockets during replacements to maintain proper electrical contact and avoid future problems.
Can a Faulty Relay Cause Both Headlights and Turn Signals to Fail?
Think of a faulty relay as the traffic controller of your vehicle’s lights—if it fails, everything stalls. Yes, a bad relay can cause both headlights and turn signals to stop working, since it disrupts the electrical flow. When you notice both sets of lights are dead, check the relay first. Replacing a faulty relay restores the signals’ harmony and gets your vehicle’s illumination back on track.
What Are Signs of a Bad Turn Signal Switch Beyond Non-Blinking Signals?
Beyond non-blinking signals, a bad turn signal switch can cause your signals to stay on constantly, blink irregularly, or not activate at all. You might notice the switch feels loose or sticks when you try to operate it. Sometimes, your hazard lights may also malfunction, or you may experience a complete failure of all turn signals. These issues indicate the switch isn’t functioning correctly and likely needs replacement.
How Do I Identify a Corroded Wiring Connection in My Vehicle’s Lighting System?
Think of your wiring as the nervous system of your vehicle—if it’s corroded, signals get lost in translation. To spot corrosion, inspect connectors and sockets for greenish or powdery residue, which shows oxidation. Look for frayed or discolored wires, and test continuity with a multimeter. If you find corrosion or damaged wiring, clean connections with contact cleaner, or replace affected wires to restore proper electrical flow.
Is It Safe to Perform Electrical Repairs on My Own or Should I Hire a Professional?
You can safely perform basic electrical repairs if you have some experience and follow safety precautions. Always disconnect the battery before working on electrical components to avoid shocks or short circuits. Use the right tools and consult your vehicle’s manual for wiring diagrams. If you’re unsure or uncomfortable with electrical work, it’s best to hire a professional to ensure the job’s done correctly and safely.
Conclusion
Think of your headlights and turn signals as the eyes and voice of your car—when they flicker or die, it’s like losing communication on the road. I once fixed a stubborn headlight that flickered every night—turns out, a simple loose connection was the culprit. Regular checks and maintenance are your car’s way of staying alert and responsive. Stay proactive, and your signals will always shine bright and clear, guiding you safely home.