
Sealing spoked rims to go tubeless can markedly boost your ride by reducing flats, maintaining stable tire pressure, and providing a smoother experience across different terrains. To succeed, you need to verify tire compatibility and guarantee your rim’s contour creates a proper seal. Proper installation with sealant and correct bead seating are key. If you keep these factors in mind, you’ll enjoy more reliable performance. Continue exploring to learn how to optimize your tubeless setup effectively.
Key Takeaways
- Verify tire compatibility with tubeless rims to ensure proper sealing and avoid bead or sealant issues.
- Ensure rim contour matches tire bead design for airtight fit and reliable sealing.
- Properly install tubeless sealant inside the tire and seat the bead firmly against the rim for an effective seal.
- Regularly inspect the bead seal and rim contact area to maintain pressure stability and prevent flats.
- Using tubeless-ready components and correct installation techniques enhances ride performance and reduces maintenance.

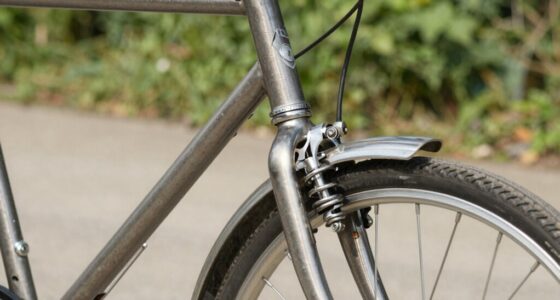
Sealing spoked rims is an effective way to prevent flats and maintain ideal tire pressure, especially if you frequently ride on rough or debris-filled roads. Transitioning to a tubeless setup involves understanding tire compatibility and rim contour, which are critical for a successful conversion. Not all tires are designed for tubeless use, so you must check whether your current tires can be sealed directly onto tubeless-ready rims or if you’ll need new ones. The tire’s bead must fit securely against the rim to create an airtight seal, so verifying compatibility ensures you won’t face issues with sealing or inflation.
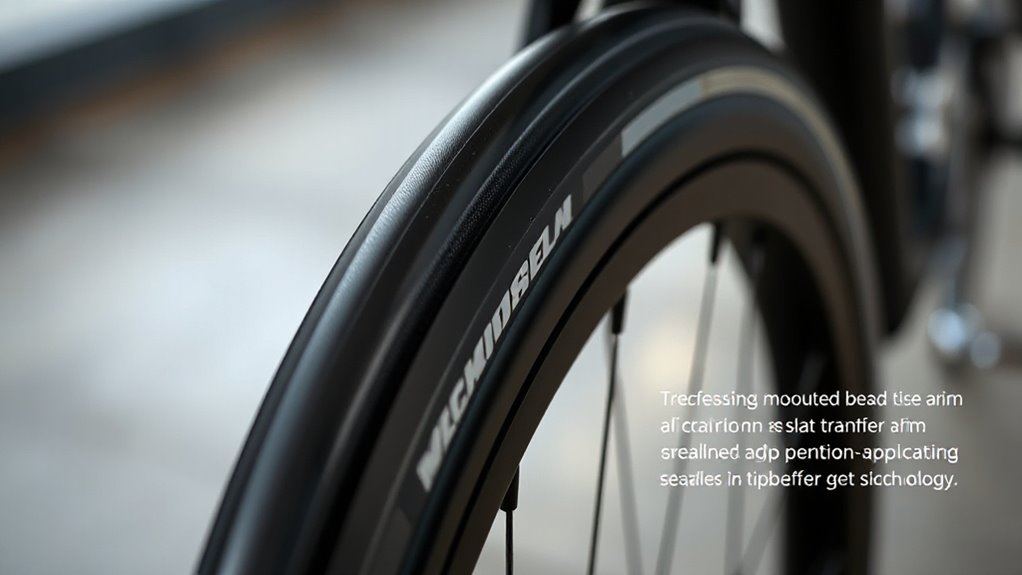
Rim contour plays a significant role in how well your tire seals and stays in place. Tubeless-ready rims are designed with specific bead seats that facilitate an airtight fit, reducing the chances of leaks. When selecting rims, look for those with a bead lock or a specialized contour that matches your tire’s bead profile. If your rim has a shallow or irregular contour, it might be more challenging to achieve a proper seal, leading to potential air leaks or difficulty in maintaining pressure. The better the match between your tire’s bead and the rim contour, the more reliable and durable your tubeless setup will be.
Once you’ve confirmed tire compatibility and chosen rims with a suitable contour, you can start the conversion process. Installing tubeless tires isn’t just about mounting them; it requires sealing the bead properly against the rim. Applying a high-quality tubeless sealant inside the tire helps fill any tiny gaps, ensuring an airtight seal. When you inflate the tire, it should pop into place, with the bead locking onto the rim’s contour tightly. If you encounter leaks, double-check that the bead is seated correctly and that the sealant is evenly distributed.
Maintaining a tubeless setup also depends heavily on these factors. Proper tire compatibility ensures you won’t have issues with bead seating or sealant compatibility, while the rim contour guarantees a consistent, secure fit. Regular inspections of the bead seal and rim contour will help you catch problems early, preserving the benefits of a tubeless system—less flats, lower pressure maintenance, and smoother rides. By paying close attention to tire compatibility and rim contour, you set yourself up for a reliable, high-performance tubeless riding experience. Additionally, understanding tire compatibility and rim contour can help you select the best components for your riding style and terrain, further enhancing your cycling experience.

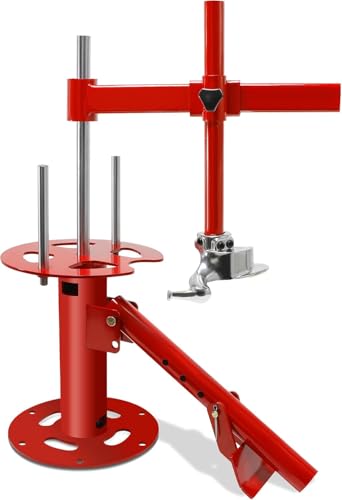
Manual Tire Changer, Portable Hand Bead Breaker Mounting Tool for 4"-16.5" Tires, Compatible with Car, Motorcycles, Lawnmower, Tire Mounting Machine for Home Garage & Small Auto Shops
Efficient Tire Disassembly & Installation: Complete set of tools for removing and installing tires. Quickly swap out tires...
As an affiliate, we earn on qualifying purchases.
Frequently Asked Questions
Can All Spoked Rims Be Converted to Tubeless?
Not all spoked rims can be converted to tubeless because of spoked rim compatibility issues and tubeless conversion challenges. You need to check if your rims have a proper bead seat and sealing surface for tubeless tires. Some rims require rim tape or a specific valve. If your rims aren’t designed for tubeless, attempting conversion might lead to leaks or blowouts, so verify before you start.
What Are the Signs of a Leaking Tubeless Seal?
Imagine your tire is like a fortress facing a slow leak. When you notice tire pressure loss over time or hear a hissing sound, it signals a leaking tubeless seal. These signs indicate sealant failure or tiny punctures that compromise the seal. You might also see bead gaps or air bubbles, reminding you that your fortress isn’t as secure as it should be. Promptly check and reseal to keep your ride smooth.
How Often Should I Reseal My Tubeless Rims?
You should reseal your tubeless rims every 3 to 6 months, depending on your maintenance schedule and sealant longevity. Regularly check for leaks or decreased performance, especially if you notice frequent punctures or reduced pressure retention. Re-sealing guarantees your sealant stays effective, maintaining a proper seal and preventing flats. Keep an eye on sealant age and top it up accordingly to optimize performance and durability.
Is Sealing Spoked Rims Suitable for Mountain Biking?
Sealing spoked rims are like a sturdy shield for mountain biking, making them highly suitable for rugged terrains. They enhance rim durability and help prevent flats, giving you confidence on tough trails. By sealing the spoke holes, you reduce the risk of air leaks and damage from debris, ensuring your ride stays smooth and reliable. If you crave durability and performance, sealing spoked rims are a smart choice for mountain biking adventures.
What Tools Are Needed for Sealing Spoked Rims?
To seal spoked rims, you’ll need rim tape to cover spoke holes securely. You’ll also require sealant for proper application inside the tire. A valve core remover helps install the valve stem, ensuring an airtight seal. A pump or compressor makes it easier to seat the bead and distribute the sealant evenly. With these tools, you can confidently convert your spoked rims into a tubeless setup for better performance.

MOTOOS Manual Tire Changer Portable for 4" to 16-1/2"Tires Hand Bead Breaker Mounting Tool for Truck/Car/Motorcycle Tires, Red
【Manual Tire Changing at Home or On the Road】 This manual tire changer allows you to mount and...
As an affiliate, we earn on qualifying purchases.
Conclusion
Sealing spoked rims and going tubeless isn’t just a small upgrade—it’s like transforming your ride into a lightning-fast beast. With fewer flats, lower rolling resistance, and better traction, you’ll feel unstoppable on every trail or road. Once you experience the smooth, seamless ride of tubeless setups, you’ll wonder how you ever rode without it. Don’t settle for less—embrace the revolution and unleash your bike’s full potential today!
Krysolad Manual Motorcycle Tire Changer Machine, Portable Tire Changer with Duck Head, 4''-21'' Tire Change, Fit for Cars, Street Bike, Trailer, ATV, Truck,SUV
Fully functional : Manual tire changer machine includes tire changer duck head adapter kit, tire mounting base, One...
As an affiliate, we earn on qualifying purchases.

Rabaconda Street Bike Motorcycle Tire Changer Starter Kit
Fast Tire Changes at Home: Designed for efficiency, the Rabaconda Street Bike Tire Changer helps motorcyclists change tires...
As an affiliate, we earn on qualifying purchases.