Documenting your restoration with detailed photos and thorough journals is essential for tracking your progress, maintaining historical accuracy, and showcasing your craftsmanship. Take “before” and “after” shots along with snapshots at each stage to create a clear visual record. Keep detailed notes about materials and techniques used, and record challenges you encounter. This process not only helps you improve your skills but also preserves the object’s story for future generations—discover more about how to do it effectively.
Key Takeaways
- Taking detailed “before” and “after” photos visually demonstrate restoration progress and results.
- Journals record materials, techniques, challenges, and steps, creating a comprehensive process blueprint.
- Documentation ensures historical accuracy and preserves the object’s story for future generations.
- Photos and records facilitate comparison, improve methods, and serve as educational resources.
- Maintaining thorough documentation enhances transparency, credibility, and supports ongoing preservation efforts.
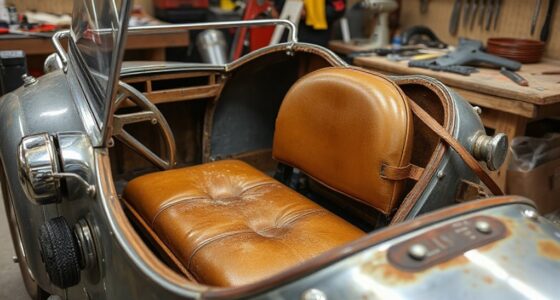
Restoring a piece of history is an exciting journey, but it’s just as important to document every step of the process. Keeping thorough records allows you to see the transformation clearly and provides valuable evidence of your efforts. Before you begin, take detailed photographs of the piece’s current condition. These “before” photos offer a baseline that highlights the extent of damage or wear, making subsequent “after” comparisons more impactful. As you progress, continue to photograph each stage of your work, capturing the preservation techniques you employ—whether it’s cleaning, repairing, or restoring specific features. These images serve as visual documentation that can be invaluable for future reference, whether for historical accuracy or sharing your process with others. Additionally, utilizing dedicated preservation tools can help maintain the integrity of your documentation throughout the restoration.
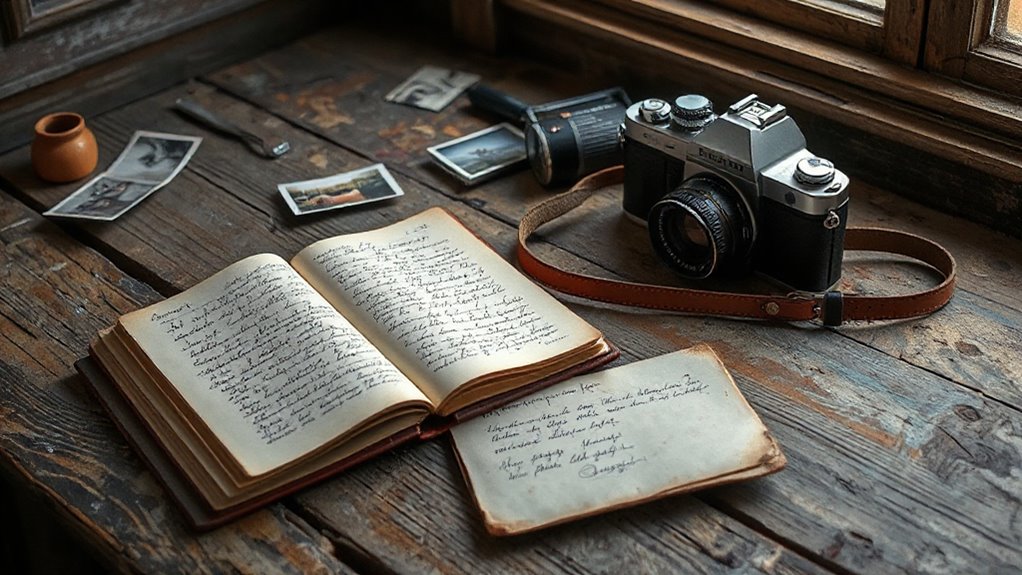
In addition to photos, maintaining a journal is equally essential. Write down every step you take, noting the materials used, the methods applied, and any challenges you encounter. This detailed record acts like a blueprint of your restoration process, helping you remember what worked well and what didn’t. It also provides context for the changes you see in your before and after comparisons, illustrating how different preservation techniques contributed to the final result. Over time, your journal becomes a personal history of your work, showcasing your craftsmanship and dedication.
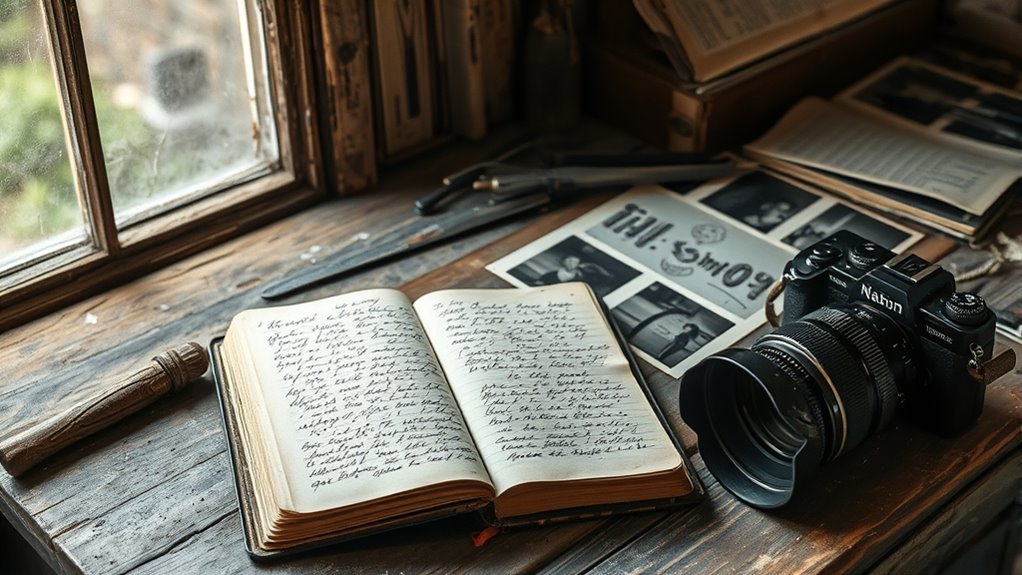
Documenting your restoration isn’t just about creating a record for yourself; it’s about preserving the story of the piece itself. When you look back at your photos and journal entries, you gain insight into the intricacies of the restoration process. This perspective helps you improve your techniques and develop a deeper understanding of the materials and methods involved. Sharing these records with others—whether through a blog, a presentation, or a report—can inspire fellow restorers and educate the public about conservation efforts. It’s also a way to honor the history embedded in the object, ensuring that its story continues through your meticulous documentation.

Clymer Repair Manuals for Honda Shadow 750 Spirit VT750DC 2001-2006
Every Clymer repair manual contains hundreds of original photographs and illustrations obtained from the complete disassembly and assembly...
As an affiliate, we earn on qualifying purchases.
Frequently Asked Questions
How Can I Organize My Restoration Photos Effectively?
If you want to avoid turning your photos into a chaotic mess, start with smart photo categorization and reliable storage solutions. Use clear folders, labels, or digital tags to keep track of each stage of your restoration. Regularly back up your images to prevent losing precious memories. Staying organized saves you time, frustration, and guarantees you can proudly showcase your progress without digging through piles or endless folders.
What Equipment Is Best for Documenting Detailed Restoration Work?
For detailed restoration work, you want reliable camera gear like a macro lens and a sturdy tripod to capture fine details. Use good lighting setup—preferably diffused natural light or adjustable LED lights—to minimize shadows and highlight textures. A DSLR or mirrorless camera with manual settings gives you control over focus and exposure. Keep your equipment organized and ready to quickly document each stage, ensuring clear, high-quality photos every time.
Should I Include Timestamps or Dates in My Journals?
Yes, you should include timestamps or dates in your journals to guarantee timestamp consistency. It helps track progress accurately and maintains clear journal formatting. By recording dates regularly, you create a detailed history of your restoration process, making it easier to reference specific moments or troubleshoot issues later. Consistent timestamps also add professionalism and organization to your documentation, ensuring your journal remains a valuable resource throughout your project.
How Do I Protect Digital Records From Data Loss?
You should protect your digital records by regularly backing them up to the cloud, ensuring your files are stored safely off-site. Use strong file encryption to secure sensitive information, preventing unauthorized access. Set up automatic backups so you don’t forget, and consider multiple backup locations for added security. This way, even if your device is lost or compromised, your documentation remains safe and accessible when you need it.
Can Documentation Help Increase the Value of My Restored Item?
Think of your documentation as a treasure map, guiding future owners to its true worth. By recording every detail, you boost restoration authenticity and make provenance verification easier. This proof of careful work enhances your item’s value, showing it’s more than just restored — it’s a genuine piece with a story. Your photos and journals become a legacy, elevating your item’s importance and appeal in the eyes of collectors or buyers.
Amazon Product B001KN96W4
As an affiliate, we earn on qualifying purchases.
Conclusion
By documenting your restoration journey with photos and journals, you’re creating a story worth telling. These records not only track your progress but also serve as a reminder of your hard work and dedication. Keep in mind, every step you take is a brick in the wall of your achievement. Don’t let the opportunity slip through your fingers—preserve your efforts so they can inspire others and remind you of how far you’ve come.
Amazon Product 0892879629
As an affiliate, we earn on qualifying purchases.
Amazon Product 0822706512
As an affiliate, we earn on qualifying purchases.