
Swapping from ape hangers to clubman bars is a manageable project that can improve your bike’s style and handling. First, assess your motorcycle’s compatibility by checking cable lengths and mounting points. Then, remove the ape hangers carefully and install the new clubman bars, adjusting cables and wiring as needed to prevent tension. Tighten everything securely and check for smooth operation and proper fit. Follow safety checks to ensure a confident ride, and explore tips to personalize your new handlebars further.
Key Takeaways
- Assess compatibility by measuring existing handlebars, risers, and ensuring cable/wire lengths fit new clubman bars.
- Remove ape hangers carefully, disconnecting all controls and wiring, then inspect risers for damage.
- Install clubman bars onto the triple tree, properly align, and securely tighten clamps and risers.
- Adjust and reroute cables and wiring to prevent tension or interference, securing them with clips or zip ties.
- Perform safety checks on fasteners, control functions, and stability before riding, and personalize with grips or finishes.

MWMNUN 8pcs Handlebar Shim 7/8" Handlebars to 1" Motorcycle Handle Bar Spacer Conversion Shims with Handlebar Mounts Risers Clamp Conversion Shims Reducer Spacers
Function:Can be used to convert a diameter of 7/8'' (22 mm) to 1'' (25 mm).
As an affiliate, we earn on qualifying purchases.
As an affiliate, we earn on qualifying purchases.
Understanding the Differences in Handlebar Styles
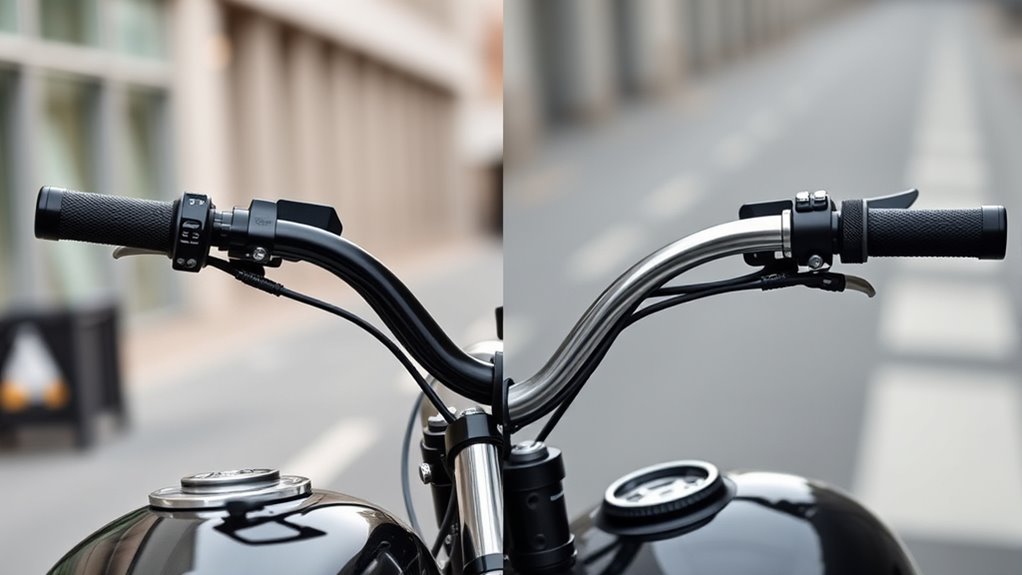
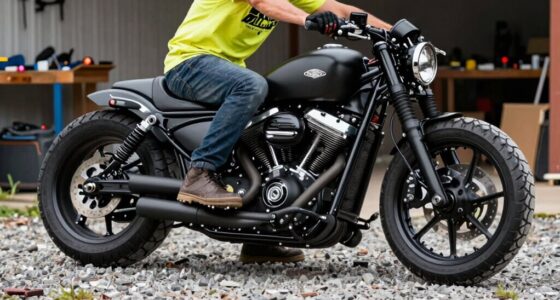
Understanding the differences in handlebar styles is essential for choosing the right setup for your motorcycle, as each style offers distinct aesthetics and riding dynamics. Ape hangers are tall, sweeping bars that extend upward, often 12 to 24 inches, creating a bold, aggressive look. They position your hands high, which can impact control and comfort, especially on long rides. In contrast, clubman bars are low, with a forward and downward drop, promoting a sporty, aerodynamic posture suited for performance riding. They attach directly to the triple tree, offering a clean, streamlined appearance. While ape hangers emphasize style and cruising appeal, clubman bars focus on control and agility. Understanding these fundamental differences helps you select handlebars that match your riding style, safety needs, and aesthetic preferences. Additionally, considering the handlebar materials can influence durability, weight, and overall ride quality. It’s also helpful to be aware of how riding ergonomics are affected by different handlebar styles to ensure comfort during extended rides. Moreover, selecting the appropriate handlebar style can also impact your safety while riding, making it a crucial decision for both performance and security. Being informed about handlebar options allows riders to customize their bikes effectively, and understanding the impact of handlebar height and reach can further optimize comfort and handling.

Mofun Throttle by Wire Extension & Hydraulic Front Brake Line and Clutch Cable Compatible with Harley Touring Street Glide Electra Road Glide Road King Non-ABS 2008-2013, Fit 10"-12" Handlebar, Black
【Compatibility】Our throttle by wire extension, non-abs front brake line and clutch cable kit compatible with Harley Touring with…
As an affiliate, we earn on qualifying purchases.
As an affiliate, we earn on qualifying purchases.
Assessing Your Motorcycle’s Compatibility for a Swap

Before swapping handlebars, it’s important to determine if your motorcycle can support the new style safely and effectively. Check your bike’s existing setup—look at the handlebar mounts, riser compatibility, and space for new controls. Measure the width, height, and reach of your current bars and compare them to the desired style. Verify your cables, wires, and brake lines are long enough or can be adjusted without tension. Consider the handlebar mounting system—some bikes use risers, while others mount directly to the triple tree. If your motorcycle’s frame and wiring aren’t designed for taller or wider bars, modifications might be needed, or the swap could compromise safety. Confirm that the new handlebars won’t interfere with controls or the fairing, and that they meet legal height restrictions in your area. Additionally, understanding the Free Floating handlebar setups can help you choose options that are easier to install or adapt.
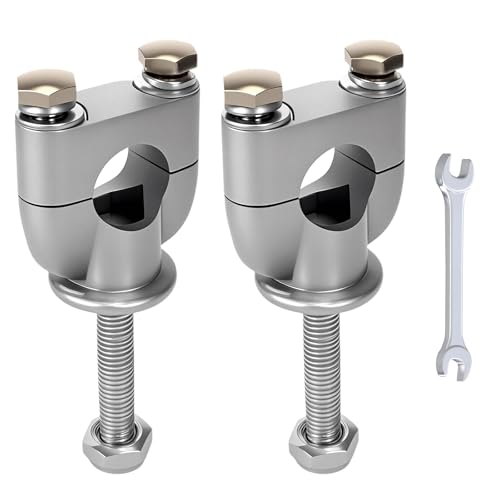
CILOYU 22mm 7/8 Handlebar Risers Mount Clamps Motorcycle Handle Bar Riser Replacement for Apollo 250 Ninja 500 XT600 XR50 Dirt Pit Bike ATV Scooter Powersports Accessories Parts
Fitment: The 7/8 handlebar risers are compatible with motorcycles, dirt bikes, atv, scooters with 7/8" 22mm handlebars, such…
As an affiliate, we earn on qualifying purchases.
As an affiliate, we earn on qualifying purchases.
Preparing for the Transition: Tools and Parts Needed

Before you begin swapping handlebars, you need to gather the right tools and parts to guarantee a smooth transition. Make certain you have a thorough tools checklist, including wrenches, screwdrivers, and possibly a torque wrench. Additionally, select compatible parts like new riser bushings, cables, and fasteners suited to your chosen handlebars to prevent issues during installation. It’s also helpful to review support networks for new dads to ensure you’re prepared for any unexpected challenges during your project. Being aware of your website privacy settings can also help you manage cookies and consent preferences effectively during your research process. Consulting best airless paint sprayers can provide insights into choosing the right equipment if you’re planning to paint your bike or workspace during your project.
Necessary Tools Checklist
To guarantee a smooth handlebar swap, you’ll need a specific set of tools and parts to handle all aspects of the installation safely and effectively. Having the right tools on hand ensures you can remove old handlebars, adjust cables, and install new ones properly. First, gather a set of Allen wrenches and screwdrivers to loosen and tighten bolts. Next, include a torque wrench to ensure proper tightening without over-tightening. You’ll also need wire cutters and pliers to manage cables and wiring. Finally, have lubricants or anti-seize compound ready to ease installation and prevent corrosion. Proper tool selection is essential for an efficient and safe upgrade process. When working on your bike, understanding Waterparks can also be beneficial if you’re planning leisure or recovery activities post-installation. Additionally, familiarizing yourself with handlebar types can help you choose the best fit for your riding style and aesthetic preferences. Knowing about ergonomic considerations can further optimize comfort and control during riding. Being aware of piercing care and hygiene can also be useful if you or someone assisting with the bike maintenance has piercings, ensuring safety and cleanliness during the process.
Compatible Parts Selection
Selecting compatible parts is essential to guarantee your handlebar swap goes smoothly and maintains safe, reliable performance. First, identify the correct handlebar diameter to match your bike’s riser or clamp mounts, typically 1 inch (25.4mm) or 7/8 inch (22mm). Check your existing controls, including throttle, clutch, and brake cables, to see if they’ll fit or need replacing. Adjusting wiring length is vital when switching between high and low bars to prevent tension or interference. Make certain you choose riser bushings that suit your new handlebars—firm urethane or steel for stability. Confirm that grips, switches, and fittings are compatible with your new handlebar diameter. Preparing these parts beforehand will help you avoid delays and guarantee a safe, effective transition. Additionally, understanding your bike’s tanning trends can inspire aesthetic choices for customizing your bike’s appearance.
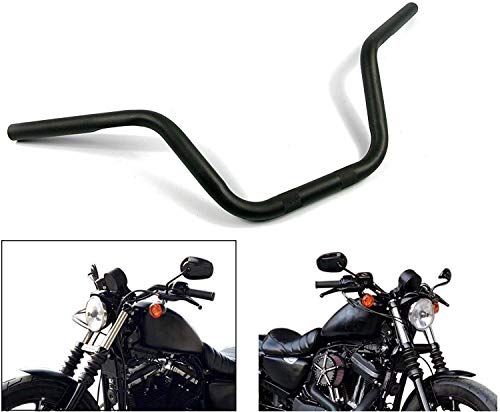
Motorcycle Hanger 1 inch 25mm Ace Cafe Racer Clubman Handlebar Handle bars handlebars Bar compatible with Harley Sportster XL883 XL1200(Black)
Color: Black and chrome strong handlebar, looks fabulous and yet very affordable!
As an affiliate, we earn on qualifying purchases.
As an affiliate, we earn on qualifying purchases.
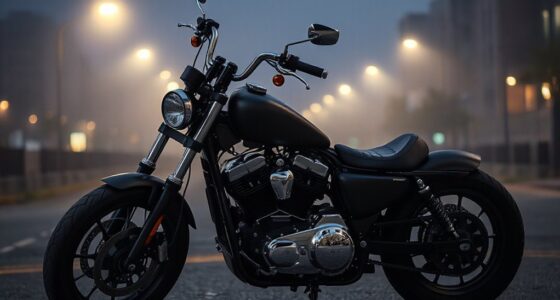
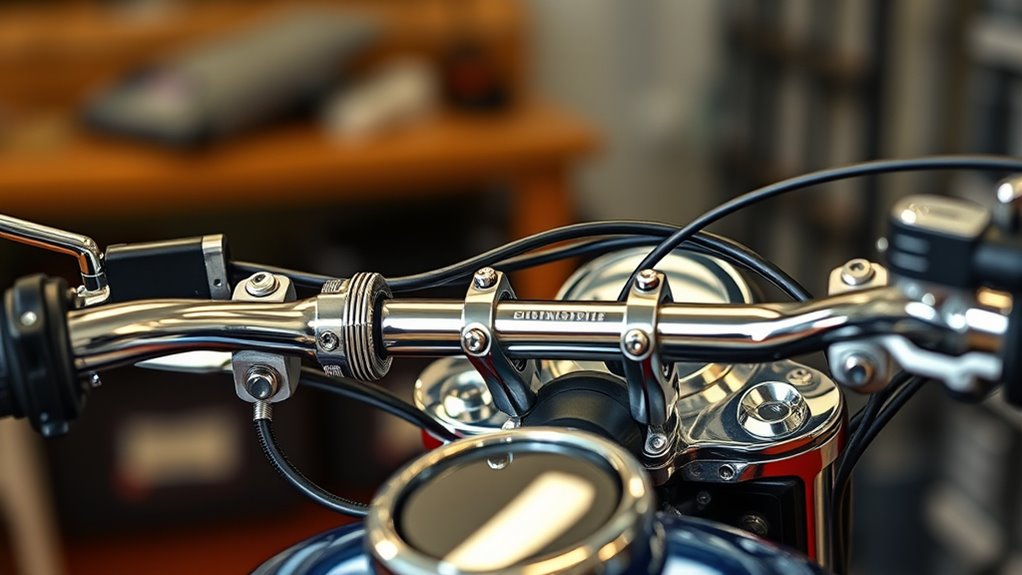
Removing Your Existing Ape Hangers Safely
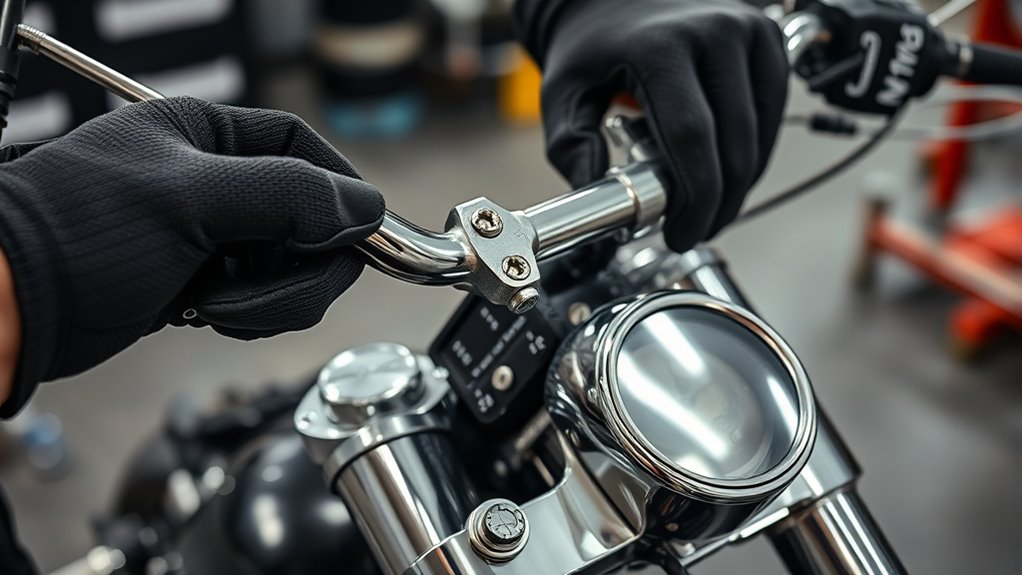
Removing your existing ape hangers requires careful preparation to guarantee safety and prevent damage. Start by disconnecting the electrical wiring and control cables, labeling them if needed. Next, loosen the riser bolts securing the bars to the triple tree. Use a wrench or socket set suited to your bike’s hardware. Once loose, gently lift the ape hangers away from the risers, avoiding force to prevent scratches or bends. Check for any hidden fasteners or locking mechanisms that may still be holding the bars in place. Keep a clean workspace to organize hardware and prevent losing small parts. Additionally, consulting your bike’s technical specifications can help ensure proper removal procedures. Proper removal is crucial for a safe swap and to maintain your motorcycle’s structural integrity. It’s also beneficial to understand sound design principles that ensure your new handlebars will be mounted securely and safely. Familiarizing yourself with vibration control techniques can help minimize unwanted vibrations and enhance riding comfort. Using protective tools during removal can further prevent scratches or damage to delicate components. Finally, inspect the risers and clamps for damage or wear before installing new handlebars. Proper removal ensures a safer swap and preserves your motorcycle’s integrity.
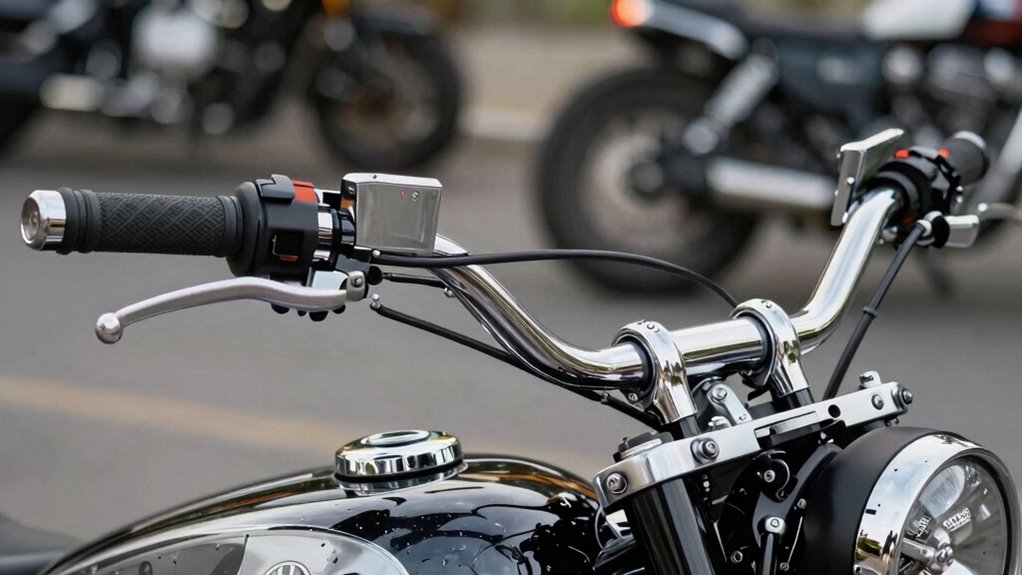
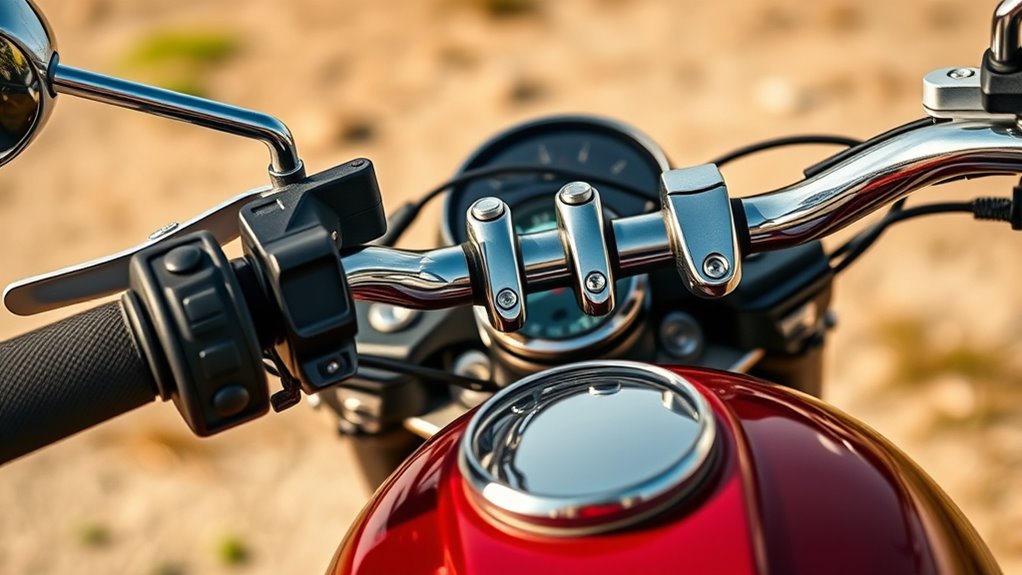
Installing Clubman Bars: Step-by-Step Process

Installing clubman bars is a straightforward process that enhances your bike’s sporty look and riding position. First, remove your existing handlebars, ensuring all controls, cables, and wiring are safely disconnected. Next, check the new bars for compatibility with your controls and cables; you may need to trim or reroute wiring for proper fit. Mount the clubman bars onto the triple tree, aligning them correctly and tightening the clamps securely. Adjust the angle of the bars to your preferred riding position, keeping in mind comfort and control. Once mounted, reconnect all controls, throttle, clutch, and brake cables, making sure they aren’t stretched or pinched. Properly securing all components helps maintain a calm and organized riding experience by preventing loose parts or uneven wear. Taking the time to properly align and tighten the components can significantly impact your bike’s handling and safety. Additional consideration of safe operating procedures can further ensure a secure and reliable installation. Ensuring proper cable routing and tension is essential for optimal performance and to prevent potential issues during riding. When adjusting the cables, be mindful of cable slack to avoid unnecessary tension that could affect responsiveness. Finally, double-check all fasteners and test ride your bike to make sure everything operates smoothly and feels comfortable.
Adjusting Cables and Wiring for New Handlebar Geometry
When you change the handlebar geometry, you need to carefully adjust your cables and wiring to guarantee proper function and safety. Longer or differently positioned bars can cause cables to become too tight or slack, affecting throttle, brake, and clutch response. You’ll need to:
Adjust cables and wiring carefully after changing handlebar geometry to ensure safe, smooth operation.
- Measure the current cable and wiring lengths against the new handlebar position
- Replace or reroute cables to prevent excess tension or slack
- Ensure all connections move freely without binding or snagging
- Secure cables and wiring with clips or zip ties to avoid interference during riding
- Remember that proper cable management can also prevent issues related to water exposure that might cause corrosion or electrical problems during riding in wet conditions.
Taking these steps helps maintain control and prevents damage or safety issues. Always test the controls thoroughly before riding to confirm everything operates smoothly and responds correctly to your inputs.
Ensuring Proper Fitment and Handling Post-Installation
After completing your handlebar swap, it’s vital to verify that your motorcycle’s fit and handling are still ideal. Check that your controls, cables, and wiring are properly adjusted to prevent tension or interference. Test the steering response and overall stability by riding at different speeds, paying attention to any unusual stiffness or looseness. Make sure your hand positions feel comfortable and natural, especially if you switch from ape hangers to lower bars like clubman. Tighten riser bolts and handlebar clamps securely to avoid vibrations or movement. If you notice handling issues or discomfort, recheck cable lengths, alignments, and mounting points. Making these adjustments ensures your bike remains safe, responsive, and comfortable after the handlebar upgrade.
Safety Checks and Final Ride Test

Before taking your motorcycle out for a final ride, it’s essential to perform thorough safety checks to guarantee your handlebar swap hasn’t compromised control or stability. Start by inspecting all fasteners, ensuring risers, clamps, and bolts are tight. Check the cables and wiring for proper length and smooth operation—no binding or slack. Test the throttle, clutch, and brake functions to confirm responsiveness. Finally, give the handlebars a firm shake to verify they’re stable and secure.
- Tighten all mounting bolts and fasteners
- Inspect cables and wiring for proper routing and tension
- Test throttle, clutch, and brake smoothness
- Shake handlebars to check for movement or looseness
Tips for Customizing and Personalizing Your New Bars

Personalizing your new handlebars is a great way to express your style and make your motorcycle uniquely yours. Start by choosing finishes that match your aesthetic—chrome, matte black, or custom colors. Consider adding grips with unique textures or patterns for better comfort and a personal touch. You can also install custom bar ends, such as weighted or decorative options, to enhance the look and feel. Adjust the angle and height of your bars to suit your riding posture and control preferences. If your budget allows, explore custom engraving or decals to showcase your personality. Always make certain that any modifications don’t interfere with control or safety. Taking these steps helps create a handlebar setup that’s both functional and a true reflection of your style.
Frequently Asked Questions
Can I Install Clubman Bars on Any Motorcycle Model?
You can’t install clubman bars on any motorcycle model without adjustments. They require compatible mounting points on the triple tree, and your controls, cables, and wiring may need modification to fit the new geometry. Check your bike’s specifications and measure carefully. If you’re unsure, consult a professional to ensure proper fitment and safety, as improper installation can affect handling and control.
How Do Handlebar Height Regulations Vary by Region?
Did you know over 20 states in the US have specific laws regulating handlebar height? You’ll find that regulations vary widely by region. Some areas restrict handlebars to shoulder height or below for safety, while others have no restrictions at all. You should always check local laws before customizing your handlebars to avoid fines or safety issues. Ensuring your handlebar height complies can help keep your ride legal and safe.
Will Switching to Clubman Bars Affect My Motorcycle’s Aerodynamics?
Switching to clubman bars improves your motorcycle’s aerodynamics by promoting a forward-leaning, aggressive riding posture. Their lower, streamlined design reduces wind resistance and drag, especially at higher speeds. Unlike ape hangers, they keep your upper body low and tucked in, which enhances stability and control. This change not only boosts performance but also gives your bike a sportier look, making it ideal for racing or spirited riding on twisty roads.
What Are the Best Materials for Riser Bushings During a Handlebar Swap?
Did you know that steel riser bushings can last up to 50% longer than urethane? For your handlebar swap, steel or high durometer urethane are your best options. Steel bushings provide durability and stability, reducing vibrations, while urethane offers excellent vibration absorption and flexibility. Both materials help maintain control and rider comfort, especially during long rides. Choose based on your riding style and preference for vibration damping or longevity.
How Do I Prevent Cable and Wiring Damage When Changing Handlebars?
You prevent cable and wiring damage by measuring and adjusting their lengths before installing new handlebars. Loosen the cables and wiring, then carefully reroute them along the new handlebar path, avoiding sharp bends or tight corners. Use proper cable protectors or sleeves to prevent chafing. Test the controls after the swap to verify smooth operation without tension. Taking your time during the process helps avoid costly damage and ensures safe riding.
Conclusion
Now that you’ve swapped your ape hangers for sleek clubman bars, you’ve transformed your ride into a personalized masterpiece. It’s like giving your motorcycle a fresh pair of wings, ready to soar through open roads with renewed confidence. Trust your hands and instincts as you hit the asphalt, feeling the thrill of customization. Your bike isn’t just a machine — it’s an extension of your spirit, ready to carve new adventures with style and purpose.