To achieve an authentic vintage look on your classic motorcycle, start by thoroughly preparing the surface with proper cleaning, dent filling, and fine sanding to guarantee paint adhesion and smoothness. Choose period-appropriate colors and use traditional paints like enamel or lacquer, applying thin coats carefully. Incorporate aging techniques, such as subtle cracking or fading, to add character. Finish with durable clear coats and polishing for that perfect vintage shine—if you keep going, you’ll master every authentic detail.
Key Takeaways
- Properly clean, sand, and treat the surface and interior frame to ensure adhesion and prevent corrosion.
- Use period-accurate colors, paints, and application techniques like thin coats and precise masking for authenticity.
- Incorporate vintage painting methods such as layering, aging effects, crackling, and distressing for a genuine look.
- Finish with compatible clear coats, wet sanding, and polishing to achieve a durable, glossy, vintage appearance.
- Utilize vintage tools, proper surface preparation, and subtle weathering techniques to enhance authenticity and longevity.

Avalon Towels Microfiber Cleaning Cloths (Value Pack of 36) - Size 16 x 16 Inches, Highly Absorbent Cleaning Rags, Lint Free, Reusable and Washable, Microfiber Towels for Cars
Value Pack: These large microfiber cleaning cloths come in a pack of 36 measuring 16x16 Inches. The bulk...
As an affiliate, we earn on qualifying purchases.
Preparing and Treating the Surface for Classic Finishes
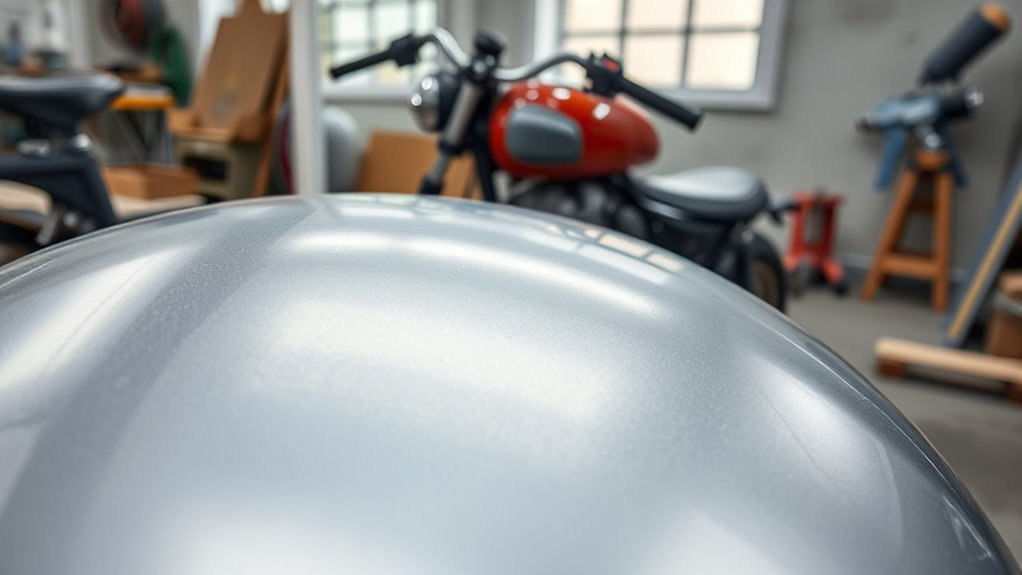
To achieve a flawless vintage motorcycle finish, proper surface preparation is essential. Start by thoroughly cleaning the frame and parts to remove dirt, grease, and rust. For the frame interior, an acid wash followed by an epoxy coating helps prevent corrosion. Carefully remove dents and smooth out imperfections; even minor flaws can ruin the authentic look. Use progressively finer sandpaper, beginning with a coarse grit like 600 and finishing with 1500-2400 grit, to create a smooth, factory-like surface. Lightly sand existing paint or old finishes to improve adhesion for the new paint layers. Patience is key—repeat sanding between coats to achieve a professional, even finish. Proper prep guarantees your vintage paint job bonds well and looks authentic. Additionally, understanding the importance of contrast ratio can help in selecting the right projector for your home theater setup, ensuring vivid and detailed images that enhance your viewing experience. Incorporating proper surface preparation techniques ensures the durability and authentic appearance of your vintage motorcycle paint. Paying attention to professional project management support can also streamline your restoration process and ensure high-quality results. For an extra professional touch, consider music therapy integration to stay focused and motivated during your project. Engaging with connected smart tools can further optimize your workflow and result in a superior finish.
AIDEA Microfiber Cleaning Cloth Black 50PK, Microfiber Towels for Cars, Premium Car Cloths, Dusting Cloth Lint Free Cleaning Rags for SUVs, House, Kitchen, Window, Workshops,12×12"
Super Absorbent: Experience the excellent quality of AIDEA all-purpose microfiber cleaning cloths; made from premium materials; offering exceptional...
As an affiliate, we earn on qualifying purchases.
Selecting Authentic Colors and Paint Types
Choosing the right colors and paint types is key to achieving an authentic vintage look. You should reference original factory color charts or period photos to match the model year’s hues accurately. Using traditional formulations like enamel or lacquer will help replicate the finish and feel of the original paint job. Consulting historical color references can further ensure your motorcycle’s paint scheme remains true to its era.
Historical Color Accuracy
Authentic color selection is essential for achieving a genuine vintage motorcycle restoration. To stay true to the original look, research the specific model and year. Consult factory color charts, museum archives, or period advertisements to identify the authentic hues. Keep in mind that paint shades can vary slightly over time, so referencing original photos or paint samples guarantees accuracy. Use colors like classic British racing green, authentic Harley blue, or vintage red as they appeared in factory specifications. Be cautious with modern reinterpretations; aim for paints that closely match the original formulas or appearance. This attention to detail preserves the bike’s historical integrity, making your restoration not just visually appealing but also true to its vintage roots. Additionally, understanding Free Floating techniques can help you achieve a more authentic finish that reflects the original craftsmanship. Researching original paint formulations can further enhance authenticity by matching the chemical composition of period-specific paints. Incorporating period-accurate application methods ensures the finish closely resembles the original manufacturing process, adding to the bike’s authenticity.
Vintage Paint Formulations
Selecting the right paint formulations is essential for achieving a genuine vintage look on your motorcycle. Vintage paints differ from modern formulations, often requiring specific types and colors to match the original factory finishes. To get it right, consider these key points:
- Use traditional single-stage enamels or lacquers that replicate original factory paints, avoiding modern urethanes for authenticity.
- Select colors based on factory color charts or historical photos, ensuring your paint matches the model year precisely.
- For depth and shimmer, incorporate candy or metallic bases, applying multiple thin layers for a vintage effect.
- Thin paints with appropriate reducers, such as urethane-grade or vintage-compatible thinners, to achieve period-accurate finishes with proper flow and coverage.
- Understanding the historical paint techniques used in the era can further enhance the authenticity of your vintage motorcycle finish.
Authentic Finish Effects
To achieve a genuine vintage finish, you need to focus on the colors and paint types that reflect the motorcycle’s original factory look. Choose colors authentic to the model year, referencing factory charts or vintage photos. Classic paints like single-stage enamel or lacquer are preferable for true period accuracy, avoiding modern urethanes that lack the vintage appeal. For a richer finish, consider candy paints layered over metal flake bases to mimic the deep shimmer of original finishes. Use colors that match the manufacturer’s palette—such as ochre yellow or specific blues—based on historical documentation. When applying, opt for spray techniques to ensure smooth, even coats. Layer your paint carefully, allowing each to dry and sand between coats for depth and authenticity. Understanding paint application techniques can greatly enhance the vintage look while ensuring durability. Mastering proper paint layering methods is essential to achieve an authentic appearance and ensure the longevity of your finish. Additionally, utilizing vintage paint mixing techniques can help replicate authentic hues and finishes more precisely. This approach preserves the vintage aesthetic while achieving a durable, genuine look. Incorporating appropriate finishing processes, such as polishing or aging techniques, can further enhance the authentic vintage appearance. Employing correct preparation steps, like priming and surface cleaning, is vital to ensure proper paint adhesion and a professional result.

GLIMGLINT Blue Microfiber Cleaning Cloth,150PK Reusable Cleaning Rags,Highly Absorbent Shop Rags Bulk,All-Purpose Car Cleaning Towels for TV Screen, Kitchen, Bathroom, Restaurant, Garage, 14"X12"
Easy Handling Size: Each microfiber cleaning cloth measures 14" x 12", offering just the right size for comfortable...
As an affiliate, we earn on qualifying purchases.
Mastering Vintage Painting Techniques and Application Methods
To master vintage painting techniques, you need to start with proper surface preparation, ensuring your frame is smooth and free of imperfections. Applying paint in multiple thin layers with careful sanding between coats helps achieve authentic depth and durability. Additionally, you can create convincing aging effects, such as cracking or patina, to give your motorcycle a genuine vintage look. Proper paint application techniques are essential for achieving a professional finish that reflects the classic style. Additionally, understanding the impact of cookies on user experience can inspire more thoughtful and effective design choices in your vintage motorcycle project, adding an element of intrigue and storytelling. Recognizing the significance of cultural symbolism can also help in selecting authentic color schemes and decorative motifs that enhance the vintage aesthetic.
Proper Surface Preparation
Achieving a flawless vintage motorcycle finish begins with meticulous surface preparation. You need a clean, smooth, and well-prepared base for authentic results. First, remove old paint or rust thoroughly with light sanding or chemical strippers, ensuring a solid foundation. Second, address dents and imperfections by filling and sanding until the surface is even, as minor flaws compromise authenticity. Third, use progressive sanding—start with coarse grit (around 600) and refine to ultra-fine (1500-2400)—to achieve a factory-smooth finish. Fourth, treat the frame interiors with an acid wash and epoxy coating to prevent future corrosion. Proper surface prep reduces issues like peeling or uneven color, ensuring your vintage paint job looks authentic and lasts longer. Patience with each step guarantees professional-quality results.
Vintage Paint Application
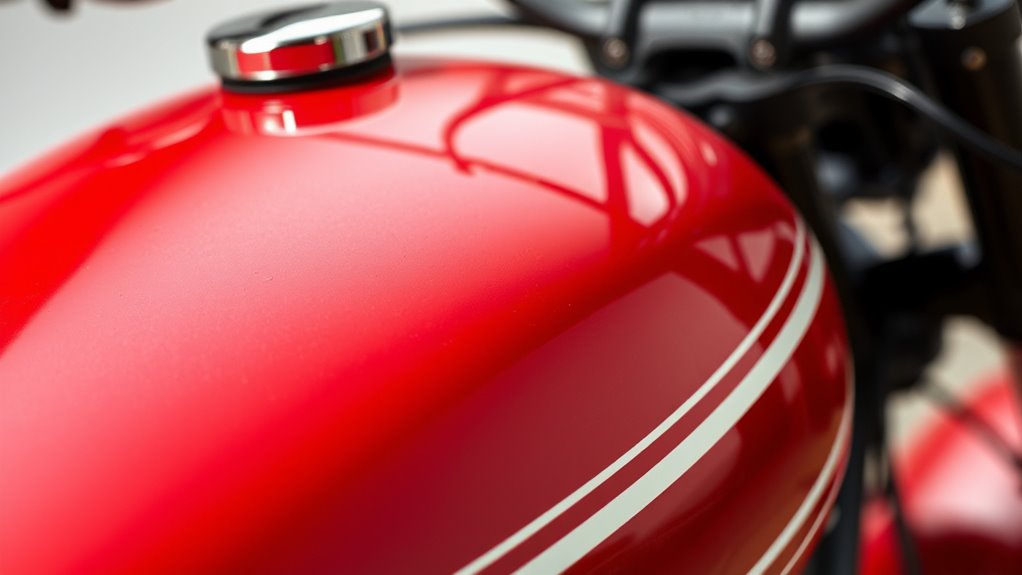
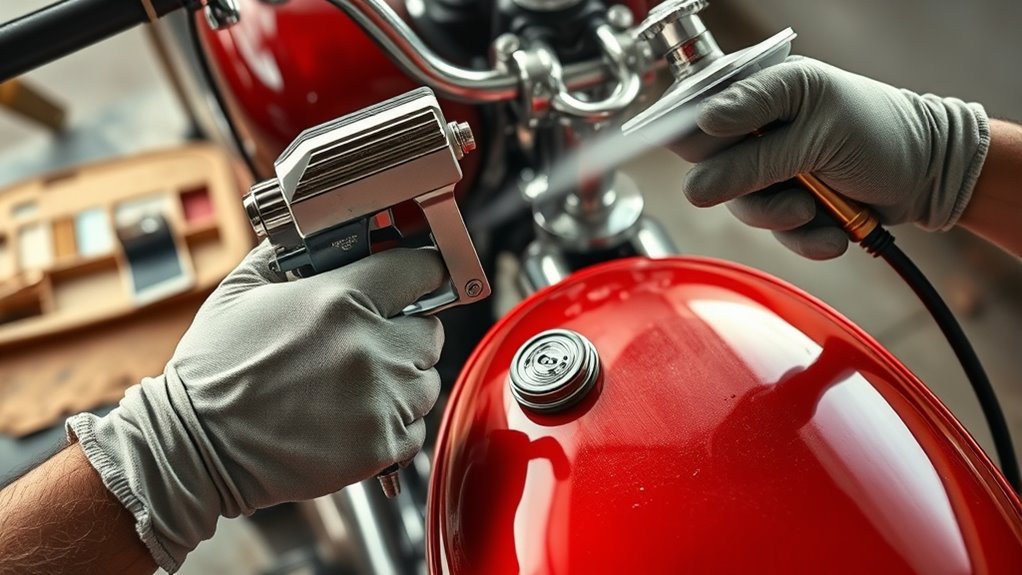
Mastering vintage paint application requires attention to detail and a gentle touch to replicate authentic finishes. You’ll want to use traditional paints like enamel or lacquer to stay true to the period look. Spray your coats evenly, applying multiple thin layers to prevent drips and achieve depth, sanding lightly between coats for a smooth surface. Masking carefully ensures period-correct designs, like scallops or pinstripes, stay crisp. For color, select hues matching original factory standards or historic references. Techniques like layering candy paints over metallic bases can create rich, vintage shimmer. Avoid rushing; patience is key to building a flawless, authentic finish. Incorporating traditional paints such as enamel or lacquer is essential for achieving an authentic look. Additionally, understanding vintage color palettes helps in selecting the most accurate hues for your project. Finally, finish with a compatible clear coat, applying thin layers and polishing for a glossy, durable surface that captures the vintage aesthetic perfectly.
Achieving Authentic Aging
Creating an authentic aged look on vintage motorcycle paint involves carefully applying techniques that simulate natural wear and tear. To achieve this, you need to focus on subtle imperfections and weathered effects. Use fine sandpaper or abrasives to gently distress areas, creating chips and scratches that mimic long-term use. Apply thin washes of diluted paint or ink to add depth and simulate dirt, grime, or faded areas. Incorporate faux rust or faded patches by hand-painting with muted tones and blending edges seamlessly. Understanding paint aging techniques can further help you achieve a realistic vintage look. Practicing technique application methods on scrap surfaces can build your skill and confidence. Studying vintage painting styles also enhances your ability to replicate authentic effects. Familiarity with faux finishing techniques can add an extra layer of realism to your project. Mastering these techniques will give your vintage motorcycle a genuinely worn, authentic appearance that tells its story.

3M 2080 Series G12 Gloss Black - 5ft x 1ft - 5sq ft - Dual Cast Thick Vinyl Car Wrapping Film - Bubble Free Vehicle Sheet Roll
GENUINE 3M 2080 GLOSS WRAP VINYL: Premium 3M 2080 Gloss Vinyl Film Made Especially for the DIY Installer....
As an affiliate, we earn on qualifying purchases.
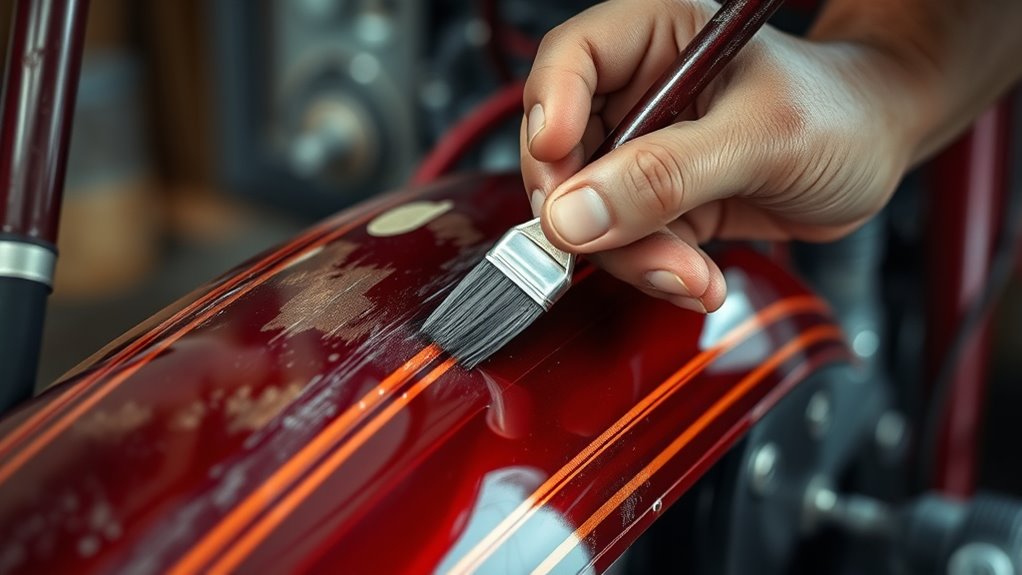
Creating Realistic Aging and Weathered Effects
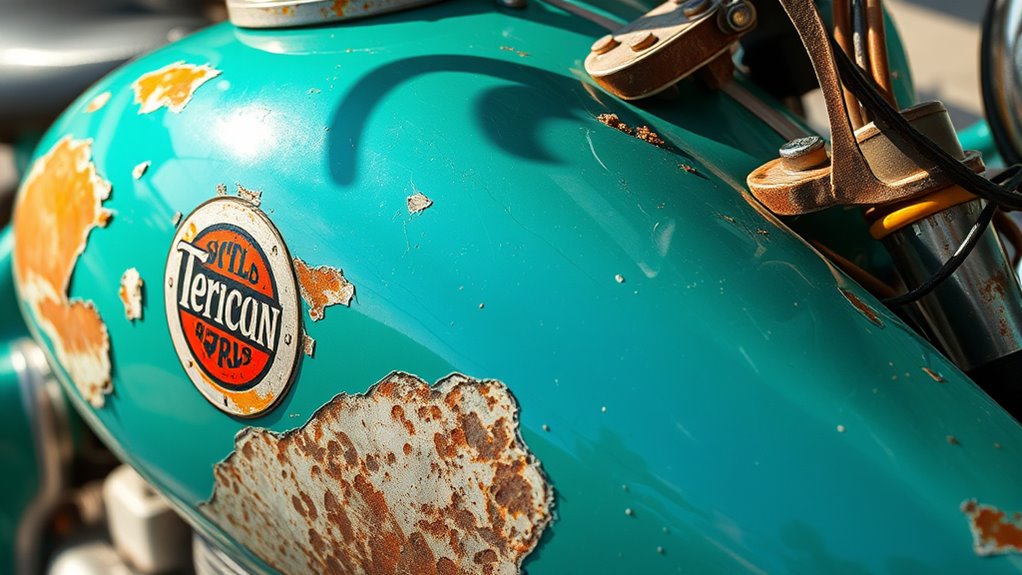
Have you ever wondered how to make a freshly painted vintage motorcycle look convincingly aged and weathered? To create realistic aging effects, start by subtle cracking or crazing the paint with fine brushes or specialized crackle mediums, mimicking natural wear. Lightly sand certain areas to expose underlying layers or create chipped paint effects. Apply a thin, diluted wash of darker shades in crevices and around edges to simulate dirt and grime buildup. Use matte or dulled clear coats to dull shiny surfaces, replicating age and use. For authentic rust spots, gently airbrush or hand-paint rust-colored streaks in strategic spots, then soften the edges for a natural look. These techniques blend new paint with signs of wear, achieving a genuine vintage appearance. Exploring youth trends and understanding how media influence vintage styles can help you achieve a more authentic aged look.
Applying Protective Clear Coats for a Vintage Shine
Once you’ve achieved the desired aging effects, applying a protective clear coat is the final step to guarantee your vintage motorcycle’s finish and enhance its authentic shine. This layer safeguards the paint from UV damage, scratches, and environmental elements, maintaining its vintage look. To make certain a flawless application:
- Use a high-quality spray gun with adjustable pressure for smooth, even coats.
- Thin your clear coat properly to prevent runs and assure good adhesion.
- Apply multiple thin layers, allowing adequate drying time between coats.
- Finish with a wet sanding using 1500-3000 grit paper, then polish for a deep, glossy vintage sheen.
Proper technique and patience are essential to achieve a period-correct, durable finish that highlights your motorcycle’s authentic charm.
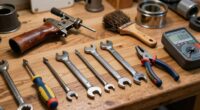
Essential Tools and Materials for Vintage Motorcycle Painting
To accomplish a professional vintage motorcycle paint finish, you need the right set of tools and materials that guarantee precision and quality. Invest in a good spray gun with adjustable pressure and high-quality nozzles to ensure smooth, thin coats. Use urethane-grade reducers for thinning paints like candy or lacquer, which helps achieve proper flow and finish. Masking tape designed for fine lines prevents paint bleeding during detailed work like scallops or pinstripes. Sanding tools, from manual blocks to powered sanders with fine abrasives, are essential for surface prep and finishing. Keep quality brushes and rollers on hand for primer touch-ups—avoid incompatible brushes like shellac brushes. Ultimately, have polishing compounds ready for final buffing to achieve a glossy, authentic vintage look.
Final Finishing Touches for a Period-Correct Look
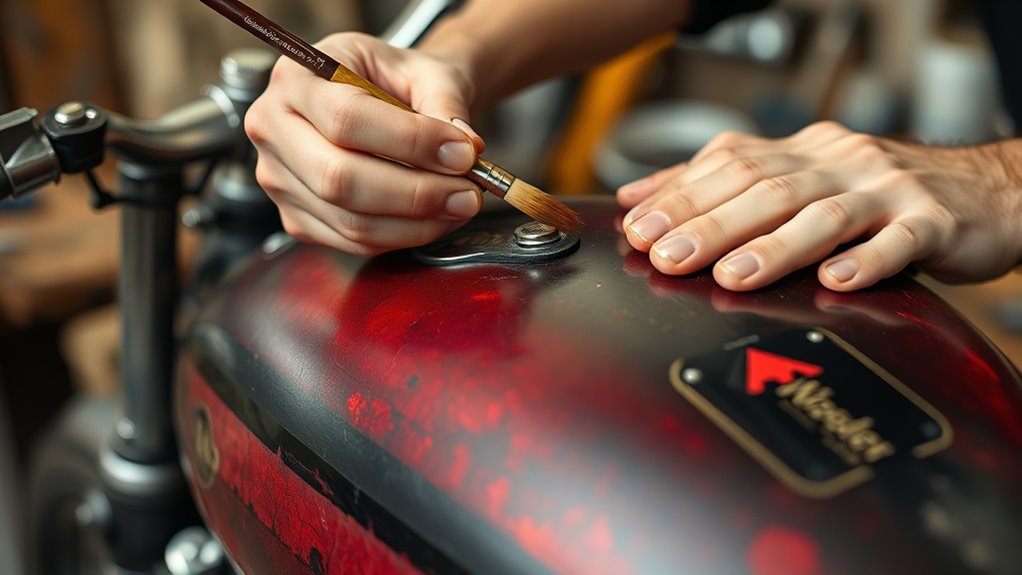
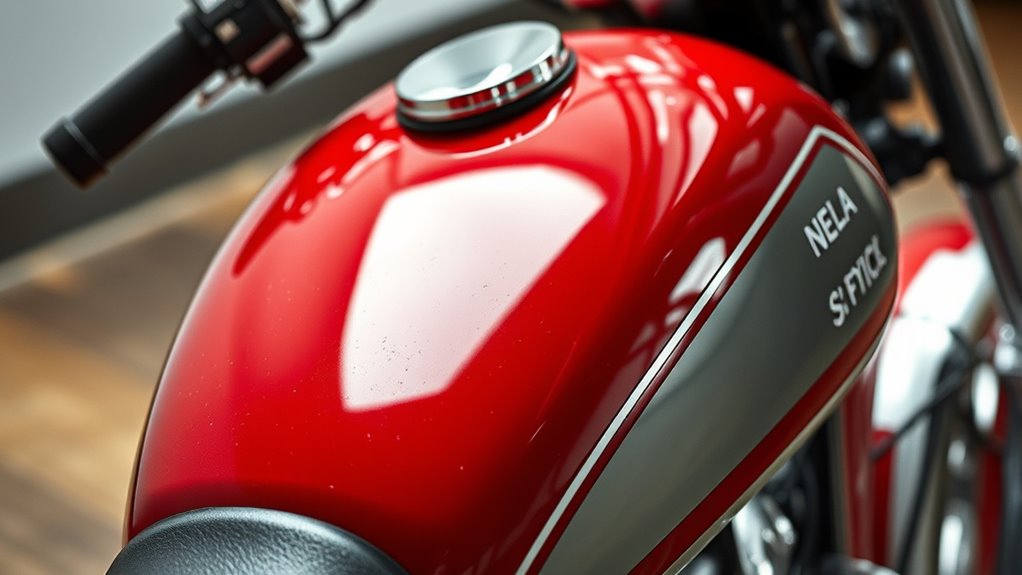
Achieving a period-correct vintage motorcycle finish requires careful attention to the final steps, ensuring the paint looks authentic and durable. First, use fine polishing compounds and a buffer to achieve a smooth, glossy surface that mimics factory finishes. Second, consider applying a thin, compatible clear coat to protect the paint and enhance depth without compromising authenticity. Third, add subtle weathering effects like light fading or tiny cracks using specialized techniques to simulate age. Fourth, incorporate period-appropriate details like pinstripes or decals, carefully masked and applied for precision. These finishing touches ensure your motorcycle captures the vintage look while maintaining durability, giving your restoration an authentic, professional appearance that stands the test of time.
Frequently Asked Questions
What Are the Best Methods for Matching Original Vintage Paint Colors Accurately?
You can match vintage paint colors accurately by referencing original factory color charts or museum-quality photos of your motorcycle model. Take detailed color samples, like paint chips or small areas, and have them matched at a professional paint shop using spectrophotometers. Always verify color authenticity with documentation or expert advice, and consider custom mixing to replicate specific shades precisely. Testing small patches before your final application guarantees an authentic vintage look.
How Can I Replicate Authentic Vintage Paint Cracking and Aging Effects Realistically?
You can create authentic vintage paint cracking and aging effects by carefully applying crackle mediums, which mimic the natural crazing of old paint. Use fine brushes or airbrush techniques to add subtle cracks, then weather the surface with light sanding, dirt, or patina for a truly aged appearance. Dull or matte clear coats enhance the worn look, making your motorcycle look like it’s traveled through time itself. Patience and precision are your best tools here.
Which Primers and Surface Treatments Ensure Maximum Adhesion for Vintage-Style Paints?
You should start with an acid wash to clean and etch the surface, guaranteeing excellent adhesion. Follow with an epoxy coating inside the frame to prevent corrosion and create a strong base. Sand the surface thoroughly, progressing from coarse to fine grit, to remove old paint and smooth imperfections. Using a high-quality primer compatible with vintage paints, like an epoxy or adhesion-promoting primer, ensures maximum bonding and durability for your classic finish.
What Techniques Help Achieve a True Period-Correct Finish Without Modern Gloss?
A picture is worth a thousand words, so aim for authenticity. To achieve a true period-correct finish without modern gloss, use single-stage enamel or lacquer paints, avoiding clear coats that add shine. Apply multiple thin coats with careful sanding in between to create a matte, aged appearance. Utilize weathering techniques like subtle cracking, dulled finishes, and faux patina to enhance the vintage look, ensuring your bike exudes classic charm.
How Do I Select and Apply Period-Appropriate Graphics and Pinstripes?
You select period-appropriate graphics and pinstripes by referencing original factory designs, vintage photos, or museum archives to guarantee accuracy. Use fine masking tape for clean, crisp edges, and apply paint with an airbrush for subtle shading and detail. Practice steady hand control, applying multiple thin layers and allowing proper drying between coats. For authentic look, consider weathering or aging techniques on the graphics to match the vintage wear.
Conclusion
So, go ahead—dive into that vintage paint job with all the patience and precision it deserves. After all, nothing screams “authentic” like spending hours weathering, aging, and perfecting every detail—because who wouldn’t want their classic motorcycle to look like it’s been through a few decades of adventures? Just remember, the real art is in the imperfections. Now, sit back and enjoy your beautifully “aged” masterpiece—perfectly imperfect, of course.