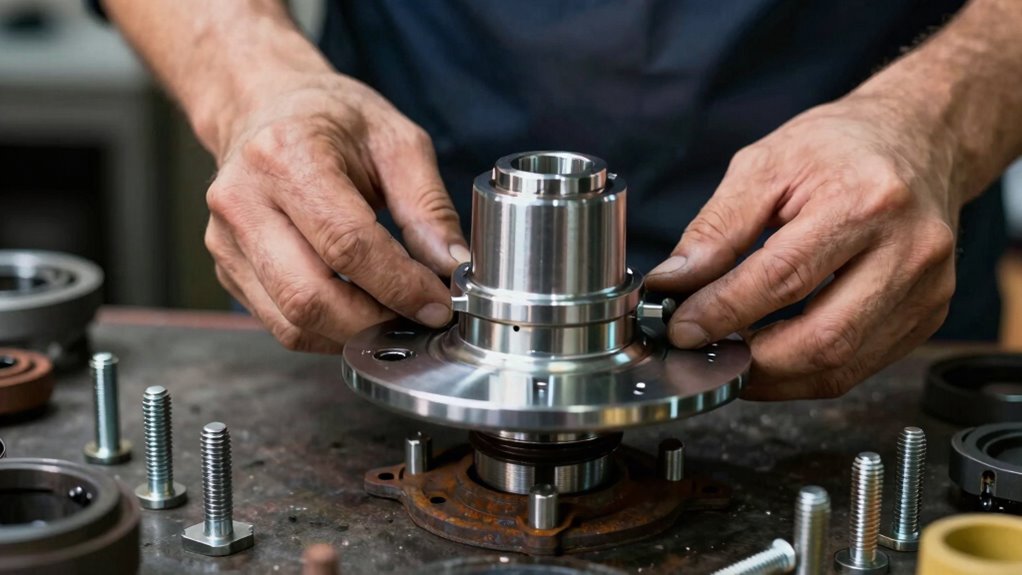

To rebuild a wheel hub properly, start by removing the wheel and brake components, then carefully disassemble the hub assembly. Inspect all parts for wear, damage, or corrosion, and replace any faulty components. Clean all surfaces thoroughly and verify the bearings are in good condition; replace or repack them if needed. Reassemble the hub with proper torque specifications, double-check everything, and test the assembly for smooth operation. If you want detailed steps and tips, keep going.
Key Takeaways
- Thoroughly inspect the hub and bearing for damage or wear before rebuilding.
- Clean all components thoroughly to remove dirt, rust, and old lubricant for proper reassembly.
- Replace worn or damaged bearings and seals with high-quality, manufacturer-approved parts.
- Follow proper torque specifications and reassembly procedures to ensure a secure fit.
- Test the rebuilt hub by spinning it smoothly and performing a road test for noise or vibrations.
Rebuilding a wheel hub can seem intimidating, but with the right tools and steps, you can do it yourself and save money. The process often begins with wheel bearing troubleshooting, which is essential to determine if the hub assembly replacement is necessary. Listen for any grinding or humming noises when you drive, especially during turns or acceleration, as these sounds usually indicate worn-out bearings. If you notice loose or rough feeling in the wheel, it’s time to inspect the hub assembly closely.
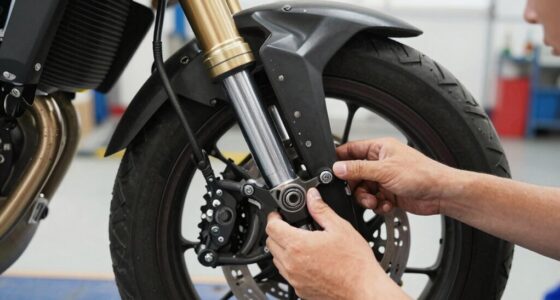
Before starting, ensure your vehicle is securely lifted and supported on jack stands. Remove the wheel and brake components carefully, exposing the hub. Once you have clear access, check for any signs of damage or excessive wear. If the bearings feel loose or rough when spun by hand, it’s a clear sign you need to replace the entire hub assembly. Sometimes, the best course of action is a complete hub assembly replacement, especially if the hub or bearings are damaged beyond repair.
Ensure the vehicle is supported on jack stands, then inspect the wheel bearings for looseness or roughness to determine if replacement is needed.
When replacing the hub assembly, you’ll need to remove the axle nut and disconnect the hub from the suspension components. This often involves removing bolts or clips holding the hub in place. It’s crucial to follow the specific torque specifications for your vehicle to avoid future issues. During the removal process, keep track of all components and fasteners for proper reassembly. Once the old hub is out, clean the mounting surface thoroughly to ensure the new hub sits flush. Proper cleaning and inspection are vital to prevent future problems like uneven wear and ensure a secure fit. Additionally, understanding the proper disassembly techniques can help prevent damage to surrounding parts.
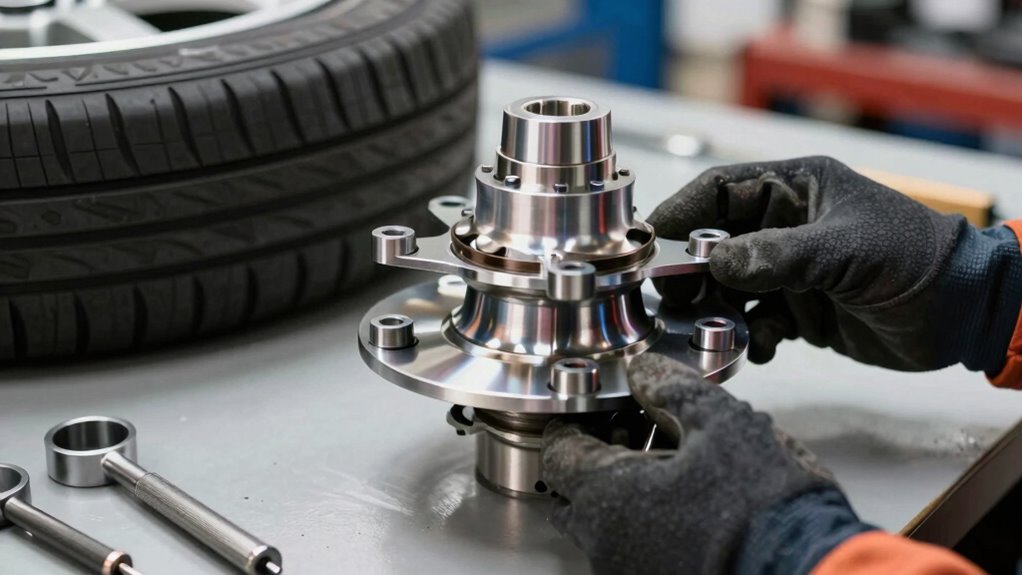
Installing the new hub assembly involves reversing the removal steps. Be sure to torque all bolts correctly, as improper tightening can lead to premature failure or uneven wear. After installation, it’s wise to recheck the wheel bearing condition by spinning the wheel and feeling for any roughness or noise. Properly lubricate the new bearings if required, following the manufacturer’s instructions. Additionally, inspecting the hub assembly for any signs of damage or corrosion can help prolong its lifespan and ensure safe operation.
Finally, reinstall the brake components and wheel, then lower your vehicle. Take a short test drive to confirm everything functions smoothly. Listen for any unusual sounds, and feel for vibrations or looseness. If all feels solid, you’ve successfully completed the hub assembly replacement. Regular maintenance and timely troubleshooting of wheel bearings help prevent more serious issues down the road, making your repairs last longer and your driving safer.
As an affiliate, we earn on qualifying purchases.
Frequently Asked Questions
What Tools Are Essential for Rebuilding a Wheel Hub?
You’ll need essential tools like a socket set and breaker bar to remove the axle nut and loosen the wheel bearing assembly. A hub puller helps detach the hub from the axle, while a torque wrench guarantees proper tightening. You might also need a hammer, punch, and bearing press. These tools help you safely and effectively rebuild the wheel hub, making certain the wheel bearing is properly installed and secured.
How Do I Identify Worn or Damaged Wheel Hub Components?
Think of your wheel hub as the heart of your vehicle’s movement, and worn parts are warning signs. You’ll notice uneven wheel alignment, which causes pulling or vibrations, or a shaky brake disc during stops. Inspect the hub for excessive play, rust, or cracks. If parts feel loose or look damaged, it’s time to substitute them. Recognizing these signs ensures your wheel hub stays healthy, keeping your ride smooth and safe.
Can I Rebuild a Wheel Hub Without Special Equipment?
You can attempt wheel hub maintenance without special equipment, but rebuilding a hub often requires specific tools for disassembly and reassembly. While rebuilding can be cost-effective compared to replacing, it’s essential to know when to rebuild versus replace. If you lack the necessary tools or expertise, it’s safer to opt for replacement. Properly rebuilding a wheel hub ensures longevity, but without proper equipment, you risk improper assembly and future issues.
What Are Common Mistakes to Avoid During Rebuilding?
Oh, the thrill of rebuilding a wheel hub—who wouldn’t want to master that art? Watch out for neglecting proper wheel alignment; it’s like giving your car a crooked smile. Also, forgettin’ to inspect the brake disc can turn a smooth ride into a squeaky spectacle. Avoid rushing and skipping essential steps, or you might end up with a wobble instead of a flawless wheel hub.
How Long Does a Typical Wheel Hub Rebuild Take?
A typical wheel hub rebuild usually takes about 2 to 4 hours, depending on your experience and the complexity of the rebuild procedures. You should allocate time for thorough wheel hub maintenance, including cleaning, inspecting, and replacing worn parts. Rushing can lead to mistakes, so take your time to make certain each step is done correctly. Proper planning and patience help you avoid errors and ensure a safe, long-lasting rebuild.
As an affiliate, we earn on qualifying purchases.
Conclusion
Rebuilding a wheel hub is like giving your vehicle a fresh start—take your time and do it right. With patience and attention to detail, you’ll guarantee everything runs smoothly and safely. Remember, a well-rebuilt hub is the backbone of your ride, just like the roots keep a tree steady. So, stay focused and precise, and you’ll enjoy many miles of reliable driving ahead. Your effort pays off when the job is done right the first time.
As an affiliate, we earn on qualifying purchases.
As an affiliate, we earn on qualifying purchases.