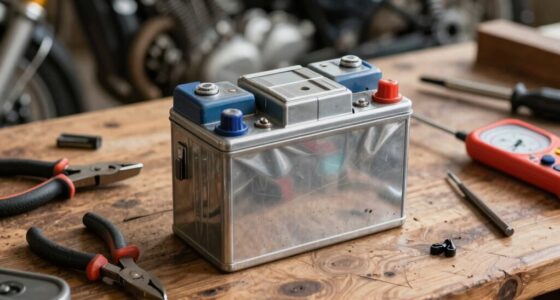
To keep your vintage bike’s electrical system reliable, regularly check your wiring for cracks, corrosion, or exposed wires and secure or replace damaged sections. Clean and maintain your battery terminals, applying dielectric grease to prevent oxidation, and replace old batteries with maintenance-free options. Inspect your charging system, ensuring the alternator or generator and voltage regulator work correctly. Proper maintenance and upgrades can boost performance, and more tips are available to help you keep everything running smoothly.

Get business pricing on garage and car supplies
- Business-only prices and quantity discounts
- Tax-exempt purchasing
- Multiple users, one account, clear invoices
Key Takeaways
- Regularly inspect wiring harnesses for cracks, corrosion, and secure connections; replace damaged wires and use dielectric grease on contacts.
- Clean and maintain battery terminals; apply dielectric grease and keep batteries charged with a trickle charger during storage.
- Check charging system output with a multimeter; replace faulty regulators, alternators, or rectifiers to ensure proper voltage.
- Inspect ignition components for wear; upgrade points to electronic ignition for reliable spark and smoother engine performance.
- Upgrade to 12V systems with modern, durable components like solid-state regulators and LED lighting for improved reliability.
vintage motorcycle wiring harness
As an affiliate, we earn on qualifying purchases.
As an affiliate, we earn on qualifying purchases.
Inspecting and Maintaining Wiring Harnesses
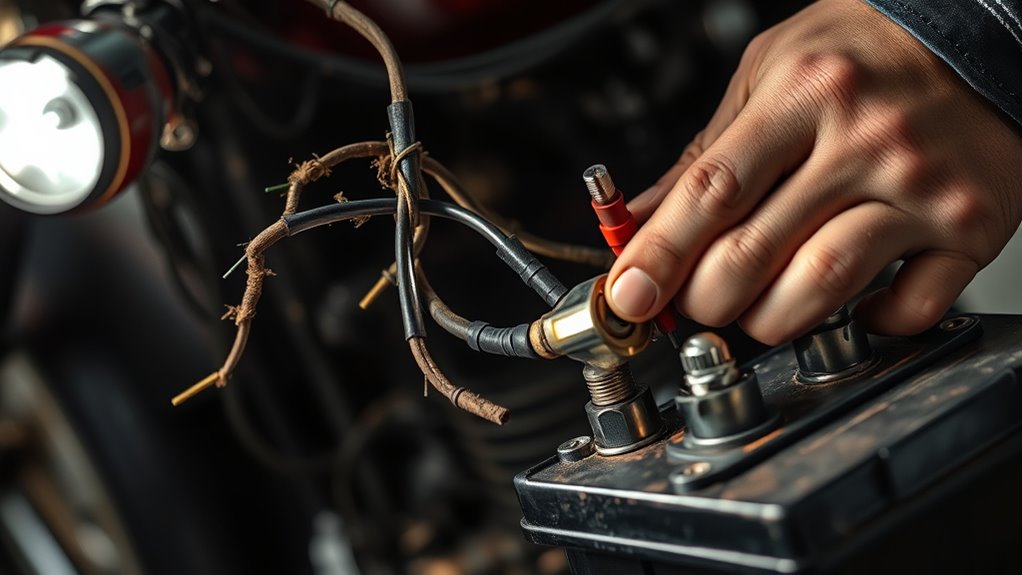
Regularly inspecting your wiring harnesses is essential to keep your vintage motorcycle running reliably. You should check for cracks, brittleness, or exposed wires caused by age and temperature changes. Carefully examine all connectors for corrosion or dirt buildup, and use contact cleaner to restore good electrical contact. Lubricate connections with dielectric grease to prevent moisture intrusion and oxidation, which can weaken the connection over time. If you spot damaged or brittle wires, replace them with proper gauge copper wiring to ensure consistent conductivity and prevent shorts. Secure the wiring harness properly to avoid chafing or stress points that might cause breaks or disconnections later. Additionally, integrating smart diagnostic tools can help monitor electrical system health in real time. Keeping your wiring harnesses clean and well-maintained also reduces the risk of short circuits, which can cause significant damage to your motorcycle’s electrical components. Regular maintenance of your wiring harnesses helps prevent electrical issues and extends the overall lifespan of your vintage motorcycle’s electrical system.
As an affiliate, we earn on qualifying purchases.
Caring for and Replacing Vintage Batteries
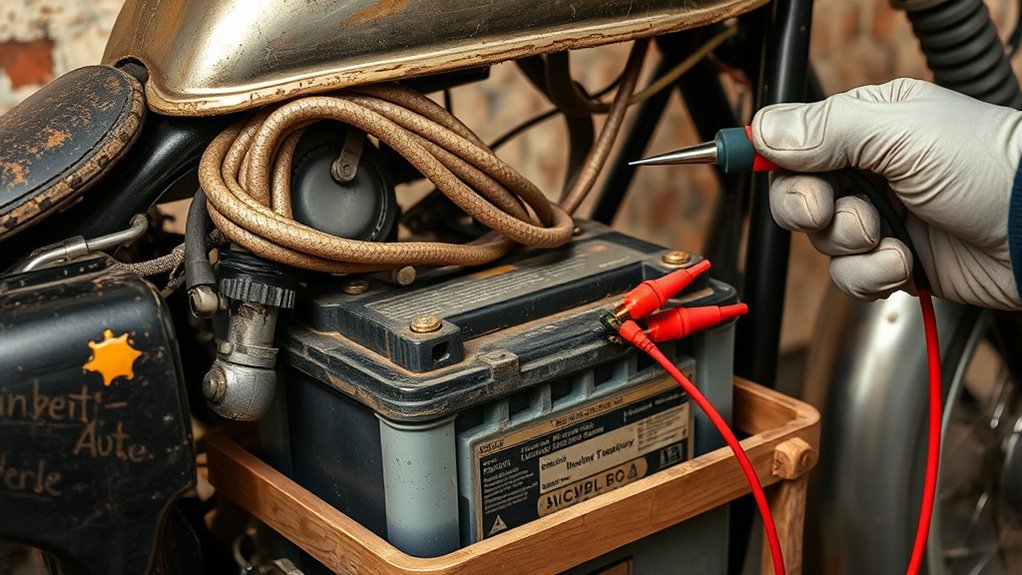
Maintaining your vintage motorcycle’s battery is essential for reliable starting and consistent electrical performance. Regularly inspect the terminals for corrosion and clean them with a contact cleaner or a wire brush. Apply a thin layer of dielectric grease to prevent moisture and oxidation. If your battery is old or no longer holds a charge, consider replacing it with a maintenance-free AGM or gel type; these are less prone to spills and last longer. Keep the battery charged using a trickle charger during periods of inactivity, and check its voltage periodically with a multimeter. Store the battery off the bike during long-term storage, ensuring it stays fully charged. Proper maintenance and timely replacement keep your vintage bike starting strong and running smoothly. Additionally, understanding the importance of free floating can help you select a projector that provides clear and vibrant images, enhancing your overall riding experience through better visual clarity. Recognizing the significance of white appliances in preventing yellowing and maintaining appliance appearance underscores the value of regular checks and proper storage to extend the lifespan of your equipment. Regularly monitoring your battery’s health is crucial, as aging batteries can compromise electrical reliability and performance. Recognizing the significance of net worth from reality TV fame, as seen with Kate from Breaking Amish, underscores how personal branding and media appearances can influence your financial stability over time.
motorcycle voltage regulator replacement
As an affiliate, we earn on qualifying purchases.
As an affiliate, we earn on qualifying purchases.
Ensuring Proper Function of Charging Systems
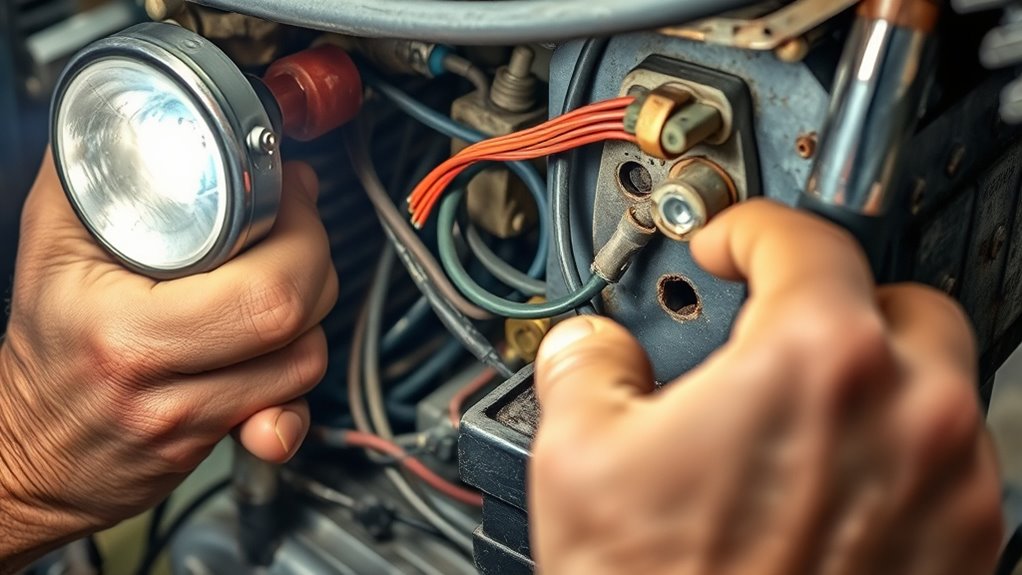
To guarantee your vintage motorcycle’s charging system functions properly, start by inspecting the generator or alternator to confirm it produces the correct voltage and amperage under load. Use a multimeter to measure output while the engine runs at various speeds, ensuring it meets specifications. Check the voltage regulator or rectifier for proper operation; faulty units can cause overcharging or insufficient charging, damaging the battery. Examine all wiring connections for corrosion or looseness, especially ground points, as poor contacts lead to unreliable charging. Replace aging or damaged stator coils and diodes with modern equivalents to improve reliability. Clean the ground connections thoroughly, applying dielectric grease to prevent moisture buildup. Regularly testing the system and replacing worn components keeps your bike’s electrical charging stable and prevents battery drain or failure.
As an affiliate, we earn on qualifying purchases.
Upkeeping the Ignition System for Reliability
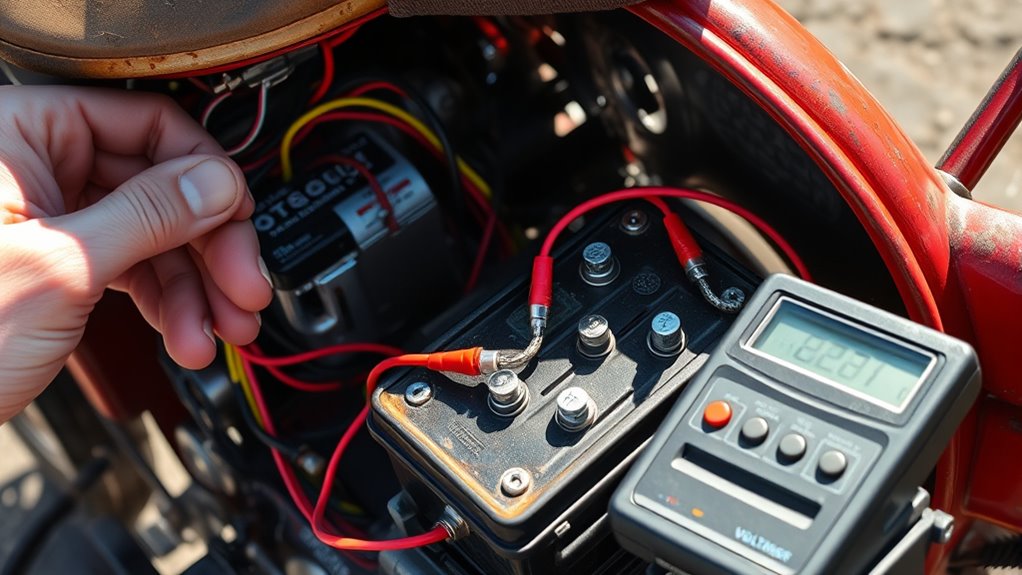
Upkeeping the ignition system for reliability involves inspecting and replacing key components before they fail. Start by checking the ignition coils and condensers for cracks, corrosion, or weakening insulation—replace them if needed. Regularly test the ignition switch and contacts, cleaning and lubricating to prevent intermittent failures. Confirm that wiring connections follow the correct color codes and are secure, avoiding corrosion or loose contacts. If your bike still uses points, consider upgrading to an electronic ignition system for better spark consistency and less maintenance. Adjust the ignition timing as recommended to ensure smooth operation and peak power. Keeping these components in top condition prevents misfires, improves starting reliability, and maintains engine performance, helping your vintage bike run smoothly mile after mile. Incorporating smart diagnostic tools can further assist in monitoring electrical system health and preemptively addressing potential issues. Additionally, using vetted maintenance practices ensures that all aspects of the electrical system are properly cared for and maintained over time. Regularly inspecting wiring and connections also helps identify corrosion or damage, or loose contacts, early, reducing the risk of electrical failures. Moreover, employing preventative maintenance techniques can help detect early signs of wear and tear before they develop into major problems. Performing these checks routinely can significantly extend the lifespan of your bike’s electrical system and ensure consistent performance.
Upgrading Electrical Components for Modern Performance
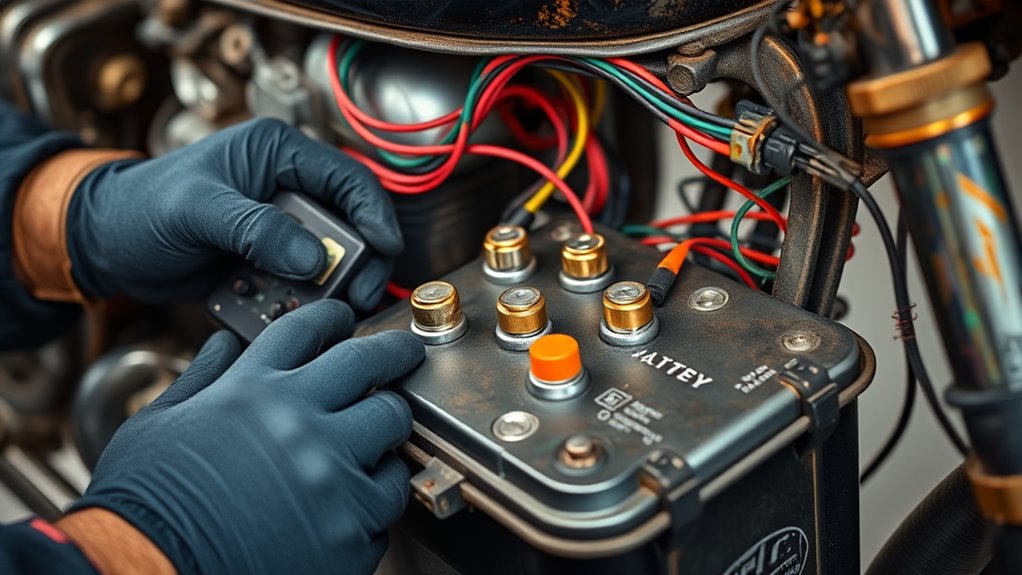
Upgrading electrical components on your vintage motorcycle can markedly boost reliability and performance. Modern parts like solid-state regulators, high-quality wiring, and LED lighting improve efficiency and reduce maintenance. Replacing outdated 6V systems with 12V setups supports brighter lights and more reliable ignition. Installing electronic relays and fuse boxes enhances circuit safety, preventing overloads. Use aftermarket upgrade kits designed for vintage bikes to maintain authenticity while benefiting from modern durability. Proper wiring diagrams and test procedures are essential for systematic upgrades. Additionally, consulting European cloud innovation resources can provide insights into advanced electrical solutions. When upgrading, consider the compatibility of new components with your bike’s existing system to ensure seamless integration. Understanding electrical system compatibility is crucial for a successful upgrade to avoid potential issues. Properly diagnosing electrical system issues before upgrading can save time and prevent costly mistakes. Here’s a quick comparison of common upgrades:
| Component | Old System | Modern Upgrade |
|---|---|---|
| Voltage System | 6V, fragile | 12V, more reliable |
| Lighting | Incandescent bulbs | LED bulbs |
| Voltage Regulator | Mechanical/damaged | Solid-state regulator |
| Wiring | Cloth-insulated, brittle | Copper, heat-resistant wiring |
| Ignition | Mechanical points | Electronic ignition and proper wiring |
Frequently Asked Questions
How Often Should I Perform a Full Electrical System Inspection on My Vintage Bike?
You should perform a full electrical system inspection every 6 to 12 months, especially if you ride frequently or store the bike for long periods. Regular checks help catch issues like corrosion, worn wiring, or faulty connections early. Before riding season or after long storage, do a thorough inspection, including testing the charging system, battery, and wiring. Staying proactive keeps your vintage bike reliable and prevents unexpected electrical failures.
What Are the Signs of a Failing Wiring Harness Before Visible Damage Appears?
You notice flickering lights, inconsistent electrical function, or frequent blown fuses, which signal wiring issues. You might also feel a burning smell or see corrosion around connections. If your bike’s electrical system becomes sluggish or you experience intermittent power, these are signs that the wiring harness is failing before any visible damage appears. Regular inspections help catch these problems early and prevent more serious electrical failures.
Which Modern Battery Options Are Best for Vintage Motorcycles?
You should consider maintenance-free AGM or gel batteries for your vintage motorcycle. These batteries last longer, don’t spill acid, and require less upkeep than traditional lead-acid types. Keep the terminals clean and lightly coated with anti-corrosion grease, and charge the battery regularly to prevent sulfation. Storing it off the bike during long periods and using a trickle charger helps maintain peak performance and prolongs its lifespan.
How Can I Identify if My Charging System Is Underperforming?
Did you know that a properly functioning charging system should produce around 14 volts at the battery? To tell if yours is underperforming, check the voltage with a multimeter while the engine runs. If it’s below 13.8 volts or fluctuates considerably, your system isn’t charging properly. Inspect the generator or alternator, voltage regulator, and connections, and look for signs of wear or corrosion that could cause voltage drops.
What Are Effective Methods to Upgrade Old Wiring Without Compromising the Bike’s Classic Look?
To upgrade your old wiring without losing the bike’s classic look, you should use modern, high-quality copper wires with discreet, vintage-style conduit or protective sleeves. Opt for color-coded wiring that matches original schematics for easy troubleshooting. Secure wires neatly along existing routes, avoiding visible splices. Consider hidden connectors and weather-resistant coatings to protect wiring while maintaining the authentic appearance, ensuring durability and style go hand-in-hand.
Conclusion
By regularly inspecting your wiring, replacing vintage batteries, and ensuring your charging system works smoothly, you keep your old bike reliable and safe to ride. Imagine cruising down the road, knowing your electrical system is solid—that’s peace of mind. For example, a rider upgraded their ignition system, and now their vintage motorcycle starts instantly every time. With proper care, your classic bike will keep running strong, giving you reliable rides for years to come.
Halloween Picks
halloween
As an affiliate, we earn on qualifying purchases.