To turn an old frame into a head-turning chopper, start by thoroughly evaluating its condition—checking for warping, cracks, and rust. Then, modify the geometry by cutting and extending the neck, backbone, or frame rails to achieve your desired style and handling. Install a hardtail for that classic rigid look, extend forks for a stretched stance, and guarantee plenty of clearance for components. Proper surface prep and paint finish the build, and following safety tips ensures your custom chopper is both safe and stunning.
Key Takeaways
- Assess and straighten or repair the frame to ensure proper geometry and safety before modifications.
- Extend or shorten the frame, neck, or backbone to achieve desired look and handling.
- Maintain precise measurements and alignment during cutting, welding, and reassembly for optimal handling.
- Install a weld-on hardtail and customize fork length for a unique, stretched appearance.
- Prepare the surface thoroughly, then paint or powder coat for a professional, durable finish.
Assessing and Preparing Your Frame
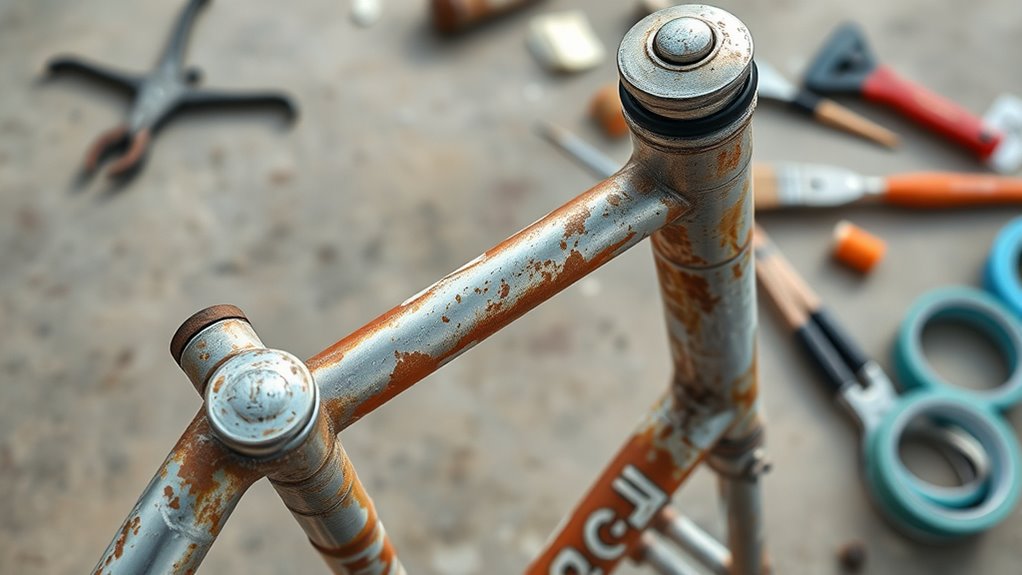
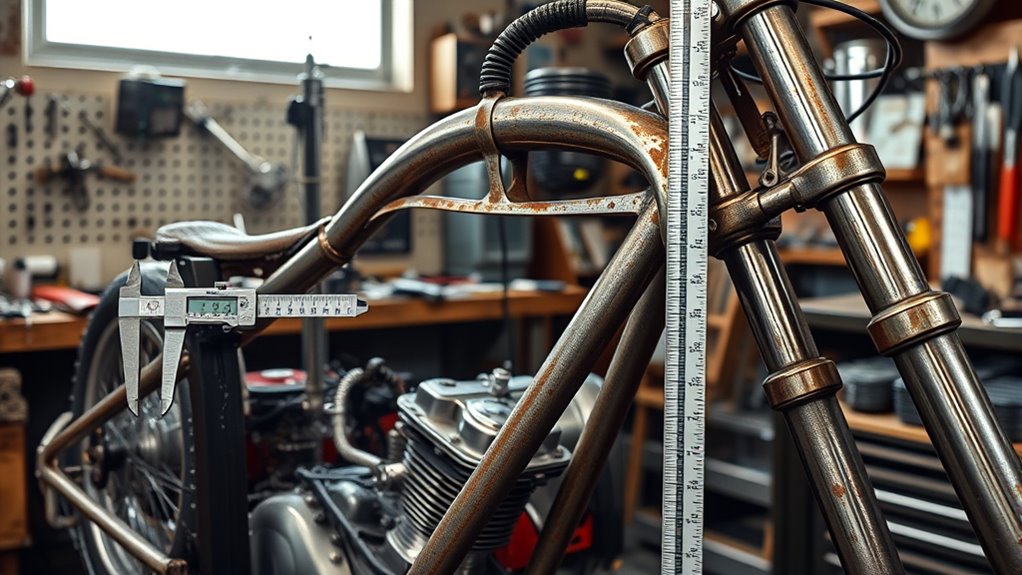
Before you begin modifying your frame, it’s essential to thoroughly evaluate its condition and dimensions. Check for any warping, cracks, or rust that could compromise strength. Measure the inside rail width to ensure it meets your project needs; for weld-on hardtails, at least 7.875 inches is necessary. Align the rear axle plates with a framing square and tape measure to confirm they’re plumb and square. Warped or twisted plates are common but can often be corrected with heat and bending. If you’re working with repop frames, inspect for crooked cross members or other quality issues that need correction. Removing excess material and adjusting widths, like aiming for 8.3 inches between rails, improves fitment for larger tires and modern components. Proper assessment ensures a solid foundation for your build. Additionally, understanding the best airless paint sprayer options can help you achieve a smooth, professional finish on your project. For the best results, consider frame alignment techniques to ensure your build is both durable and visually appealing. Regularly checking your frame’s structural integrity during the process can prevent unexpected issues later on. Incorporating adjustable mounting points can also facilitate easier modifications and upgrades down the line. Incorporating proper measurement tools enhances accuracy and helps prevent costly mistakes throughout your build.
Modifying Frame Geometry for Style and Fit

You can change your bike’s look and feel by adjusting the wheelbase length and frame angles. Shortening or stretching the wheelbase impacts handling and style, while altering frame angles can modify ride height and attitude. These modifications require precise measurements and welding to make certain your chopper not only looks great but also rides safely.
Adjusting Wheelbase Length
Adjusting the wheelbase length is a key step in customizing your chopper’s style and guaranteeing proper fitment. You do this by cutting and rejoining the frame rails to make the bike longer or shorter. Extending the wheelbase gives a more relaxed, stretched look, while shortening it creates a snappier stance. To modify the length, measure carefully, then cut the frame at the desired point using a chop saw or angle grinder. Reattach the rails with precise welding, making sure to keep everything aligned. Use spacers or filler plates if needed to maintain proper spacing. Always verify the length by setting the wheels and checking the overall fit before final welding. Proper adjustment ensures your chopper looks balanced and handles safely. Additionally, consulting frame geometry guidelines can help you achieve the desired handling characteristics and aesthetic.
Altering Frame Angles
Altering frame angles is a powerful way to customize your chopper’s appearance and riding dynamics. By changing the head tube or downtube angles, you can achieve a more aggressive or relaxed stance. For a stretched, laid-back look, you might extend the front fork rake or modify the neck angle to increase trail. Conversely, steepening the head angle can improve handling and response. To do this, carefully cut and re-weld the head tube or frame sections, ensuring precise measurements. Use a framing square and angle finder to maintain accuracy. Keep in mind that modifying angles affects steering, stability, and overall ride quality. Always double-check your measurements and weld carefully to preserve frame integrity and safety. Proper planning ensures your custom angles deliver both style and performance. Understanding frame geometry is essential to achieving the desired ride characteristics safely, especially when making modifications that impact ride dynamics. Additionally, considering how changes influence the bike’s handling and stability can help prevent undesirable riding behavior. When working with frame modifications, it’s also beneficial to research sound engineering principles to ensure your adjustments maintain structural strength and durability. Being aware of material properties can further enhance the durability of your modified frame.
Cutting and Extending the Neck and Backbone
Cutting and extending the neck and backbone are fundamental steps in customizing your chopper’s frame to achieve the desired style and fit. You’ll start by measuring how much you want to stretch or shorten these sections, typically extending the neck by about four inches and the backbone by two inches for that classic chopper look. Use a tubing cutter or saw to make clean, straight cuts. Before welding, chamfer or fishmouth the tube ends to guarantee a solid, precise fit. When extending, insert the new section and clamp it securely. Carefully align the tubes to maintain proper geometry and weld them with quality gear. Proper planning and precise execution assure a strong, clean modification that transforms your frame into a head-turning custom. Additionally, ensuring the frame modifications are compatible with Vetted electric bike conversion kits can enhance the overall functionality and ride quality of your custom chopper. Incorporating proper alignment techniques during the extension process can prevent future handling issues and improve the durability of your build. Paying attention to frame geometry is essential to maintaining a balanced and safe ride. Moreover, consulting safety checklists can help identify potential issues before riding your completed build. Understanding load‑planning tools can also assist in ensuring your modifications do not compromise the structural integrity of the frame.
Installing a Hardtail for a Rigid Look

Installing a hardtail transforms your motorcycle’s rear suspension into a sleek, rigid setup that gives your chopper a classic, minimalist look. First, verify your frame is properly prepared, with correct measurements and alignment. Next, fit the weld-on hardtail kit, typically designed for Sportster models, by aligning it with your frame’s rear section. Use spacers and precise tack welds to hold everything in place before completing full welds. Pay close attention to axle plate alignment and frame geometry to avoid handling issues later. Once welded, clean the surface thoroughly and spray paint to prevent rust. This process replaces the rear shocks, creating a clean, streamlined silhouette that embodies the raw, minimalist style of traditional choppers. Proper installation is key to both appearance and ride quality. Additionally, consider how a hardtail conversion impacts your bike’s overall stability and comfort during rides. Ensuring correct frame alignment is essential to achieve optimal handling and safety after the conversion. It’s also helpful to understand suspension dynamics to make informed decisions about modifications and riding performance. Understanding how different setups affect ride quality can help you tailor the bike to your riding style and preferences. Moreover, paying attention to frame geometry can significantly influence your bike’s overall handling and rider experience.
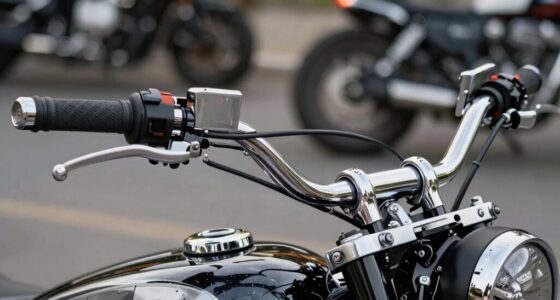
Extending and Customizing Forks for a Classic Stance

To achieve that iconic chopper look, you can extend your forks by 6 to 8 inches, which also alters handling. Proper stem extension methods, like machining metal slugs, make certain of a secure fit when using non-stock forks. Maintaining precise fork alignment with jigs or V-blocks is essential for safe riding and a clean, professional appearance.
Fork Lengthening Techniques
Extending your front forks is a straightforward way to achieve that iconic chopper stance, with a stretched and commanding look. You can lengthen forks by replacing the tubes or adding machined extension sleeves. When doing so, guarantee proper alignment to maintain handling and safety. Use a jig or V‑blocks for precise straightness. Machining metal slugs to fit inside the existing fork tubes allows seamless extension, while chamfering edges ensures strong welds. Custom headlight mounts and fender brackets will likely be needed to match the new length. Properly aligned forks not only enhance visual appeal but also improve handling. Take your time measuring, marking, and welding to avoid misalignment or weak joints. Additionally, always double‑check the fork alignment after installation to ensure optimal performance and safety. Ensuring correct fork geometry is essential for a smooth ride and rider confidence. Using the right tools and techniques, such as a quality chopper building jig, can greatly simplify the extension process and improve overall results. Paying close attention to rigid frame specifications during modifications helps prevent future issues with stability and safety. Incorporating precision measuring tools during each step can further enhance accuracy and safety.
Proper Stem Extension Methods
When customizing your forks for a classic chopper look, extending the stem is a proven method to achieve that stretched, commanding stance. You’ll need to machine or weld in metal spacers or slugs into the existing stem to lengthen the fork tubes. First, measure the desired extension carefully, and cut the spacers to fit snugly inside the stem tube. Chamfer the edges to ensure a proper fit and smooth welds. Use a jig or V-block to keep everything aligned during welding, maintaining straightness and true geometry. Once welded, grind and finish the joints smoothly. Finally, reassemble the forks, check for proper alignment, and ensure the steering is responsive. Proper stem extension creates that iconic stretched look while keeping handling safe and predictable.
Maintaining Fork Alignment
Maintaining proper fork alignment is crucial when customizing your front end to guarantee safe handling and a clean look. When extending or modifying forks, ensure they stay straight and true to avoid handling issues. Use a straightedge or a laser alignment tool to check that the fork tubes are perfectly aligned with the frame’s headstock. Chamfer and fishmouth joints carefully to ensure smooth, straight welds that won’t cause misalignment. During assembly, double-check the head tube angle and fork spacing. Clamp everything securely before welding, and use alignment jigs or V-blocks to hold parts in position. After welding, verify alignment again and adjust if necessary. Proper fork alignment not only improves handling but also preserves the classic aesthetic of your chopper build.
Aligning and Welding for Structural Integrity
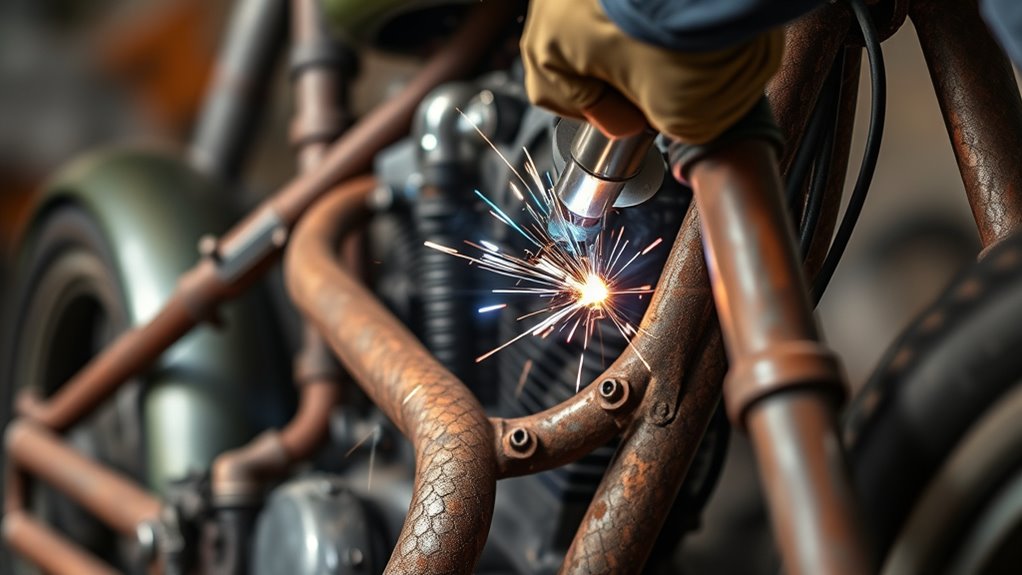
Proper alignment and welding are essential to ensuring your chopper’s frame remains strong and true. You need to double-check that all tubes and plates are perfectly aligned before welding. Use framing squares, tape measures, and plumb bobs to verify squareness, levelness, and proper spacing. Misaligned parts can cause handling issues and compromise safety. When welding, clean all surfaces thoroughly to remove rust, paint, and grease. Use a high-quality 220-volt welder and practice steady, even passes to avoid warping or overheating the metal. Clamp parts securely to prevent movement during welding. Always inspect your welds for consistency and penetration. Proper technique and attention to detail here will ensure a durable, safe frame that forms a solid foundation for your custom chopper.
Fabricating Custom Brackets and Mounts

After ensuring your frame is correctly aligned and welded, attention turns to fabricating custom brackets and mounts. These components are essential for attaching accessories, electrical parts, and drivetrain elements securely to your modified frame. Start by measuring the exact locations where brackets are needed, considering clearance and fitment. Use steel or aluminum stock, depending on strength requirements, and cut pieces to size with a hacksaw or grinder. Fishmouth the ends for strong, clean welds, then drill holes for mounting bolts. When welding brackets onto the frame, clamp everything tightly and guarantee proper alignment before tack welding. Finish by grinding smooth and applying a protective coating to prevent rust. Custom brackets not only secure your parts but also enhance your bike’s unique style.
Ensuring Proper Clearance for Components
Before finalizing your build, you need to verify that all components have proper clearance to operate safely and smoothly. Check brake clearance to ensure pads won’t rub or lock up, and confirm that tires and fenders fit without interference. Additionally, plan your chain or belt path carefully to prevent tension issues and guarantee smooth power transfer.
Brake Clearance Checks
Ensuring adequate brake clearance is essential to prevent rubbing, sticking, or interference that can compromise your bike’s safety and performance. Start by checking the space between the brake caliper and the wheel rim or disc, making sure there’s enough room for proper pad movement without contact. Verify that the caliper isn’t pressing against any frame or fork components, especially after modifications. Adjust the mounting brackets or spacers if needed to achieve consistent clearance on both sides. Confirm that the brake line routing doesn’t cause tension or pinching during steering or suspension movement. Regularly test the brakes by applying pressure and observing for any contact or resistance. Proper clearance ensures reliable braking, prevents uneven wear, and keeps your ride safe and smooth.
Tire and Fender Fitment
Proper tire and fender fitment is essential to prevent rubbing, snagging, or interference that can compromise your bike’s performance and safety. You need to guarantee enough clearance between the tire, fender, and frame components. Measure the space carefully and account for suspension movement, especially if you plan to run larger tires. Consider these key points:
- Verify tire width and diameter match your wheel setup for proper fit.
- Adjust fender mounting points to avoid contact under load or suspension compression.
- Check for sufficient space between the tire and frame rails or chain/belt drives.
- Use spacers or custom brackets to fine-tune alignment and clearance for smooth riding.
Getting these clearances right prevents wheel rubs, reduces wear, and ensures your chopper looks sharp and rides safely.
Chain and Belt Path
To achieve smooth operation and avoid chain or belt issues, you need to carefully plan and verify the path these components will take along your frame. Start by mocking up the drive system with placeholders or spare parts to visualize clearance. Ascertain there’s enough space between the chain or belt and frame tubing, especially at tight corners or bends. Check for proper alignment between the front and rear sprockets or pulleys, avoiding any misalignment that could cause skipping or excessive wear. Measure the distance from the drive sprocket to the rear wheel, maintaining consistent tension. Remember to account for suspension movement if applicable. Once you’re satisfied with the layout, mark and double-check clearances before welding or final assembly to prevent interference during operation.
Finishing Touches: Surface Prep and Painting

Achieving a smooth, durable finish on your chopper’s frame starts with thorough surface preparation. You need to remove rust, grease, and old paint to guarantee proper adhesion. Start by cleaning the frame with a wire brush or grinder, then sand the surface to create a rough, even base. Use a tack cloth to remove dust before applying primer. Proper surface prep includes:
- Sandblasting or chemical stripping for deep cleaning
- Applying a rust inhibitor if necessary
- Masking off areas not to be painted
- Using high-quality primer to prevent corrosion
Once prepped, choose a durable paint or powder coat that withstands weather and wear. Apply thin, even coats, allowing proper drying time. Finish with a clear coat for extra protection and shine. Proper prep and painting give your chopper a professional look that lasts.
Safety Tips and Essential Tools for Building

Building a chopper requires careful attention to safety and the right set of tools. You’ll need a welder, grinder, cutting wheels, framing square, tape measure, plumb bob, and drill press. Always wear protective gear—welding helmet, gloves, safety glasses, and a respirator—to shield yourself from sparks, fumes, and debris. Confirm proper ventilation in your workspace to avoid inhaling harmful fumes. Use clamps and jigs to hold parts steady during welding and cutting, preventing slips and accidents. Keep your tools well-maintained and organized to avoid mishaps. When working with power tools, stay alert and follow manufacturer instructions. Label and photograph parts before disassembly; it helps during reassembly. Prioritize safety at every step to make your build both successful and injury-free.
Frequently Asked Questions
How Do I Correct a Warped or Twisted Rear Axle Plate Safely?
To correct a warped or twisted rear axle plate safely, first remove it from the frame. Use a heat source like a torch to gently warm the area, then carefully bend it back into alignment with your hands or with pliers, applying even pressure. Cool it down slowly with water or air. Always wear safety gear, and work in a well-ventilated area to prevent accidents or injury.
What Are the Best Techniques for Maintaining Frame Geometry During Modifications?
Keep your frame on the straight and narrow by using a quality jig or alignment fixtures during modifications. Clamp the frame securely and check measurements frequently with a framing square and tape measure. Take your time, double-check angles, and use proper supports to prevent distortion. Remember, a stitch in time saves nine—maintaining precise geometry guarantees your bike handles right and looks sharp after all your hard work.
How Can I Ensure Proper Alignment of Extended Forks With the Frame?
To guarantee proper alignment of extended forks, start by machining or fabricating stem extensions precisely to match the original stem diameter. Use a straight jig or V-blocks to hold the fork tubes during assembly, checking for true alignment with a level or plumb bob. Carefully weld the extensions, ensuring the fork tubes stay straight. Finally, double-check the head angle and run a string line from the frame to the forks to confirm proper alignment before riding.
What Safety Precautions Should I Follow When Welding or Grinding Frame Components?
You must treat welding and grinding like handling a roaring tiger—dangerous if you overlook safety. Always wear proper protective gear: welding helmet, gloves, and fire-resistant clothing. Confirm your workspace is well-ventilated to avoid toxic fumes. Keep a fire extinguisher nearby, and never work alone. Double-check your tools are in good condition, and avoid distractions. Your safety isn’t just a priority; it’s the foundation of every successful frame modification.
How Do I Select the Right Materials for Custom Brackets and Mounts?
You should choose materials like 1” DOM tubing or steel plate for durability and ease of fabrication. Opt for high-quality, weldable steel such as mild or stainless steel, depending on your needs. Confirm the material’s thickness matches the component’s load requirements, and verify compatibility with your welding process. Using corrosion-resistant materials helps prolong the life of your brackets and mounts, ensuring safety and a clean finish.
Conclusion
Now that you’ve transformed your frame into a head-turning chopper, you’ve carved out a masterpiece from raw steel. With your hands and vision, you’ve woven together style and function, turning a simple frame into a rolling work of art. Remember, each detail is like brushstrokes on a canvas—make sure it reflects your personality. Now, hit the open road and let your creation roar like a beast set free, turning heads wherever you go.