
To give your motorcycle a retro look, start by thoroughly prepping the surface with cleaning, sanding, and filling imperfections. Choose authentic vintage colors, motifs like scallops or graphics, and use masking techniques for sharp lines. Apply multiple thin layers of primer, base coats, and specialty finishes like candy paints or metal flakes. Finish with clear coats, polishing, and touches that mimic aged or classic styles. If you keep exploring, you’ll discover step-by-step tips to achieve a professional, nostalgic retro design.
Key Takeaways
- Research vintage 1950s styles, focusing on scallops, bold graphics, and color palettes to create an authentic retro look.
- Prepare the motorcycle surface thoroughly by cleaning, sanding, and repairing imperfections for optimal paint adhesion.
- Use masking techniques and templates to achieve sharp lines, symmetrical motifs, and precise retro design elements.
- Apply layered base coats, candy colors, and effects like metallic flakes carefully for vibrant, vintage-inspired finishes.
- Finish with multiple clear coats, polishing, and detailing to achieve a glossy, professional retro appearance.
Planning Your Retro Motorcycle Design

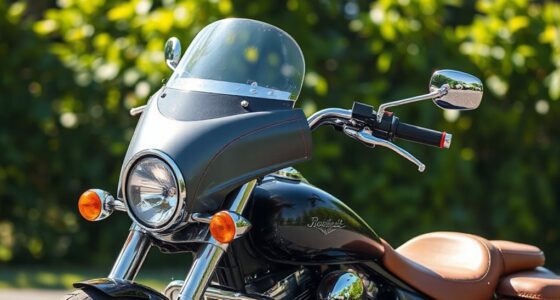
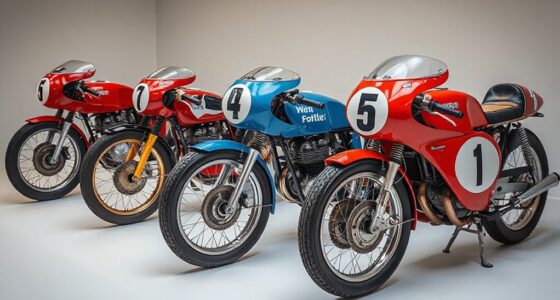
Planning your retro motorcycle design starts with researching classic styles from the 1950s, focusing on iconic elements like scallops, vintage graphics, and color palettes. You want your bike to capture that nostalgic vibe, so study vintage paint jobs and note what makes them stand out. Use centerline references and measurement guides to keep your design symmetrical on both sides of the tank. Incorporate motifs like bold scallops with crisp, straight lines that follow the tank’s curvature. Think about layering techniques, such as clear coats between colors, to achieve sharp edges and depth. Don’t forget to contemplate color schemes—metal flake, candy, and pastel tones all evoke that vintage feel. Planning thoroughly now ensures your retro look will be authentic, striking, and well-executed when it’s time to paint. Additionally, understanding free floating techniques can help you achieve a seamless design without paint bleeding or overlaps, ensuring a professional finish. Exploring paint masking methods can further improve your precision and clean lines during the application process. Incorporating Polynesian symbols for strength into your design can add cultural depth and meaningful motifs to your vintage aesthetic. Being aware of existential themes can inspire creative choices that reflect a deeper personal or philosophical meaning in your artwork.
Preparing the Surface for Painting

Before you start applying paint, you need to make certain the motorcycle surface is properly prepared. First, clean the surface thoroughly with a degreaser to remove dirt, grease, and wax. Next, sand the area progressively from coarse (120 grit) to fine (1500 grit) to create a smooth, even base. Fill any dents or imperfections with body filler, then sand again for a seamless finish. Use tack rags to wipe away dust before priming. Proper preparation guarantees paint adhesion and a flawless finish. Additionally, understanding your materials and fuel options ensures the best results for your custom paint project. For optimal results, consider how contrast ratio affects the clarity and vibrancy of your paintwork under various lighting conditions. Recognizing the importance of surface preparation can significantly enhance the durability and appearance of your custom paint, especially when selecting appropriate primers and paints for your specific motorcycle surface. Paying attention to waterproofing techniques can also protect your paintwork from environmental damage over time.
Selecting the Right Materials and Equipment
Choosing the right materials and equipment is key to achieving a professional-looking retro motorcycle paint job. You’ll need high-quality paints suited for your design and reliable spray equipment that offers precise control. Investing in the right tools guarantees clean lines, vibrant colors, and a durable finish that lasts. Additionally, using proper safety gear during the painting process helps protect you from fumes and overspray, ensuring a safer work environment. Selecting appropriate paint types that are compatible with your motorcycle’s surface can also influence the longevity and appearance of your finish. Furthermore, understanding paint adherence techniques ensures your paint bonds well and maintains its quality over time. Moreover, incorporating filtering and pump protection ensures your spray gun operates smoothly and reduces the risk of clogs or equipment damage. Paying attention to surface preparation techniques can significantly improve paint adhesion and overall results.
Quality Paint Selection
Selecting high-quality paint materials and reliable equipment is essential for achieving a professional-looking retro motorcycle paint job. The right choices guarantee vibrant colors, durability, and crisp lines that stand the test of time. Here are four key items to focus on:
- Urethane-based paints – Known for durability and a vintage shine, these resist chipping and fading.
- Candy and metallic paints – Add depth and sparkle, capturing the retro aesthetic.
- Proper reducers and hardeners – Guarantee smooth application and proper curing.
- High-quality masking tapes and primers – Prevent bleed-through and promote adhesion.
Investing in premium products minimizes issues like runs, blemishes, or fading, giving your motorcycle a flawless, authentic vintage look. Don’t skimp on quality; it pays off in the final result.
Essential Spray Equipment
The right spray equipment is crucial for achieving a flawless retro motorcycle paint job, as it guarantees even coverage, sharp lines, and smooth finishes. Start with a quality spray gun featuring adjustable nozzles to handle primers, base coats, and clear coats precisely. Use high-quality masking tapes to create crisp edges and protect areas not being painted. Fine grit sandpapers (120 to 1500 grit) are essential for surface prep and smoothing layers. Tack rags remove dust before painting, ensuring a clean surface. Choose proper reducers and thinners compatible with your paint types to prevent runs and ensure proper flow. Always wear protective gear like masks, gloves, and ensure good ventilation. Investing in reliable equipment helps you achieve professional results and authentic vintage effects. Proper piercing care and hygiene also ensures your workspace remains clean and free of bacteria that could compromise your paint job. Additionally, understanding auditory feedback techniques can help maintain focus and precision during detailed painting tasks. Moreover, being aware of cloud service reliance highlights the importance of backup plans in case of technical issues that could disrupt your painting process. Incorporating proper safety protocols is essential to protect yourself and ensure a safe working environment throughout the project. Implementing proper lighting conditions can also significantly improve visibility and detail accuracy during the painting process.
Masking and Creating Symmetrical Design Elements

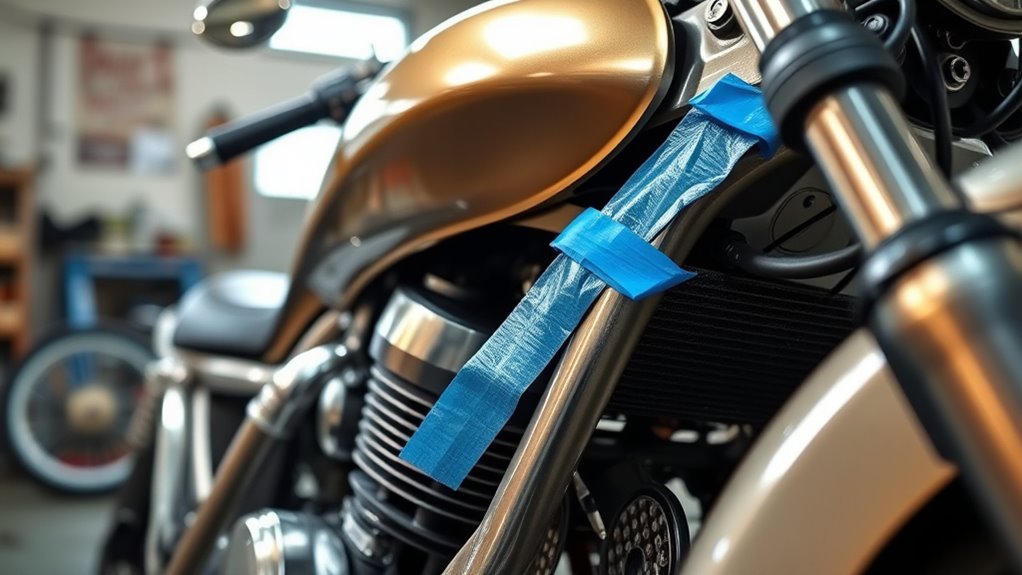
Masking is essential for achieving clean, crisp lines and perfect symmetry in retro motorcycle paint designs. Proper masking guarantees your design elements are sharp and evenly balanced on both sides of the tank. To do this effectively, follow these steps:
- Measure and mark the centerline of the tank to guide symmetry.
- Use high-quality masking tape, pressing it down firmly to prevent seepage.
- Create templates or stencils for symmetrical shapes like scallops or motifs, then carefully cut and align them. Paying close attention to painting techniques can help you refine your design and achieve smoother results.
- Remove masking tape slowly at an angle after the paint dries to avoid smudging or lifting edges.
- Taking your time with each step ensures a professional finish, which is key to achieving authentic retro appeal. Additionally, understanding masking materials can help you select the best options for sharp lines and durability. Incorporating proper ventilation considerations can help prevent paint fumes from affecting your work and ensure a safer environment.
With precision masking, your vintage-inspired graphics will look professional and balanced, giving your bike that authentic retro appeal.
Applying Primer and Base Coats
To get a smooth, durable finish, you need to focus on proper surface preparation, like cleaning and sanding for a flawless base. When applying primer, use thin, even coats with steady, sweeping motions to guarantee good adhesion and prevent drips. Layer your base coats carefully, applying multiple thin layers to achieve vibrant, even color without runs or uneven coverage. Additionally, understanding free crypto opportunities can help finance your DIY projects by exploring potential rewards from various platforms. Proper paint mixing techniques ensure consistent color and texture, which is essential for professional-looking results.
Surface Preparation Techniques
Are you ready to guarantee your motorcycle’s surface is perfectly prepared for painting? Proper surface prep ensures your paint adheres well and lasts. Here’s what you should do:
- Clean thoroughly with a degreaser to remove oils, dirt, and wax.
- Sand the surface progressively from coarse (800 grit) to fine (1500 grit) to create a smooth, toothy surface.
- Repair any imperfections, dents, or rust spots with filler or rust converter.
- Wipe down with tack rags to eliminate dust and debris before applying primer.
Primer Application Tips
Applying primer correctly sets the foundation for a smooth, durable paint job on your motorcycle. To guarantee ideal adhesion, apply thin, even coats using a spray gun held 6-8 inches from the surface. Steady sweeping motions help prevent drips and uneven coverage. Sand lightly between coats with fine grit sandpaper (around 400 grit) to maintain a smooth surface. Before painting, wipe the surface with tack rags to remove dust and debris. Use the table below to keep track of your primer coats:
| Step | Tip |
|---|---|
| 1 | Apply in thin, even layers |
| 2 | Hold spray gun steadily 6-8 inches away |
| 3 | Sand lightly between coats |
| 4 | Use tack rags before applying subsequent coats |
| 5 | Guarantee full coverage without runs |
Following these tips guarantees a solid base for your retro design.
Base Coat Layering
A well-executed base coat layer is essential for achieving vibrant, durable motorcycle paint. It sets the foundation for crisp, retro-inspired designs. To guarantee a perfect finish, follow these steps:
- Shake your color cans thoroughly to mix pigments evenly before spraying.
- Apply multiple thin coats, maintaining a distance of 6-8 inches for even coverage.
- Let each coat dry completely, usually 10-15 minutes, to prevent runs or uneven texture.
- Lightly sand between coats with fine grit paper (around 1500 grit) for a smooth surface.
Use a steady hand and consistent motion to avoid pooling or streaks. Proper layering ensures your colors pop and your vintage design stays intact.
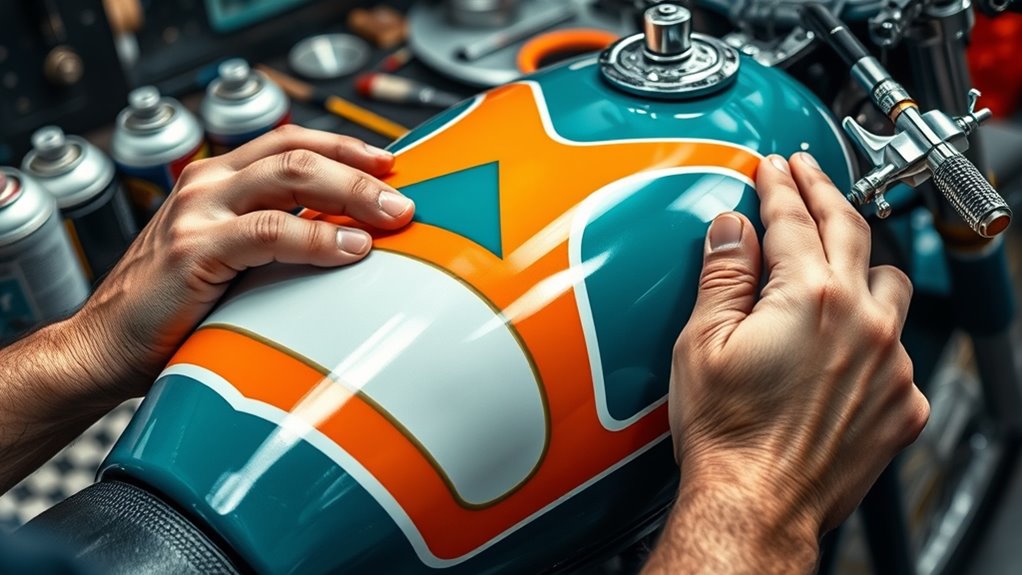
Adding Vintage Graphics and Details
Ever wondered how to make your motorcycle stand out with authentic vintage graphics? The key is precision and patience. Start by planning your design on paper, then transfer it using light pencil marks or stencil templates. Use masking tape carefully to outline sharp edges, ensuring clean separation between colors. For intricate details, switch to a fine-tipped brush or an airbrush, and work slowly to maintain accuracy. Layer vintage motifs like scallops, pinstripes, or retro symbols, paying attention to symmetry and placement. Incorporate subtle shading or highlights with thin paint layers to add depth. Remember, crisp lines and consistent spacing are essential for that authentic retro look. Allow each layer to dry thoroughly before adding the next to prevent smudging or bleeding.
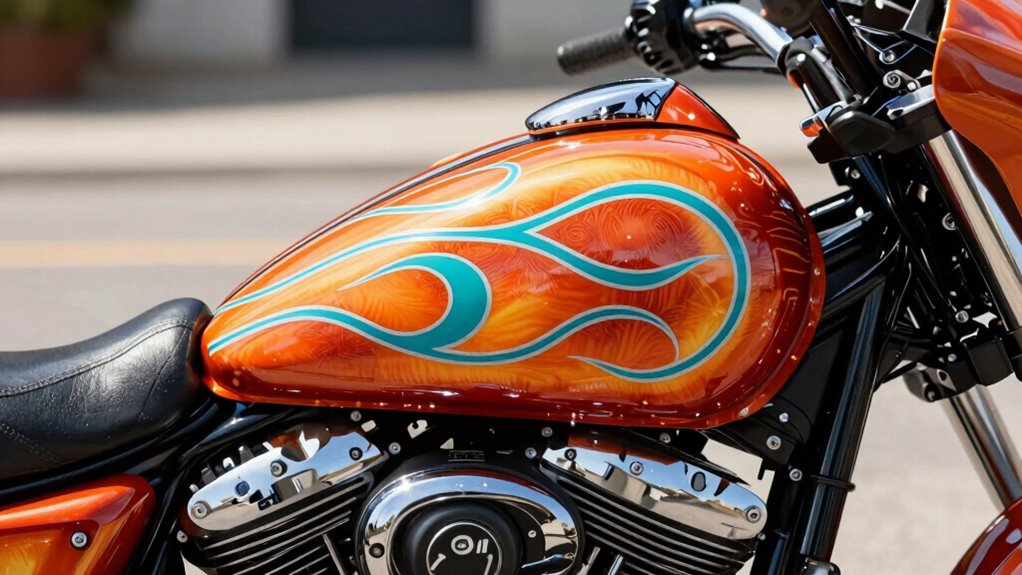
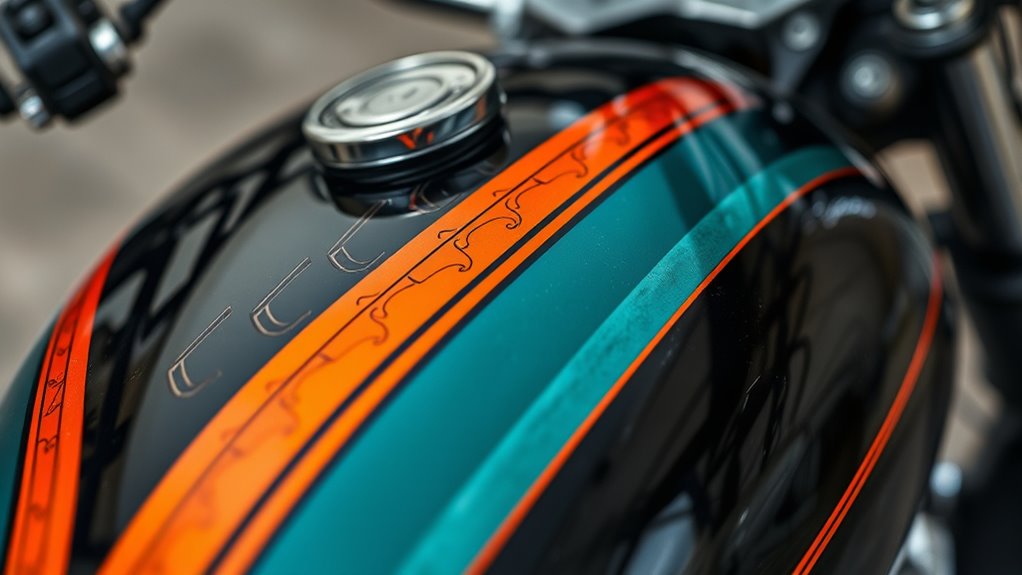
Incorporating Candy Paints and Metal Flake Effects

Incorporating candy paints and metal flake effects can dramatically enhance your motorcycle’s retro look by adding depth, sparkle, and vibrant color. These techniques create a vintage feel that really stands out. Here are four tips to achieve this effect:
- Use translucent candy paints mixed with reducers for a rich, luminous finish that glows under light.
- Apply multiple thin coats, allowing each to dry fully, for even color saturation and depth.
- Incorporate metal flake layers beneath or between candy coats to add sparkle and texture.
- Layer clear coats carefully over the candy and flake layers, sanding lightly between coats to smooth and deepen the effects.
These steps help you craft a vibrant, vintage-inspired look that truly pops.
Applying Clear Coats for Protection and Shine
Applying clear coats is essential to protect your custom paint job and achieve a glossy finish that lasts. You want to spray thin, even layers using smooth, steady movements to prevent drips and uneven coverage. Multiple coats will enhance durability and depth, so take your time between each application. After each layer, allow sufficient drying time—usually about 15-30 minutes—and consider light sanding with fine grit sandpaper or wet sanding to smooth out imperfections. Mixing ratios of clear to reducer—typically 4:1—ensure the right consistency for a flawless finish. Once you’ve applied enough coats, give the surface a final polish to amplify the shine and smoothness. Proper clear coat application not only preserves your retro design but also adds that professional, glass-like finish that makes your bike truly stand out.
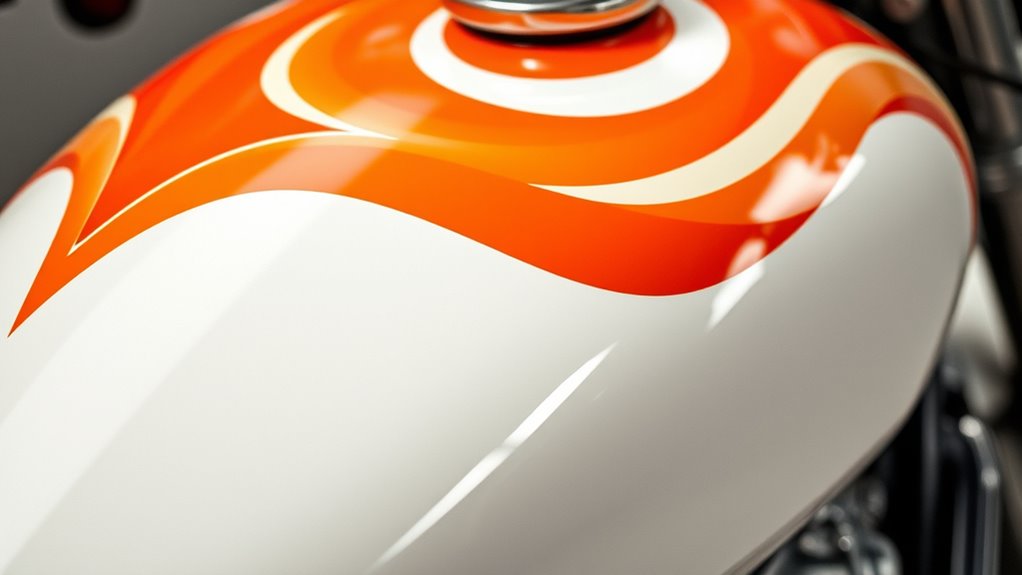
Achieving Authentic Vintage Aging and Effects
To create authentic vintage effects, you should layer candy paints carefully, ensuring each coat is thin and even. Sand lightly between layers to smooth edges and add depth, mimicking natural wear. Incorporating subtle textures and intentional aging details can enhance the retro look and make your bike stand out.
Layer Candy Paints Carefully
Layering candy paints carefully is essential for achieving authentic vintage effects that stand the test of time. To do this effectively, you need patience and precision. First, apply thin coats of candy paint mixed with reducer, allowing each to dry completely before the next layer. Second, avoid rushing; multiple light coats build depth and vibrancy more evenly than thick layers. Third, use a steady hand with your spray gun, maintaining consistent distance and movement to prevent drips and uneven coverage. Fourth, consider adding subtle shading or highlights with an airbrush to enhance depth and vintage appeal. Remember, layering with care creates a smooth, translucent finish that mimics aged, classic paint jobs, giving your motorcycle that authentic retro look.
Sand Between Layers
Sanding between layers is a key step to achieving authentic vintage aging and effects that give your motorcycle paint a seasoned look. After applying a layer of candy paint, lightly sand with fine grit sandpaper (around 1500 grit) to smooth any uneven edges or brush marks. This process also helps remove any tiny imperfections and prepares the surface for the next layer. When working with clear coats, gentle sanding between coats ensures better adhesion and enhances depth, giving your finish a professional, aged appearance. Keep your strokes steady and avoid pressing too hard to prevent scratches that can disrupt the vintage effect. Remember, patience is key—proper sanding between layers creates crisp lines, subtle textures, and that sought-after aged character.
Add Vintage Textures
Adding vintage textures involves subtly manipulating your paint layers to create an aged, worn look that mimics natural wear over time. To achieve this, focus on controlled techniques that add depth and authenticity.
- Use layered candy paints over metal flake bases, then lightly sand between layers to soften edges and enhance depth.
- Incorporate crackle effects or subtle textures with specialized mediums to replicate aged paint.
- Apply intercoat clears for smoothing graphic edges while preserving design detail, giving a soft, vintage fade.
- Thin your candy paints carefully to prevent pooling or runs, ensuring a more natural, weathered appearance.
These steps help you craft a genuine vintage feel, making your motorcycle look like it’s been through years of riding and aging gracefully.
Final Polishing and Finishing Touches

The final polishing process transforms your painted motorcycle into a glossy, professional-looking masterpiece. Start with a clean, dust-free surface. Use progressively finer polishing compounds, starting with a medium grit and moving to a fine polish. Apply evenly with a soft buffer or microfiber cloth, maintaining steady pressure. This step enhances the depth of your vintage hues and smooths out minor imperfections. To prevent scratches, work in small sections and keep the buffer moving.
| Step | Purpose |
|---|---|
| Compound | Removes swirl marks and enhances gloss |
| Polish | Adds depth and clarity to paint |
| Wax | Protects surface and improves shine |
| Final wipe | Ensures a streak-free finish |
Complete with a final wipe, your bike will reflect those retro vibes with a stunning, mirror-like finish.
Frequently Asked Questions
How Do I Prevent Paint Runs During Application?
To prevent paint runs during application, you should apply thin, even coats using steady, overlapping strokes. Keep the spray gun at the right distance—about 6-8 inches—and avoid heavy, quick passes. Constantly monitor your speed and pressure, and stop if you notice buildup. Let each coat dry fully before adding another. Using proper masking and sanding between layers also helps keep your finish smooth and free of runs.
What Safety Precautions Are Essential When Working With Vintage Paints?
Did you know improper safety measures can lead to serious health issues? When working with vintage paints, always wear a proper respirator mask, gloves, and safety goggles to protect yourself from toxic fumes and skin contact. Work in a well-ventilated area, and avoid eating or smoking nearby. Handling paints carefully mitigates health risks and ensures a safer, more enjoyable DIY experience.
How Can I Fix Mistakes or Overspray on My Motorcycle?
To fix mistakes or overspray, first let the paint dry completely. Use fine-grit sandpaper (around 1500 grit) to gently sand down the affected area, blending it into the surrounding paint. Carefully apply matching paint or clear coat over the repair, using masking tape to prevent overspray. Finally, polish the area to restore gloss and guarantee a seamless finish, giving your motorcycle a professional retro look.
What’s the Best Way to Match Colors for Vintage-Style Graphics?
Imagine catching the perfect vintage sunset hue—your motorcycle’s retro graphics should match that vibrant glow. To do this, compare your paint with color swatches or chips under the same lighting conditions. Use a digital color-matching tool for precision, then mix your custom blend. Test on a scrap piece first. This way, you’ll capture that authentic, nostalgic vibe, making your bike truly stand out with seamless, vintage-style graphics.
How Do I Maintain the Gloss and Durability of My Retro Paint Job?
To maintain the gloss and durability of your retro paint job, regularly wash your motorcycle with mild soap and water to remove dirt. Apply a high-quality wax or polish every few months to boost shine and provide an extra protective layer. Avoid harsh chemicals and abrasive tools that can damage the surface. Store your bike in a sheltered area to minimize exposure to sun, rain, and debris, helping your vintage finish stay vibrant longer.
Conclusion
Now that you’ve brought your retro motorcycle design to life, it’s like giving your bike a timeless soul. With patience and a steady hand, you’ve turned a simple repaint into a work of art that turns heads wherever you ride. Remember, the key is in the details and finishing touches—your bike now tells a story as vibrant as the roads ahead. So, hit the pavement and let your masterpiece shine like a star in the night sky.