To restore and tune an old carburetor, start by disconnecting the battery and fuel supply for safety, then carefully disassemble the unit, noting how parts fit together. Clean all components thoroughly with carb cleaner, inspecting for wear, cracks, or clogs. Reassemble with proper gaskets and adjustments, such as float height. Finally, fine-tune the mixture and idle screws for peak performance. Keep going to discover detailed steps that will guide you through every phase of this process.
Key Takeaways
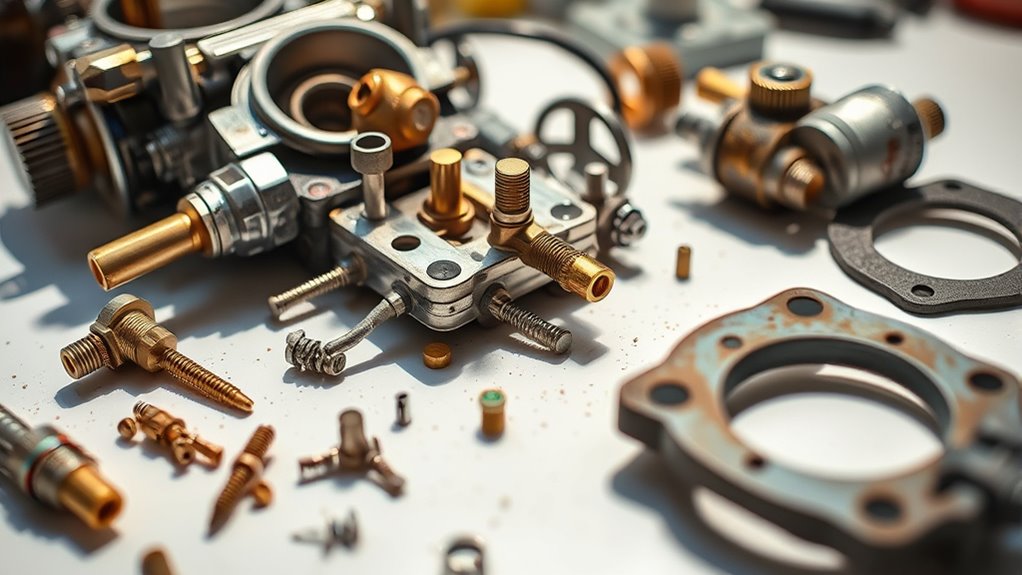
- Disassemble the carburetor carefully, labeling and photographing components for accurate reassembly.
- Clean all parts thoroughly with carburetor cleaner and compressed air, inspecting for wear or damage.
- Replace worn or damaged gaskets, seals, and jets to ensure proper sealing and airflow.
- Reassemble the carburetor, setting float height and gasket alignment according to manufacturer specifications.
- Adjust idle speed and mixture screws after installation for optimal engine performance and smooth operation.
Preparing for Disassembly: Safety and Initial Steps
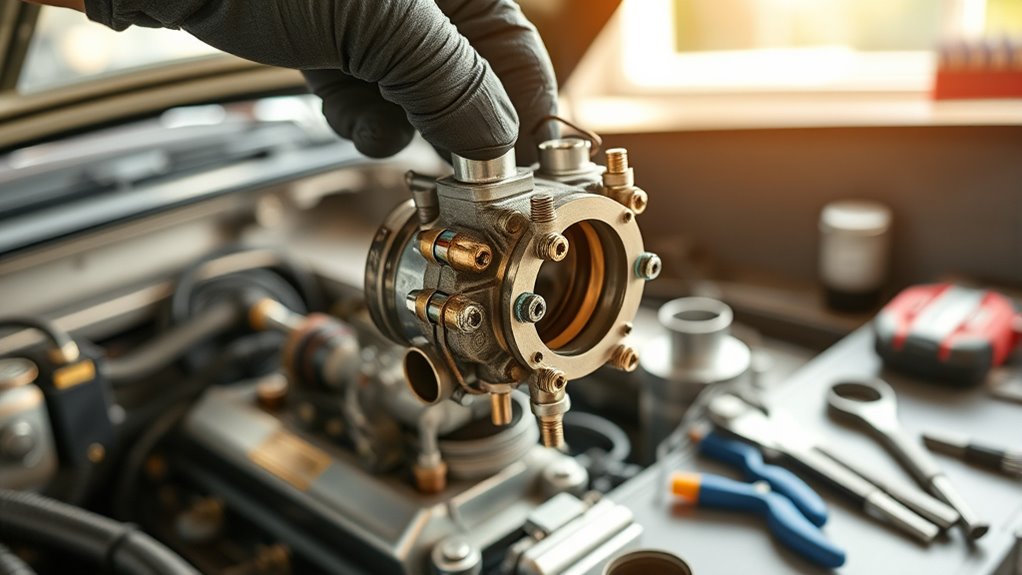
Before you begin disassembling the carburetor, it’s essential to prioritize safety and proper preparation. First, disconnect the battery if your vehicle has one, to prevent electrical sparks. Turn off the fuel supply and carefully remove the fuel line to avoid spills and potential fires. Next, disconnect the throttle and choke linkages, making note of their positions or marking them for easy reassembly. Unscrew the mounting bolts and gently lift the carburetor from the engine, taking care not to damage any parts. It’s wise to photograph or label key components and linkages before disassembly; this helps during reassembly. Wearing gloves and safety glasses protects you from fuel residue and debris, ensuring a safer, more efficient process. Additionally, understanding the Free Floating design of carburetors can help you better anticipate their internal components and potential issues during rebuilding. Being aware of European cloud innovation can also inspire environmentally friendly practices during your rebuild process. Moreover, familiarizing yourself with common carburetor troubleshooting techniques can prevent unnecessary delays and complications. Incorporating support breakfast insights can also encourage taking proper breaks, keeping you alert and focused throughout the process. It is also beneficial to review modern carburetor technology, which can provide ideas for optimizing your rebuild and tuning efforts.
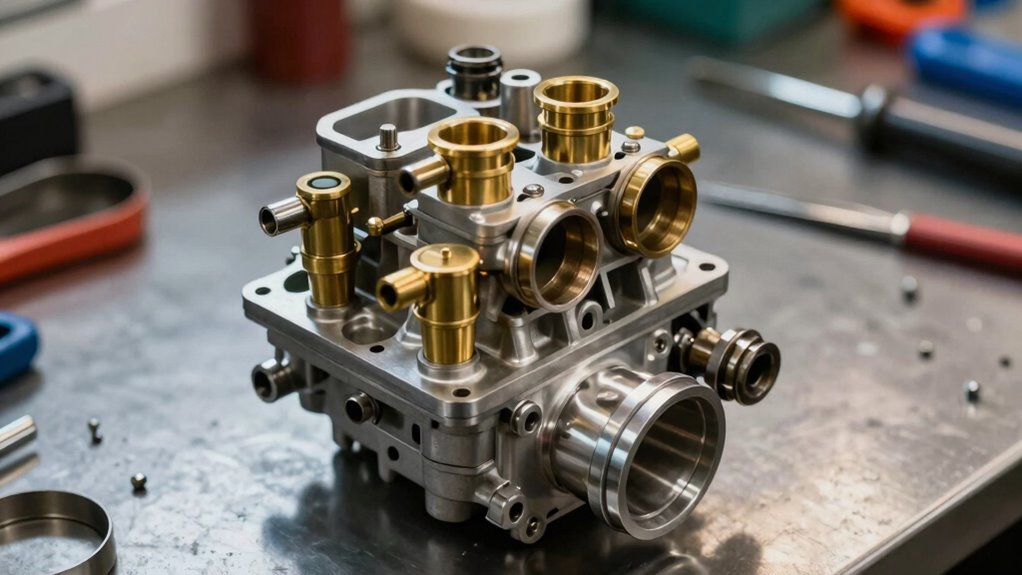
Step-by-Step Disassembly of the Carburetor
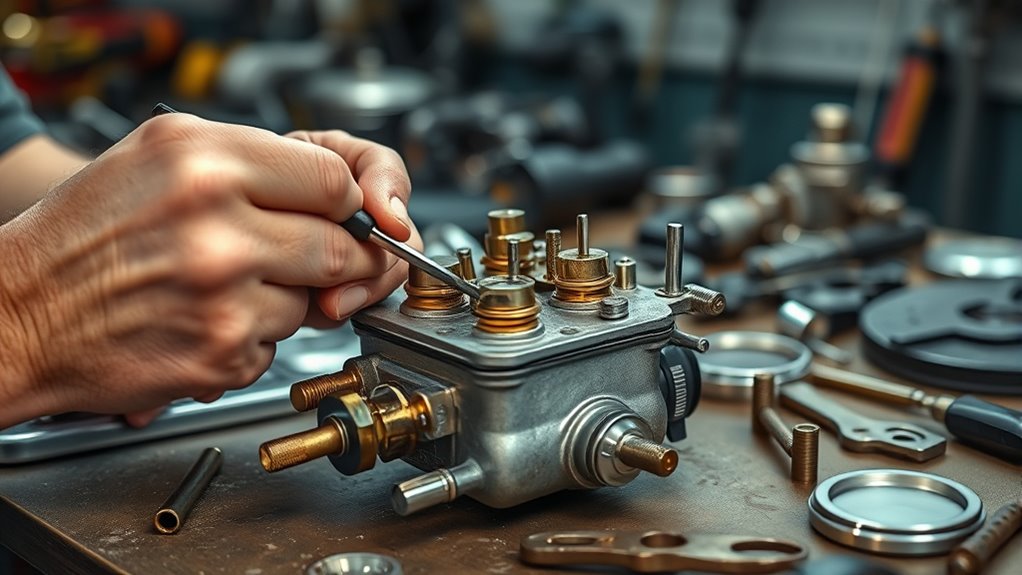
To begin disassembling the carburetor, you should first remove the float bowl by unscrewing the bolts or screws securing it in place. Once removed, set the bowl aside carefully. Next, gently lift out the float and needle valve, noting their orientation for reassembly. Proceed to remove jets, paying close attention to their positions, and keep track of small parts to avoid losing them. Carefully detach the throttle and choke assemblies, noting how linkages connect, or mark their positions for accurate reassembly. Use appropriate screwdrivers and tools to avoid damaging components. Lay out all parts neatly on a work surface, ensuring you keep track of each piece. This step-by-step disassembly will prepare your carburetor for cleaning and inspection. Proper disassembly techniques are essential to prevent damage and ensure a successful rebuild. Additionally, understanding carburetor components can help you identify issues more effectively during reassembly. Familiarity with component orientation during removal will make reassembly much smoother and help maintain proper functioning. Paying attention to body jewelry measurements can also be useful if you plan to maintain your vehicle’s appearance during repairs.
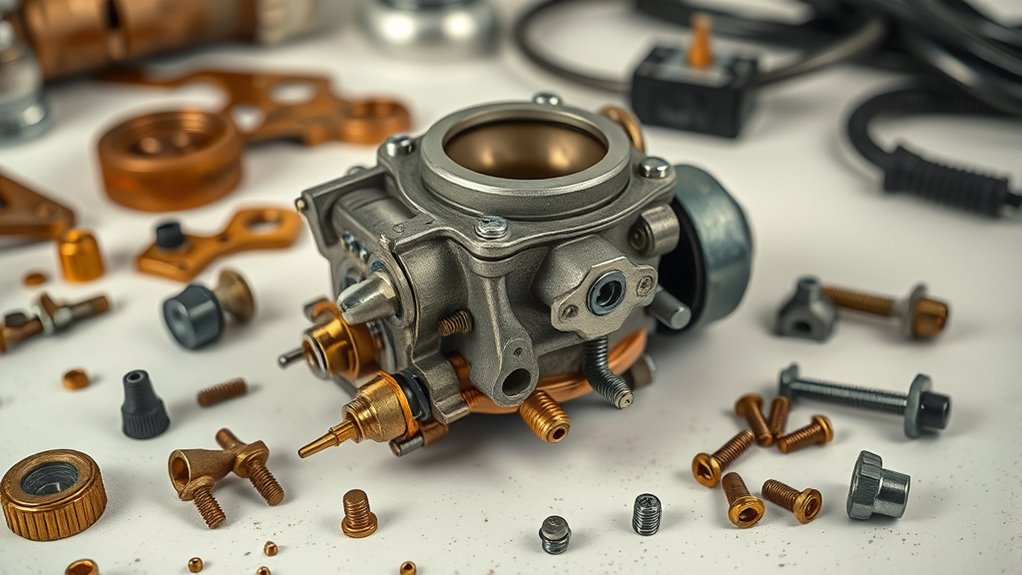
Cleaning and Inspecting Components for Wear and Damage
Cleaning and inspecting carburetor components is essential to guarantee proper engine performance. Begin by soaking metal parts in a carburetor cleaner solution to remove varnish, dirt, and debris. Use wire brushes, needles, or small brushes to thoroughly clean jets, passages, and tiny openings, ensuring no blockages remain. Blow out all passageways with compressed air, making sure airflow is unobstructed. Examine each part closely for signs of wear, cracks, or damage—pay special attention to gaskets, float, needle valve, and diaphragms. Replace any worn or damaged components using a rebuild kit. Inspect the float for leaks or deformation, and check the jets for clogging or corrosion. Proper cleaning and careful inspection prevent future issues and guarantee the carburetor functions reliably once reassembled. Maintaining a calm and organized approach during this process can help ensure thoroughness and reduce mistakes. Additionally, understanding carburetor operation principles can aid in diagnosing potential issues more effectively.
Reassembling the Carburetor With Proper Adjustments

Reassembling the carburetor requires careful attention to detail to guarantee proper operation and prevent leaks. First, reinstall the float and needle valve, ensuring they are set to the correct levels. Properly setting the float height is crucial for optimal fuel mixture. Next, assemble the bowl section, tightening screws lightly to allow for adjustments later. Then, reattach the upper components in reverse order, including the slider, diaphragm, and throttle/choke linkages. Proper filtration and sealing of all gaskets and seals are essential to prevent leaks and ensure consistent performance. It is also important to verify that the carburetor’s ethanol compatibility is suitable for your engine to avoid corrosion issues. Additionally, inspecting the air-fuel mixture settings can help optimize engine performance during reassembly. Finally, verify that all gaskets and seals are correctly positioned and secure to prevent leaks. To ensure proper adjustment, you should:
Reassemble carefully, check gaskets, and verify all linkages for optimal carburetor performance.
- Double-check the float height against manufacturer specs.
- Confirm that all linkages move freely without binding.
- Ensure jets are seated properly and tightened securely.
- Adjust screws to their original settings or as specified for tuning.
Proper reassembly is essential for optimal engine performance and longevity. Careful reassembly guarantees maximum performance and engine reliability.
Fine-Tuning the Carburetor for Optimal Engine Performance
Once you’ve reassembled the carburetor and confirmed that all linkages and seals are properly in place, it’s time to fine-tune the settings for ideal engine performance. Start the engine and let it warm up to operating temperature. Turn the idle speed screw to achieve a smooth, steady idle. Next, adjust the idle mixture screw—usually located near the throat—to achieve the highest, steady RPM. Make small adjustments, turning clockwise to lean the mixture or counterclockwise to enrich it. Listen for changes in engine response and smoothness. Take the vehicle for a test drive, observing acceleration, power, and fuel economy. Fine-tune the mixture and idle screws as needed to optimize performance, ensuring your engine runs smoothly, efficiently, and responsively. Proper repair fundamentals can help maintain your carburetor’s optimal function and prevent costly issues down the line. Regular ventilation considerations can also improve airflow and combustion efficiency, further supporting engine health, especially when considering air-fuel mixture adjustments for peak performance. Additionally, paying attention to cleanliness of components can prevent buildup that hampers proper operation.
Frequently Asked Questions
How Often Should I Rebuild My Carburetor for Optimal Performance?
You should rebuild your carburetor every 20,000 to 30,000 miles or when you notice performance issues like rough idling, poor acceleration, or increased fuel consumption. Regular inspections during maintenance can help spot clogs or wear early. If your engine runs inconsistently or stalls, it’s a sign to rebuild. Staying proactive guarantees your carburetor functions efficiently, keeping your engine running smoothly and saving you from costly repairs later.
What Signs Indicate My Carburetor Needs a Full Rebuild?
You’ll know your carburetor needs a full rebuild if your engine stalls, sputters, or has rough idling, especially after cleaning doesn’t help. Notice sluggish acceleration, poor fuel economy, or if the engine floods or struggles to start. Also, check for visible leaks, dirt in the fuel line, or inconsistent throttle response. These signs indicate that internal components are likely worn or clogged, necessitating a complete rebuild for peak performance.
Can I Rebuild a Carburetor Without Specialized Tools?
You can rebuild a carburetor without specialized tools, but it’s like trying to fix a delicate watch with a hammer—you risk damage and frustration. Basic hand tools like screwdrivers, wrenches, and small picks usually suffice for most tasks. Carefully disassemble, clean, and inspect parts. Patience and attention to detail matter more than fancy equipment, so with the right approach, you can breathe new life into your carburetor.
Are There Differences in Rebuilding Carbs for Different Engine Types?
Yes, rebuilding carbs for different engine types requires attention to specific design and specifications. You should familiarize yourself with each engine’s requirements, such as jet sizes, float levels, and linkage arrangements. Use appropriate rebuild kits and tools tailored for that engine. Carefully follow the manufacturer’s instructions, and be mindful of differences in throttle and choke mechanisms, ensuring proper tuning and reassembly to optimize performance for each engine type.
How Do I Prevent Future Carburetor Issues After Rebuilding?
To prevent future carburetor issues, you need to maintain, clean, and inspect regularly. Keep fuel fresh and filters clean to avoid debris buildup, and check gaskets and linkages for wear or damage. Use quality fuel additives if necessary, and store your vehicle properly. Regularly monitor engine performance, and address small problems promptly before they become big issues. Consistent maintenance, careful handling, and timely inspections guarantee your carburetor stays clean, functional, and trouble-free.
Conclusion
Now that you’ve revitalized your carburetor, think of it as giving your engine a fresh breath of life. With your careful disassembly, cleaning, and precise tuning, you’re not just restoring a part — you’re revealing smoother starts and better performance. Remember, patience is your best tool here, like a craftsman shaping a masterpiece. Enjoy the satisfaction of a job well done, knowing your engine’s renewed vitality is a proof of your skills.