
To plan and budget a classic motorcycle restoration, start by setting clear goals for the project, whether for show-quality results or dependable riding. Assess your skills, time, and available resources to determine a realistic scope. Create a detailed budget that includes parts, tools, and contingencies, and organize your workspace for efficiency. Carefully document each step of disassembly, repair, and reassembly. Keep track of expenses and progress—if you continue exploring, you’ll find practical tips to keep your project on track.
Key Takeaways
- Clearly define project goals, scope, and desired outcome to guide planning and budgeting.
- Assess skills, time, and resources to set realistic project milestones and effort levels.
- Research parts costs, tools, and labor, then allocate a contingency fund of 15-20% of total budget.
- Prepare an organized workspace and tracking system for parts, expenses, and progress documentation.
- Create a detailed timeline, prioritize tasks, and document every step to stay on schedule and within budget.
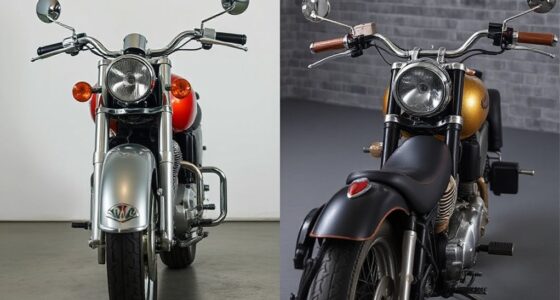
Defining Your Restoration Goals and Scope

Before diving into your motorcycle restoration, it’s essential to clearly define your goals and scope. Decide whether you want a show-quality bike or a dependable rider. Setting this goal helps determine the level of detail and effort required. Consider how much time, money, and skill you can commit. Do you plan to restore it entirely yourself or hire professionals for certain tasks? Clarify which parts need restoration, replacement, or preservation. Establish a realistic timeline and budget aligned with your objectives. Knowing your scope prevents scope creep and helps you stay focused. A well-defined plan ensures your project remains manageable, making the process smoother and more enjoyable. Additionally, understanding the evolving language of the internet can help you research and communicate more effectively throughout your project. For example, familiarizing yourself with home cinema projector terminology can assist in planning any multimedia elements for your workspace or garage. Incorporating sound healing science principles might also inspire innovative ways to create a motivating environment during your restoration process. Recognizing the importance of European cloud innovation can inspire sustainable practices in managing your project resources. Embracing Free Floating concepts can also promote flexibility and adaptability in your project management approach.
Assessing Your Skill Level and Available Time
Evaluating your skill level and available time is crucial to ensuring your motorcycle restoration project is realistic and manageable. You need to honestly assess whether you have the expertise to handle mechanical work, bodywork, or electrical tasks. If you’re a beginner, consider focusing on simpler projects or partnering with experienced restorers. Similarly, be clear about your time commitments; full restorations can take months or years. Use this table to gauge your capacity:
| Skill Level | Time Commitment | Project Scope |
|---|---|---|
| Beginner | Limited | Basic cosmetic touch-ups |
| Intermediate | Moderate | Partial disassembly and repair |
| Advanced | Extensive | Complete teardown and rebuild |
Matching your skills and schedule ensures a smooth, enjoyable restoration.
Establishing a Realistic Budget and Contingency Funds
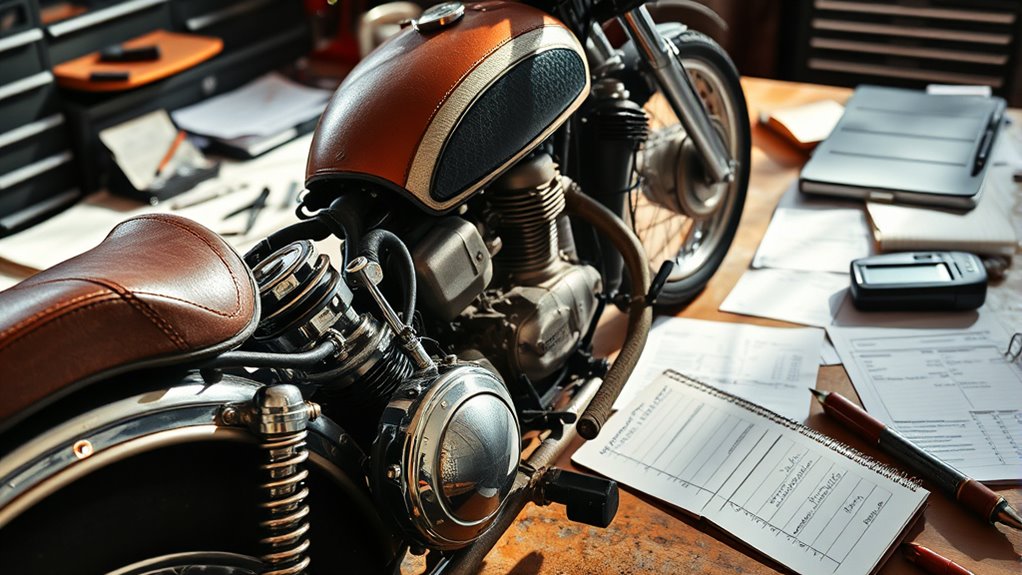
Establishing a realistic budget is essential to prevent financial surprises and keep your restoration on track. Start by calculating all expected costs, including the purchase price, parts, tools, and professional services. Be sure to research prices for OEM and aftermarket parts to avoid underestimating expenses. Include a buffer for shipping, taxes, and unexpected repairs. It’s wise to allocate a contingency fund—typically 15-20% of your total budget—to cover unforeseen issues that arise during disassembly or inspection. Keep detailed records of expenses and adjust your budget as needed. Staying disciplined with your spending helps prevent overspending and ensures you have enough resources to complete your project successfully. Remember, a well-planned budget keeps your restoration realistic and manageable. Proper documentation and tracking can also help manage project costs more effectively throughout the process.
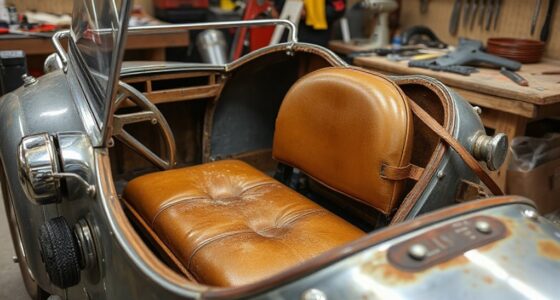
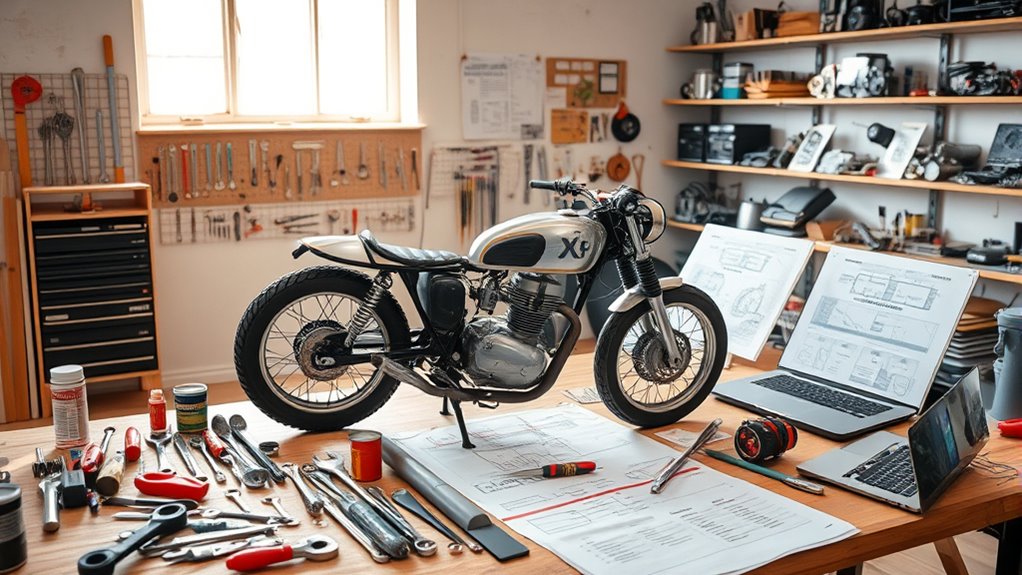
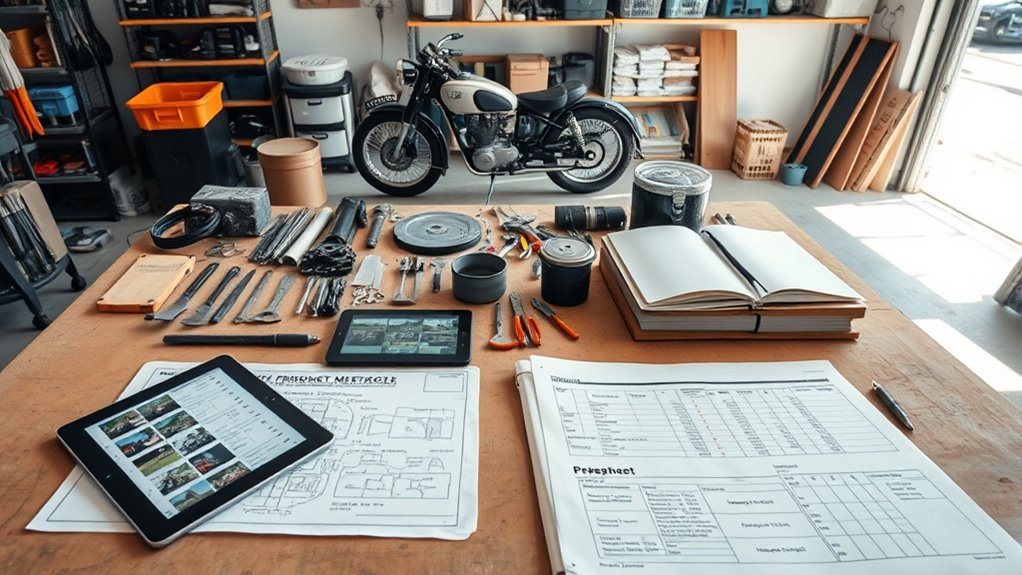
Setting Up Your Workspace and Gathering Necessary Tools
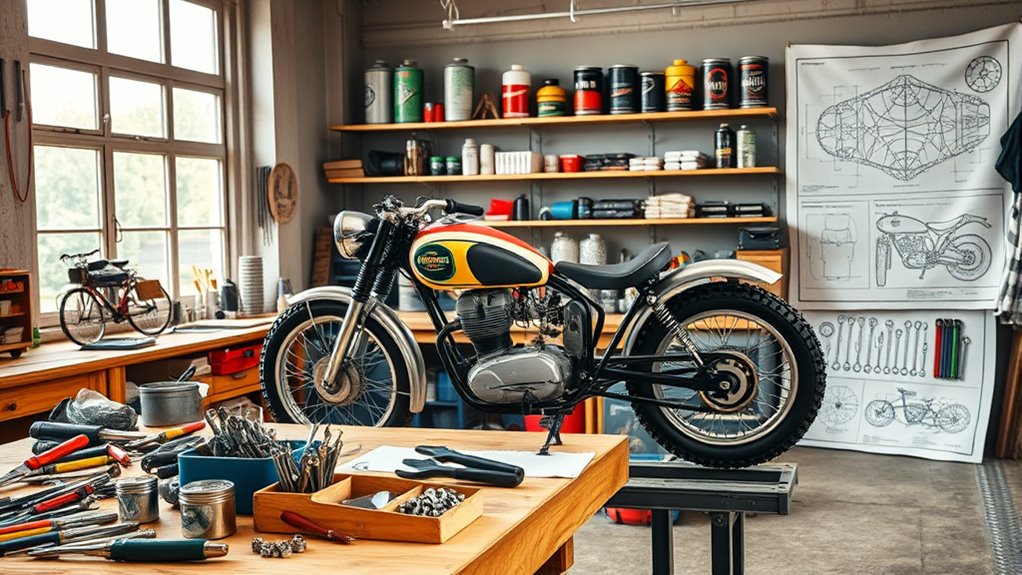
Creating an efficient workspace is essential for a smooth motorcycle restoration, so start by choosing a clean, well-lit area with enough space to move around comfortably. Clear the area of clutter and organize tools and parts for easy access. Invest in a sturdy workbench and storage cabinets to keep everything orderly. Gather essential hand tools like wrenches, screwdrivers, pliers, and sockets suited for motorcycle components. Consider acquiring or building specialty tools such as pullers or torque wrenches if needed. Use jacks or stands to stabilize the frame during disassembly. Keep cleaning supplies like degreasers and lubricants nearby for quick access during work. Having a dedicated, organized space minimizes delays, reduces frustration, and helps maintain focus throughout your restoration project. Additionally, understanding tool organization techniques can significantly enhance your workflow and efficiency. Incorporating proper wiring basics knowledge can also prevent future electrical issues as you rebuild your motorcycle. Paying attention to tool maintenance ensures your tools stay in good condition and ready for use whenever needed. To further improve your efficiency, familiarizing yourself with restoration planning strategies can help keep your project on track and within budget.
Sourcing Quality Parts and Managing Inventory
Finding reliable suppliers for OEM and aftermarket parts is essential to guarantee quality and authenticity. Once you identify trusted sources, organizing your parts carefully helps prevent delays and mix-ups during assembly. Effective inventory management keeps your restoration on schedule and within budget. Additionally, understanding sound therapy techniques can help you manage your workshop environment efficiently and sustainably. Incorporating proper cable management practices can also reduce clutter and protect your parts from damage, ensuring a smoother restoration process.
Reliable Supplier Options
Choosing reliable suppliers is essential for sourcing high-quality parts and keeping your restoration project on track. You want vendors with a reputation for authenticity, durability, and accurate fitment. To avoid delays or subpar components, research supplier reviews, ask for references, and verify certifications. Consider both OEM and aftermarket sources, balancing cost and quality. Keep a detailed inventory of parts received to prevent mix-ups. Use the table below to compare supplier options based on key factors: supplier reputation. Additionally, evaluating suppliers that prioritize waterproofing and corrosion resistance can ensure longevity, especially for components exposed to moisture. Paying attention to attention to detail during sourcing can prevent issues later in the restoration process. Incorporating essential oils for corrosion resistance into your maintenance routine may also help protect metal parts from rust. Employing expert assistance services can also help verify the credibility and quality of parts sourced from various vendors.
Organizing Parts Effectively
Organizing parts effectively is essential to keeping your motorcycle restoration on track and avoiding costly delays. Proper organization guarantees you can find what you need when you need it, preventing frustration and project setbacks. Here’s how to do it:
- Label every part and box clearly, noting part numbers and descriptions for quick identification.
- Categorize parts by system (engine, electrical, bodywork) to streamline assembly phases.
- Use a digital inventory system or spreadsheet to track parts, sources, and conditions.
- Store parts in a dedicated, clean area with shelving and containers to prevent damage and loss.
- Incorporate effective storytelling into your planning process to better visualize the project timeline and motivate yourself throughout the restoration.
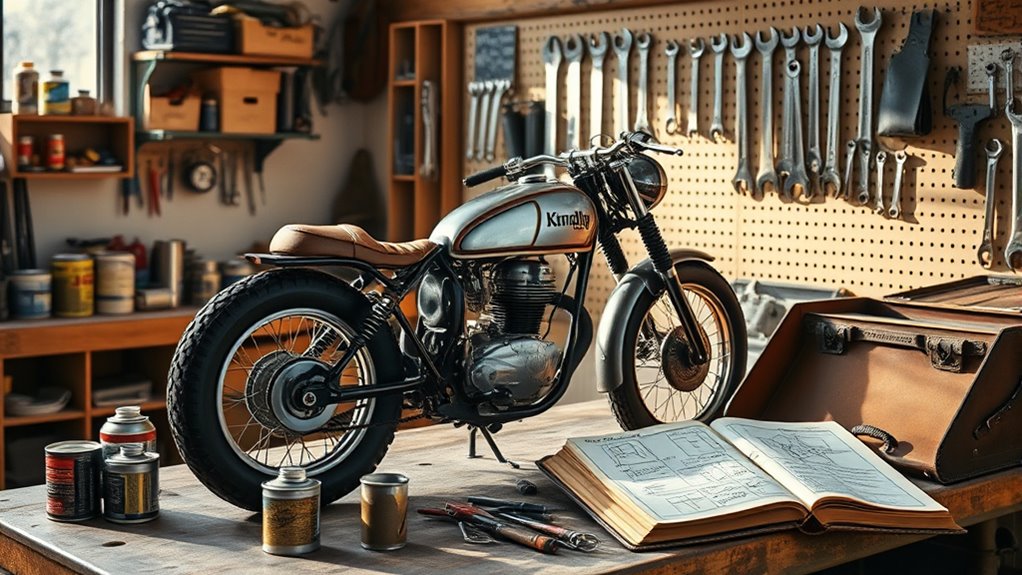
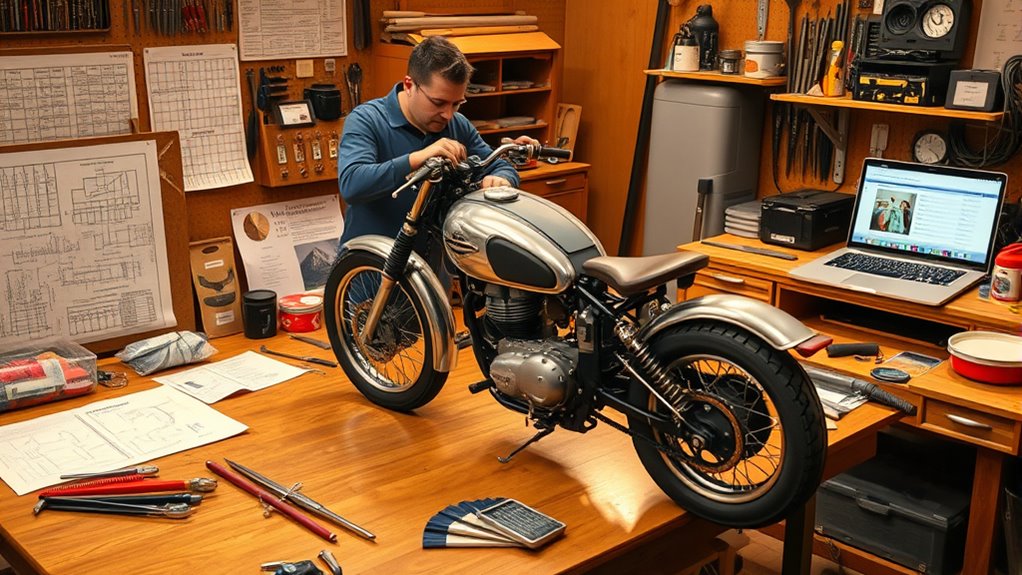
Planning the Disassembly, Repair, and Reassembly Phases
To keep your restoration organized, start by documenting every part with photos and detailed notes during disassembly. Use clear labels and storage solutions to arrange parts systematically, making reassembly smoother. Pay close attention to precision tips to guarantee everything fits correctly and functions properly in the final build. Incorporating seasonal checklists can help ensure you don’t overlook important maintenance steps that could impact your project’s success. Remember, understanding safe electrical practices can prevent mishaps and ensure a smooth restoration process. Additionally, staying informed about proper corrosion prevention techniques can extend your motorcycle’s longevity and performance throughout its life.
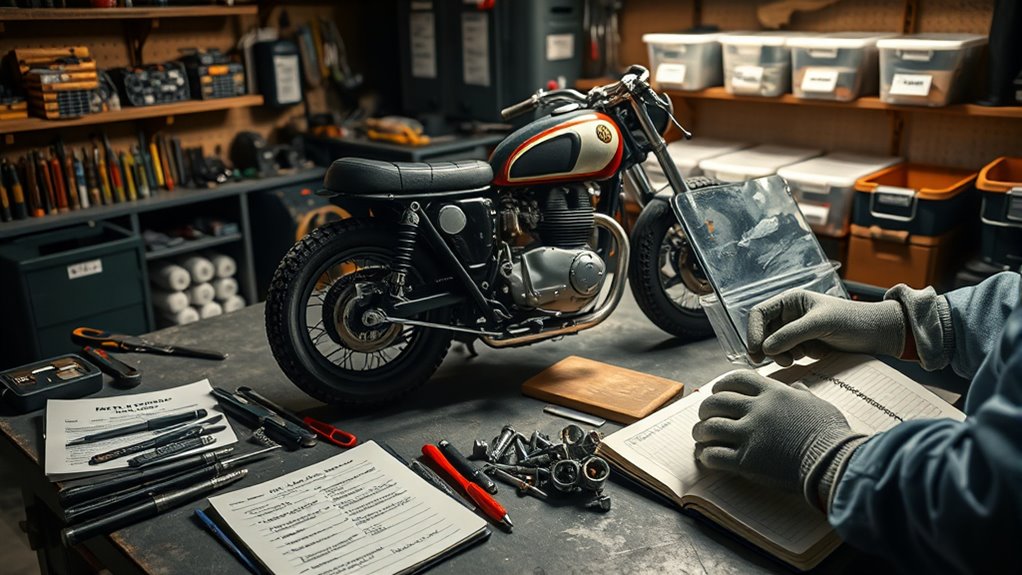
Disassembly Documentation Techniques
Effective disassembly documentation begins with thorough planning, ensuring you capture every detail before removing parts. To do this effectively, consider these steps:
- Take clear, high-resolution photos from multiple angles for each section, highlighting fasteners, wiring, and unique features.
- Write detailed notes describing each part’s location, orientation, and condition to avoid confusion during reassembly.
- Use labeled containers or bags for small parts, and note their corresponding locations on diagrams or photos.
- Create a numbered parts list referencing your photos and notes, so you can track components and prioritize reassembly.
This methodical approach minimizes mistakes, speeds up reassembly, and preserves the motorcycle’s original integrity. Proper documentation ensures your restoration stays organized and efficient.
Parts Organization Strategies
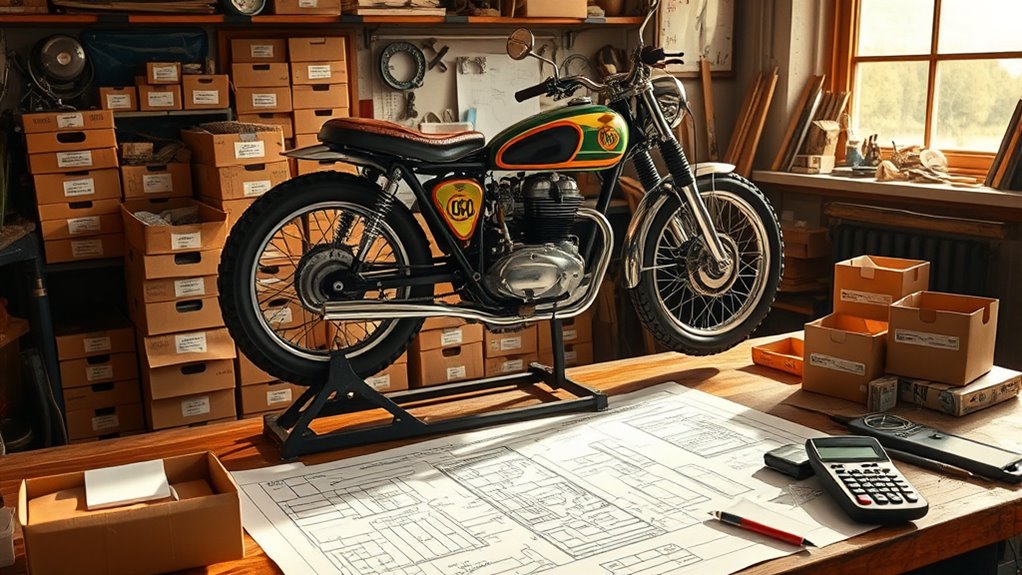
Planning the disassembly, repair, and reassembly phases begins with developing a detailed parts organization system that keeps everything accessible and identifiable. Use labeled containers or trays for small components like screws, nuts, and bolts, and categorize larger parts by assembly area. Take photos and notes during disassembly to document part placement and orientation. Consider using a parts inventory spreadsheet to track each component’s condition and location. Keep related parts together to streamline reassembly, and store components in a clean, dry environment to prevent corrosion. Regularly update your organization system as disassembly progresses. This approach minimizes lost parts, reduces confusion, and speeds up reassembly, ensuring a smoother restoration process and maintaining clarity throughout each phase.
Reassembly Precision Tips
Organizing your disassembly process carefully sets the foundation for precise reassembly. To guarantee accuracy, keep these tips in mind:
- Label every part and fastener with clear, consistent markings to prevent confusion.
- Photograph each step, capturing details like orientation and placement for reference.
- Use organized containers for small parts, grouping them by assembly section.
- Maintain a detailed disassembly log noting part conditions and any repairs needed.
Following these steps minimizes errors and saves time during reassembly. It also helps you verify all components are accounted for before moving forward. Clear documentation and organization create a streamlined process, reduce reassembly mistakes, and ensure your restoration stays on track. Precision in this phase makes the entire project more manageable and the final result more authentic.
Documenting Progress and Staying Organized
Keeping detailed records throughout your motorcycle restoration is essential to guarantee everything stays on track and nothing gets overlooked. Use a dedicated notebook or digital document to record dates, parts ordered, and key milestones. Take clear photos before disassembly, during each phase, and after completing major steps. Label and organize parts systematically, noting their condition and whether they need repair or replacement. Track your budget and expenses carefully to avoid overspending. Maintain a parts inventory with supplier details and delivery statuses. Regularly review your progress against your plan to identify any delays or issues early. Staying organized helps prevent costly mistakes, missing parts, and duplicated effort. Clear documentation ensures smoother reassembly and provides valuable reference for future maintenance or resale.
Final Tuning, Preservation, and Maintenance Planning
Once you’ve completed the reassembly and confirmed that your motorcycle runs smoothly, attention shifts to final tuning, preservation, and establishing a maintenance routine. To guarantee long-term performance, focus on these key steps:
- Fine-Tune Settings: Adjust carburetor, ignition timing, and suspension for ideal ride quality and safety.
- Protect Surfaces: Apply paint correction, polishing, and protective coatings to prevent rust and wear.
- Create a Maintenance Schedule: Plan regular inspections for oil changes, brake checks, and tire replacements to keep your bike reliable.
- Storage & Preservation: Store your motorcycle in a dry, climate-controlled area, and consider using covers and corrosion inhibitors to prevent deterioration.
This approach secures your restoration remains impressive and functional for years to come.
Frequently Asked Questions
How Do I Estimate the Total Project Timeline Accurately?
You should start by breaking down the project into phases like disassembly, repairs, and reassembly, then estimate how long each takes based on your experience and resources. Keep in mind that unforeseen issues often arise, so add buffer time for delays. Track your progress regularly, adjust your schedule as needed, and stay flexible. This way, your timeline remains realistic, helping you avoid frustration and keep your project on track.
What Are the Best Sources for Authentic OEM Parts?
You should start by checking with authorized dealerships that specialize in your motorcycle’s brand for authentic OEM parts. Also, explore reputable online marketplaces, official manufacturer websites, and dedicated motorcycle forums where enthusiasts trade genuine components. Don’t forget to contact salvage yards or vintage parts suppliers for rare items. Always verify the authenticity and compatibility of parts before purchasing to guarantee your restoration remains true to original specifications.
How Can I Prevent Common Restoration Mistakes?
To prevent common restoration mistakes, you should thoroughly research your motorcycle’s specific model and gather detailed manuals. Always organize and label parts during disassembly, and double-check measurements before reassembling. Avoid rushing the process; take your time to inspect and clean each component carefully. Seek advice from experienced restorers or forums, and don’t skip testing and tuning after reassembly. Patience and preparation are key to a successful restoration.
What Tools Are Essential for a Beginner Restoration Project?
You’ll need basic hand tools like wrenches, screwdrivers, and pliers to start your restoration. A socket set and adjustable wrenches are essential for working on bolts and nuts. Don’t forget a workbench, good lighting, and a clean space to keep parts organized. Invest in a service manual specific to your bike’s model for detailed guidance. These tools will help you disassemble, clean, and reassemble with confidence.
How Do I Assess the Motorcycle’s Overall Restoration Cost?
You should start by inspecting the motorcycle thoroughly, noting parts that need replacement or repair. Research current prices for OEM and aftermarket parts, and estimate labor costs if hiring professionals. Factor in tools, supplies, and potential surprises during disassembly. Create a detailed list of all expenses, including purchase price, parts, tools, and services. This extensive approach helps you accurately assess the total restoration cost and avoid surprises later.
Conclusion
With a clear plan and a steady hand, your restoration journey becomes a smooth ride rather than a bumpy trail. Keep your goals in sight, stay organized, and adapt as needed—think of your project as a symphony where every part plays in harmony. By budgeting wisely and managing your time, you’ll bring that classic motorcycle back to life, revving with pride and ready to hit the open road once more.