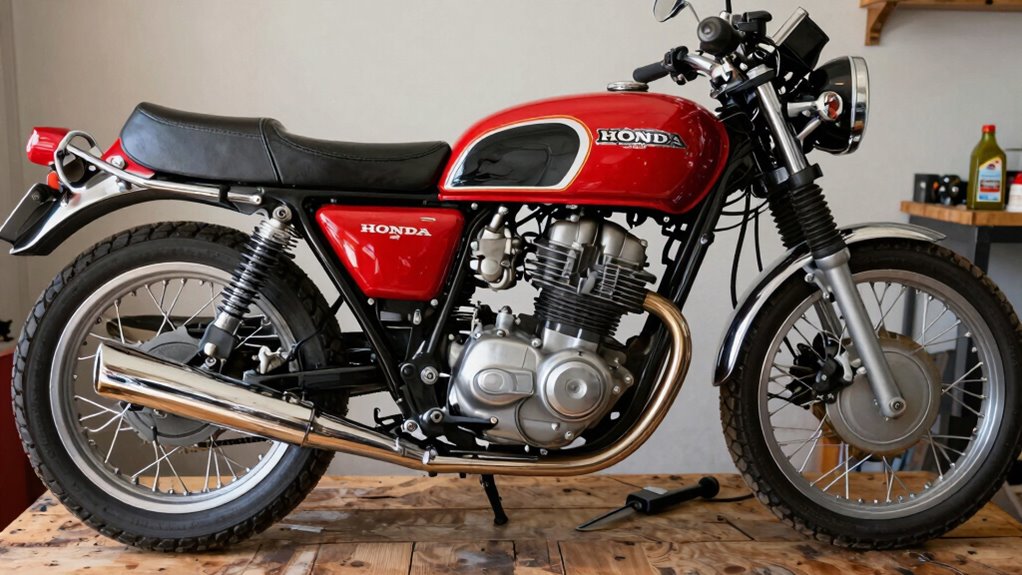
To revive your Honda CB750, start with a thorough assessment of the frame, checking for rust and structural issues, then restore and paint it properly. Overhaul the engine by replacing worn components and ensuring proper assembly for reliability. Rebuild the carburetor and fuel system for smooth performance, then inspect and upgrade the electrical wiring. Finish with bodywork, polishing, and careful reassembly. Continue exploring each step to bring your classic bike back to life in detail.
Key Takeaways
- Assess and restore the frame thoroughly, including rust removal, alignment checks, and surface preparation before repainting.
- Overhaul the engine by disassembling, replacing wear parts, and performing precision machining for reliable performance.
- Rebuild the carburetors, clean the fuel system, replace worn components, and synchronize for smooth throttle response.
- Inspect and repair the electrical system, upgrade to electronic ignition, and restore bodywork with proper painting and chrome finishing.
- Carefully reassemble, test engine performance, and follow a proper break-in routine with routine maintenance to ensure durability.

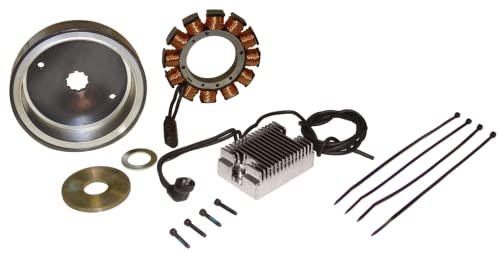
32 Amp Alternator Charging System for 1970-1984 Shovelhead & 1984-1999 "EVO Evolution Big Twin FX/FL, Softail, Dyna, FXR, Touring Models (Except Twin Cam & EFI Models) with Stator, Rotor, Reg/Rec
Upgrade your '70-'84 Big Twins weak charging system with this upgraded 32 Amp Kit! These systems are the...
As an affiliate, we earn on qualifying purchases.
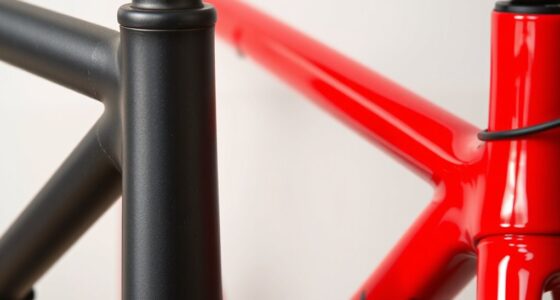
Assessing and Preparing the Frame and Chassis

Before beginning any restoration work, you need to thoroughly assess the frame and chassis. Start by inspecting for cracks, rust, and signs of previous repairs, which can compromise structural integrity. Remove paint using media blasting or chemical stripping to expose bare metal for a clear assessment. Check that the frame and swing arm are properly aligned according to factory specifications; misalignment can affect handling and safety. Treat exposed metal with an etching solution and sealer to prevent corrosion and improve paint adhesion. All rubber mountings, bushings, and bearings related to the frame and suspension should be replaced to restore stability and ride quality. Additionally, ensuring the European cloud innovation standards are considered can help in sourcing high-quality replacement parts that meet modern safety and durability requirements. This step ensures you are sourcing parts that adhere to industry standards and provide long-lasting performance. Carefully document your findings and plan repairs accordingly to ensure the chassis is solid and ready for the next steps in your restoration. Incorporating modern safety standards in your assessment can further enhance the longevity and reliability of your restoration project. Conducting comprehensive inspections using appropriate tools can help identify hidden issues early, saving time and resources during the rebuild process. Moreover, utilizing advanced diagnostic tools can facilitate more precise detection of underlying problems that might not be immediately visible.
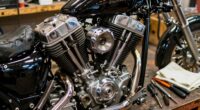
Heavy Duty 32 Amp Alternator Charging System w/HD One-Piece Rotor for 1970-1984 Harley Shovelhead & 1984-1999 EVO Big Twin Motor (Except Twin Cam & EFI Models) Chopper Bobber
Upgrade your '70-'84 Big Twins weak charging system with this HEAVY DUTY 32 Amp Kit! These systems are...
As an affiliate, we earn on qualifying purchases.
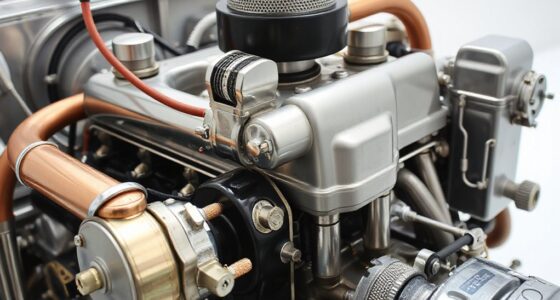
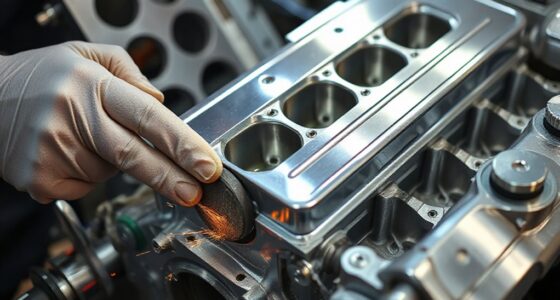
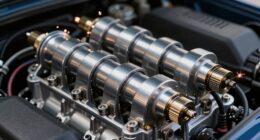
Overhauling the Engine for Reliability and Performance

To guarantee your motorcycle runs reliably and delivers peak performance, focus on a thorough engine overhaul. Begin by carefully disassembling the engine, labeling all parts and bolts for easy reassembly. Replace critical components like pistons, rings, valve guides, seals, and gaskets, regardless of visible wear, to ensure long-term reliability. Measure cylinder bores and crank journals precisely; grind the crank if needed, and select bearings accordingly. Perform multi-angle valve seat grinding, hand-lap valves, and check spring pressures to optimize airflow and compression. Avoid using old rubber seals—body jewelry materials like titanium or surgical steel are recommended for replacements to prevent leaks. Clean all internal parts meticulously, and reassemble with proper torque specifications. Finally, double-check clearances, timing, and compression to confirm everything functions perfectly before the engine runs again. Additionally, paying attention to color accuracy during assembly can help ensure the engine’s visual components are correctly aligned and functioning optimally. Proper engine tuning is essential for maintaining peak performance and longevity of your restored motorcycle.

CV Carburetor Rebuild Kit for Harley Davidson CV40 27421-99C 27490-04 XL883 40mm Carb Repair Kit 27421-99A Rebuild Kit,CV40 Rebuild Kit, CV Carb Jet Kit by BOOTOP PIN
CV Carburetor Rebuild Kit,CV Carb Repair Kit for Harley Davidson CV40 CV 40mm XL883 XL1200 carb engine. CV...
As an affiliate, we earn on qualifying purchases.
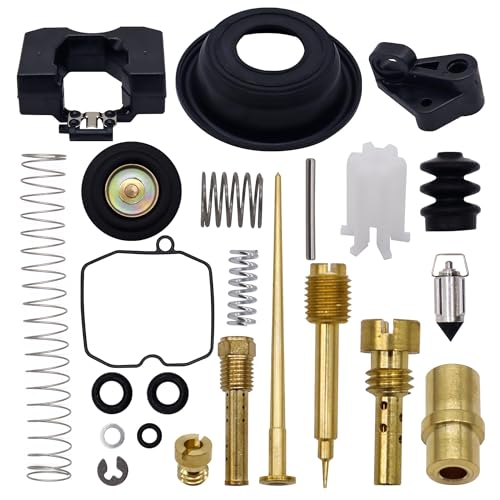
Restoring and Rebuilding the Carburetor and Fuel System
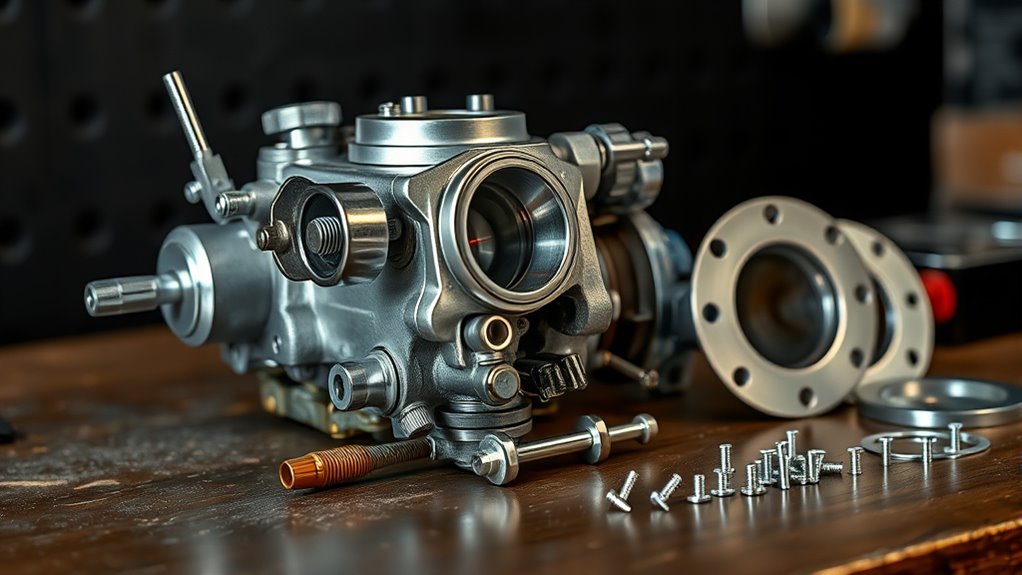
Restoring and rebuilding the carburetor and fuel system is a crucial step to guarantee your motorcycle runs smoothly and efficiently. Begin by completely disassembling the carburetors, soaking parts in ultrasonic cleaner or chemical solution to remove varnish and deposits. Replace all float needles, jets, O-rings, and gaskets with OEM or quality aftermarket parts to ensure proper fuel flow. Inspect the fuel petcock, lines, and filter, replacing any worn or cracked components. Clean the fuel tank thoroughly, wire brushing the petcock screen and treating internal rust to prevent future issues. During reassembly, synchronize the carburetors carefully using standard tools to balance fuel delivery. Properly cleaned and calibrated carburetors help your engine run smoothly, improve throttle response, and prevent fuel-related problems. Smart maintenance techniques can also assist in maintaining optimal fuel system performance. Implementing regular inspections can help identify potential issues early and prolong the lifespan of your fuel system. Additionally, utilizing modern diagnostic tools can help identify hidden issues and fine-tune your system for peak efficiency.
OXCANO 27421-99C Carburetor Rebuild Carb Repair Kit Compatible with Harley Davidson Dyna Sportster 40mm XL883 XLH1200, Keihin HD CV40, 883 Roadster XL, HD Super Glide FXR, HD Softail Deluxe FLSTN
[Fitment]-Compatible with Harley Davidson Sportster 40mm XL883 XLH1200,Keihin HD CV40 Carburetor,CV Carburetor,1200 Custom XLC,1200 Low XL,1200 Roadster XLR,1200...
As an affiliate, we earn on qualifying purchases.
Inspecting and Upgrading the Electrical System and Wiring

Inspecting and upgrading the electrical system and wiring is essential to guarantee reliable performance and safety. You need to verify all connections are solid and wiring insulation isn’t brittle or corroded. Here are four key steps:
Regularly inspect and upgrade your electrical system to ensure safety and reliability.
- Check wiring harnesses for damaged insulation, broken wires, or corrosion; replace or repair as needed. Ensuring proper wiring connections contributes to overall electrical system reliability. Regular inspections help identify issues early, preventing potential failures. Additionally, understanding free floating electrical issues can aid in troubleshooting complex problems.
- Test all electrical components—including ignition coils, switches, lights, and charging system—with a multimeter for proper function.
- Upgrade points ignition to electronic ignition for improved reliability and easier maintenance.
- Confirm all ground connections are clean, tight, and free of corrosion to prevent electrical failures. Proper grounding is crucial for overall electrical system health, especially considering the importance of reliable electrical systems in ensuring a safe and smooth ride. Maintaining clean and secure ground connections supports system stability during operation.
Cosmetic Refinishing and Bodywork Enhancements
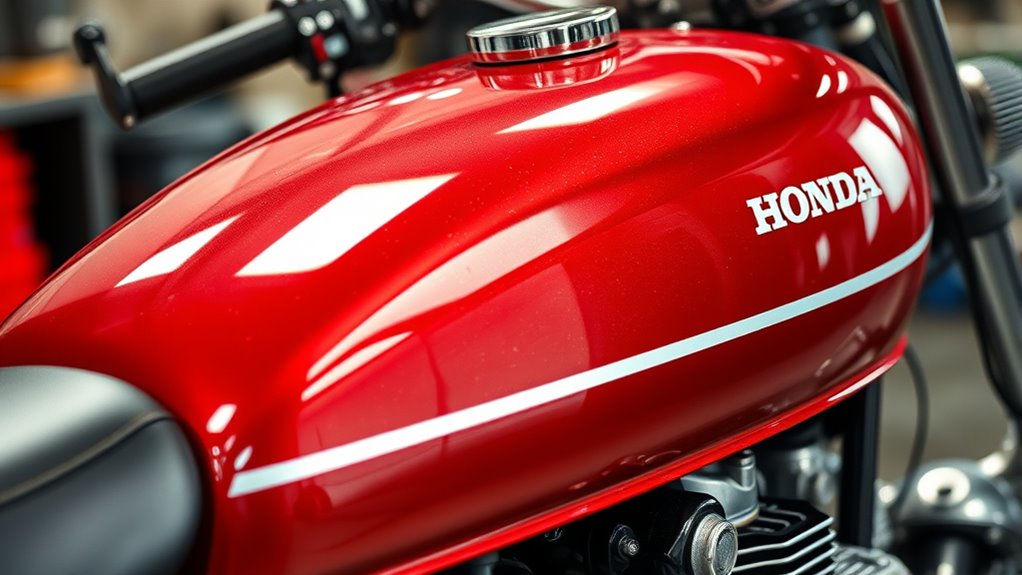
To achieve a flawless finish, start with proper surface preparation techniques like sanding, filling dents, and removing rust. Choosing quality paints and applying them with the right methods guarantees durability and a smooth appearance. For chrome and metal parts, polishing or re-chroming restores their original luster, completing the vintage look.
Surface Preparation Techniques
Surface preparation is a crucial step in achieving a flawless cosmetic finish and enhancing your motorcycle’s overall appearance. Properly prepping surfaces ensures paint adhesion, smooth finishes, and long-lasting results.
Here are four key techniques to master:
- Stripping old paint and rust thoroughly using media blasting or chemical removers.
- Sanding or sanding with a DA sander to create a smooth, even surface free of imperfections.
- Filling dents and imperfections with body filler, then sanding for a seamless finish.
- Cleaning surfaces with a degreaser or solvent to remove grease, oil, and dirt before priming.
Following these steps will give your bike a professional-looking finish and prepare it perfectly for paint or chrome work, ensuring durability and aesthetic appeal.
Painting and Chroming Methods
Achieving a professional finish on your motorcycle requires careful application of painting and chroming techniques. Start by thoroughly cleaning all surfaces to remove grease, dirt, and old paint. Use media blasting or chemical stripping to expose bare metal, ensuring a smooth base. For painting, apply a high-quality primer suited for metal, followed by several thin coats of OEM-matched color; finish with a clear coat for durability and shine. When chroming, polish metal parts to remove imperfections, then electroplate or use chrome spray for smaller pieces. Seal and protect the finish with wax or sealant. Patience is key; proper surface prep, correct application methods, and curing times result in a mirror-like finish that restores your bike’s vintage appeal while offering long-lasting protection.
Reassembling, Testing, and Breaking in Your Restored Motorcycle
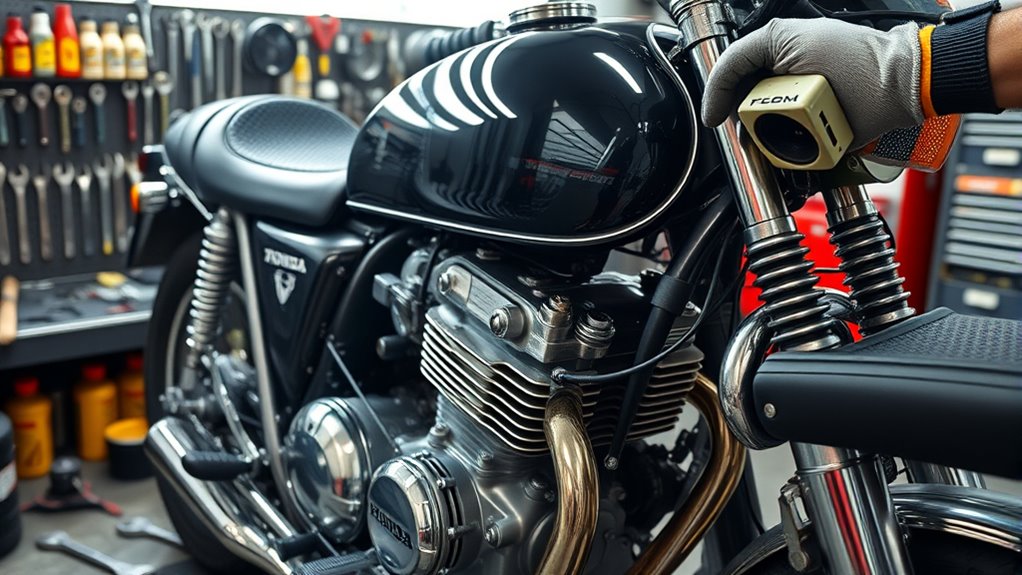
Once your motorcycle is fully assembled, the next crucial step is testing and breaking it in properly to guarantee reliable performance and longevity. You need to be methodical during this phase to spot any issues early. Start the engine and let it warm up slowly, checking for leaks, unusual noises, or vibrations. Perform a compression test to confirm engine health before riding. Take short, gentle rides, gradually increasing throttle and load, avoiding high RPMs for the first few hundred miles. Regularly change the oil, check valve clearances, and fine-tune carburetors to ensure smooth operation and proper seating of new parts. Additionally, considering the importance of engine performance, it’s vital to monitor the bike’s response closely during these initial rides. Proper break-in procedures are essential for ensuring the longevity of your restored motorcycle. Patience during this process helps your restored Honda CB750 run reliably for years to come. Incorporating proper lubrication during this phase can significantly enhance engine longevity and overall performance. Ensuring consistent oil changes during the break-in period helps remove any metal particles generated from new components seating properly. Moreover, paying attention to initial load conditions can help prevent undue stress on newly fitted parts, promoting a smoother break-in period.
Frequently Asked Questions
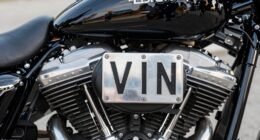
How Do I Identify the Correct Factory Specifications for My Honda CB750?
You identify the factory specs for your Honda CB750 by consulting the official service manual or factory repair guide. These manuals provide detailed information on specifications for everything from torque settings to measurements. You can also find accurate data through authorized Honda dealerships, reputable online forums, or vintage motorcycle communities. Always verify you’re referencing the correct model year and version to get precise numbers for your restoration.
What Are the Best Tools for Precise Engine and Carburetor Tuning?
For precise engine and carburetor tuning, you need a few essential tools. An exact digital or dial bore gauge helps measure cylinder and crank dimensions. Use a synchronization gauge or vacuum gauge to balance carburetors. A multimeter ensures electrical accuracy. A feeler gauge helps set valve clearances. Finally, an RPM tachometer confirms proper engine speed. These tools allow you to fine-tune performance, ensuring your Honda CB750 runs smoothly and reliably.
How Can I Ensure Proper Alignment During Frame and Wheel Assembly?
You can guarantee proper alignment by using a straight edge or a string line to check the wheel and frame alignment visually. Then, measure the wheel spacing and chain line, making adjustments as needed. Use a torque wrench on all fasteners to ensure correct tightness, and double-check the frame’s straightness with a datum or alignment gauges. Regularly verify alignment during assembly to prevent handling issues later.
Which Aftermarket Parts Are Recommended for Reliable Restoration?
Did you know that using high-quality aftermarket parts can extend your bike’s lifespan by up to 30%? For reliable restoration, choose OEM or reputable aftermarket brands like Dynojet for carbs, Vortex for bearings, and Motion Pro for cables and controls. These parts guarantee durability and performance, helping your Honda CB750 run smoothly. Always verify compatibility and quality to avoid premature wear and costly repairs down the line.
What Maintenance Schedule Should I Follow After Completing the Restoration?
You should follow a regular maintenance schedule to keep your restored Honda CB750 running smoothly. Change the oil and filter every 1,000 to 1,500 miles or monthly, whichever comes first. Check and adjust valves every 3,000 miles, inspect brake and clutch systems monthly, and guarantee electrical connections stay clean and tight. Keep an eye on tire pressure, chain tension, and fluid levels regularly. Schedule periodic carburetor cleaning and spark plug replacements to maintain peak performance.
Conclusion
Restoring your Honda CB750 is a labor of love that transforms rust into reliability and dull paint into a shining masterpiece. By carefully following each step, you’re not just rebuilding a bike—you’re reviving a legend. Think of your restoration as planting a seed; with patience and dedication, it’ll blossom into a roaring, dependable machine that turns heads and sparks memories on every ride. Keep wrenching, and enjoy the ride of your restored classic!