To repair a rusty motorcycle fuel tank, start by inspecting for heavy rust and sealing all openings with tape or plugs. Use chemical rust removers and mechanical brushing to clean the interior thoroughly. Neutralize, rinse, and dry the tank completely, then repair any holes with patching materials or welds. Apply a durable interior liner or sealant, allow it to cure, and perform leak tests before reinstalling. Continuing with these steps will help guarantee your tank stays protected and functional.
Key Takeaways
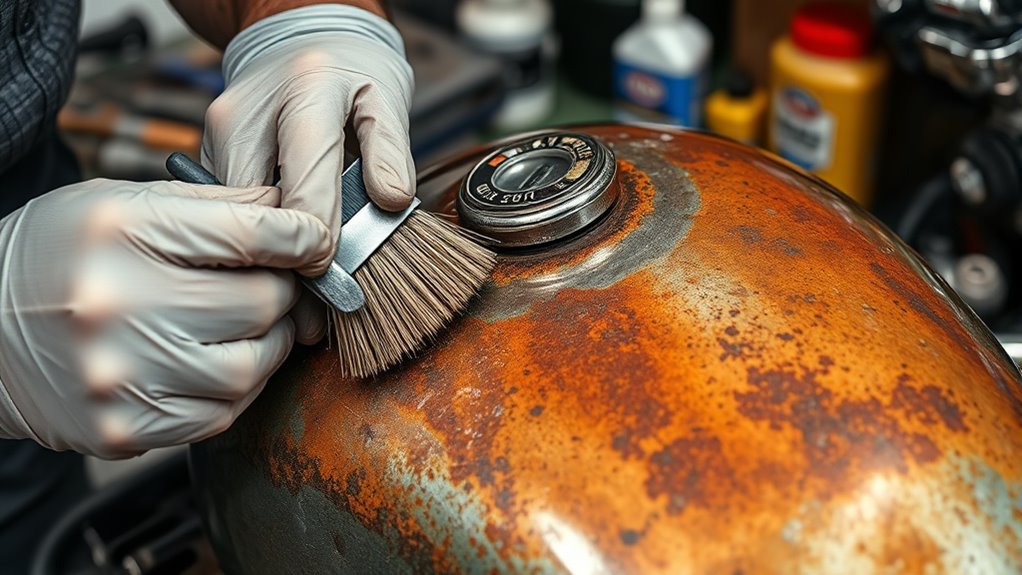
- Thoroughly inspect the tank for rust, holes, and weak spots, then clean loose debris with gentle scraping or wire brushing.
- Seal all openings with tape or plugs before applying rust converters or dissolvers to prevent chemical leaks.
- Use rust removers like Metal Rescue® and neutralize residues with soap or baking soda, then rinse and thoroughly dry the tank.
- Repair holes with epoxy, solder, or patches, then apply an epoxy-based interior sealer for long-lasting protection.
- Cure the sealer fully, inspect for leaks, and reassemble all fittings and seals before reinstalling the tank on the motorcycle.
Assessing the Extent of Rust Damage and Preparing the Tank
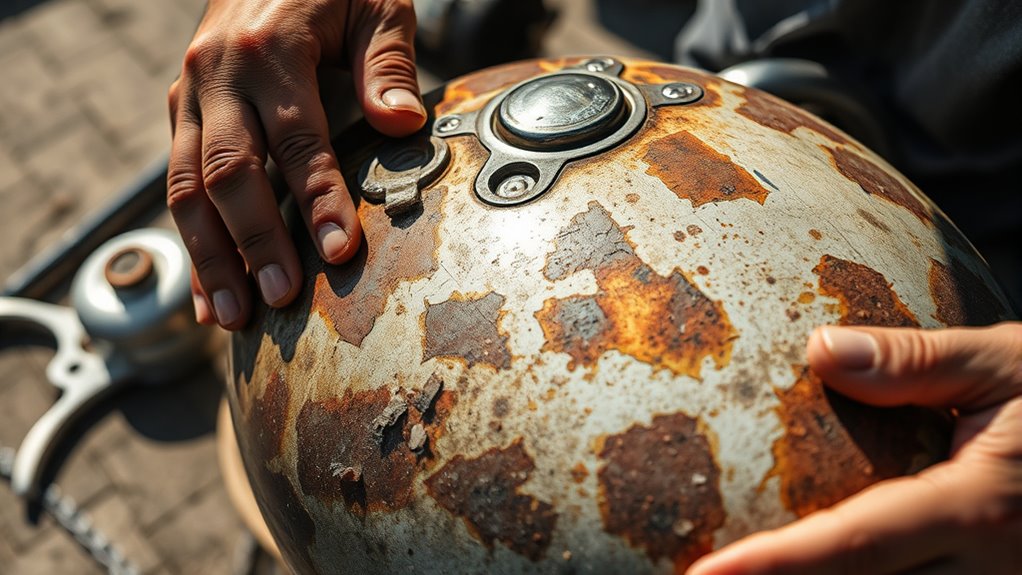
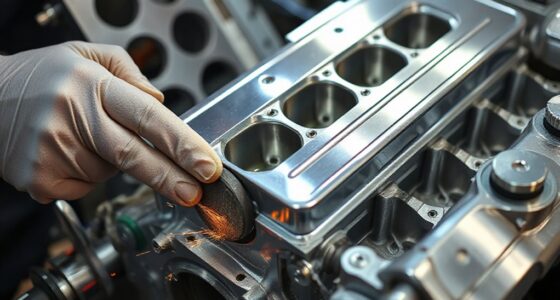
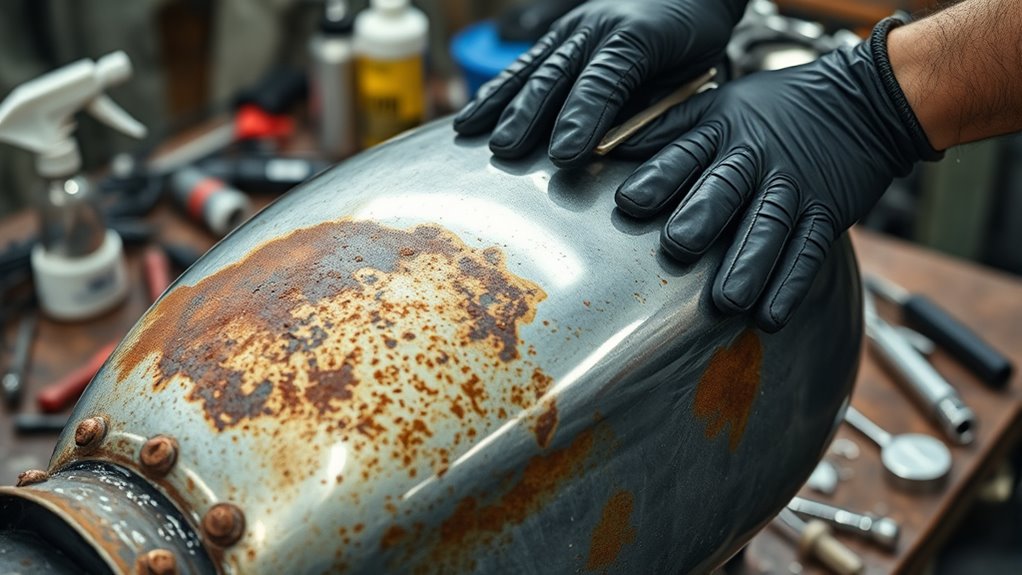
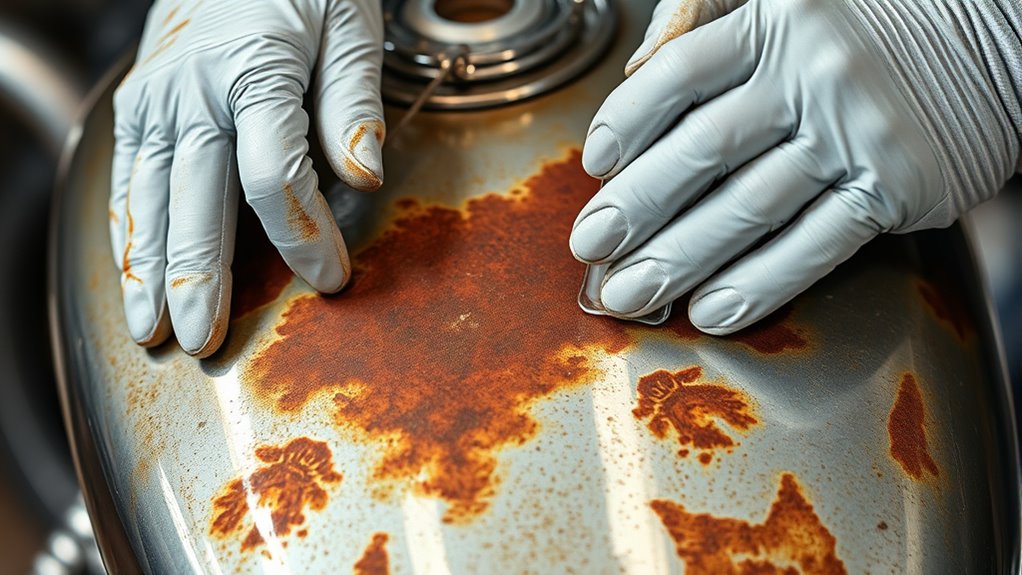
Before you begin cleaning or sealing your motorcycle fuel tank, you need to evaluate how much rust damage is present. Start by inspecting the interior through the petcock opening or by removing the gas cap and shining a flashlight inside. Look for heavy rust, flaking paint, or pitting that indicates severe corrosion. If rust is only surface-level, chemical treatments like vinegar or rust removers may suffice. For extensive rust, you might need mechanical removal methods, such as agitation with BBs or gentle scraping. Check for holes or weak spots that compromise tank integrity. Identifying the rust extent helps determine whether you can save the tank with cleaning and sealing or if it requires professional repairs or replacement. Proper assessment ensures you choose the right approach from the start. High contrast ratios can also be used to evaluate the depth of rust and surface damage, helping to guide your cleaning process effectively. Additionally, understanding the level of rust corrosion severity is crucial for selecting appropriate repair techniques. Furthermore, employing diagnostic inspections can provide a clearer picture of the internal condition of the tank and prevent unforeseen failures. Incorporating visual inspection techniques can help detect hidden or internal corrosion that may not be immediately visible. Using non-destructive testing methods allows for a more accurate assessment without damaging the tank further.
Sealing All Openings to Contain Rust Removal Treatments
Sealing all openings in your motorcycle fuel tank is a crucial step to guarantee a successful rust removal process. You need to prevent any chemical treatments from leaking out or external contaminants from entering. Use durable materials like Gorilla tape, silicone plugs, or cork stoppers to seal petcock holes, gas caps, and other openings tightly. For larger openings, such as fuel pump plates, gasket or block-off plates should be installed securely. Before sealing, make sure all surfaces are clean and dry for better adhesion. Overlap tape and press firmly to create a leak-proof barrier. Reseal any leaks before proceeding to rust removal or lining. Proper sealing keeps chemicals contained and maintains internal pressure, guaranteeing thorough rust treatment and preventing messes or damage. Additionally, understanding robotic navigation and mapping can help in designing efficient cleaning or maintenance procedures for your workspace or vehicle. Recognizing the importance of effective sealing techniques ensures that no leaks compromise the rust removal process, leading to a more durable repair. Incorporating proper surface preparation can enhance the effectiveness of the sealants and prolong the lifespan of your repair. Using appropriate sealant materials can further improve the durability of your seals and prevent future leaks. Ensuring all seals are inspected and tested for leaks with simple pressure tests can help identify potential issues early on.
Mechanical and Chemical Methods for Rust Elimination
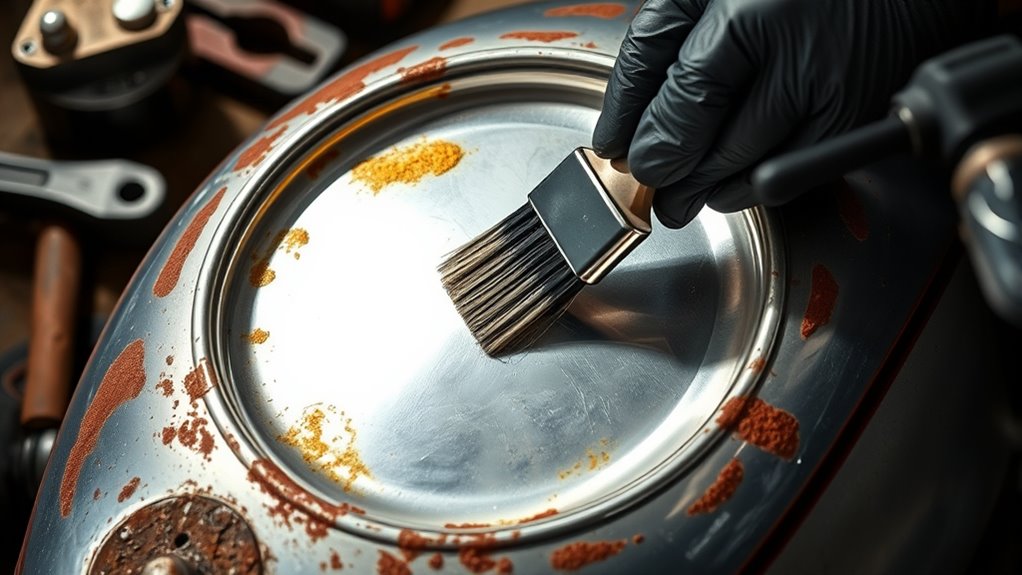
To effectively remove rust from your motorcycle fuel tank, you’ll need to combine mechanical and chemical techniques. First, mechanically loosen heavy rust by adding magnetic objects like BBs or screws and shaking the tank vigorously. Second, use gentle scraping tools or wire brushes to dislodge stubborn deposits. Third, apply chemical rust converters containing phosphoric acid to transform rust into a stable, black protective layer. Fourth, soak the tank in rust dissolvers such as Metal Rescue® to dissolve remaining rust without harsh acids. Remember to rinse thoroughly afterward and neutralize residues with soap or baking soda. This combined approach guarantees thorough rust removal, preparing your tank for the next steps of cleaning, lining, and sealing. Proper execution prevents future corrosion and extends the tank’s lifespan. Incorporating Free Floating techniques can also help prevent future rust buildup by maintaining good drainage and airflow inside the tank.
Neutralizing and Rinsing the Tank After Rust Treatment

After treating your tank for rust, it’s crucial to rinse out any remaining chemicals thoroughly. You should neutralize acidic residues with soap or baking soda solutions, doing this promptly to prevent damage. Timing is critical—make sure to rinse and neutralize before moving on to drying or sealing to ensure your tank stays rust-free. Proper air quality during this process can also help prevent residual fumes from affecting your health. Additionally, maintaining proper ventilation can help disperse any lingering fumes and ensure a safer working environment. Using a pH testing kit can help confirm that all residues have been neutralized effectively before proceeding. Incorporating local automation techniques such as fans or vent systems can further optimize the environment during this cleaning process. Ensuring that your workspace maintains good air circulation can also aid in quickly removing fumes and residues, promoting safer handling.
Proper Rinsing Techniques
Once you’ve completed the rust removal process, rinsing the tank thoroughly is essential to neutralize any residual chemicals and remove loosened rust particles. Proper rinsing prevents future corrosion and ensures a clean surface for lining. To do this effectively:
- Fill the tank with clean water and agitate gently to loosen remaining debris.
- Drain the water completely and repeat the rinsing process at least 3 times.
- Use a mild dish soap solution for a final rinse to neutralize acids or rust treatments.
- Ensure all residues are flushed out, and the tank is thoroughly drained before drying.
- Paying attention to proper rinsing techniques helps maintain the integrity of the tank and ensures a successful sealing process. Incorporating thorough water flow during rinsing can help reach all internal surfaces and remove stubborn residues. Additionally, ensuring consistent airflow during drying prevents moisture from remaining inside and causing future rust issues. Proper rinsing is critical for a durable, rust-free motorcycle fuel tank. Incorporating thorough cleaning procedures further enhances the longevity of the repair.
Neutralization Methods and Timing
Proper neutralization and rinsing are essential steps to guarantee your tank is safe for sealing and future use. After rust treatment, you need to neutralize any residual acids or chemicals to prevent corrosion or damage. If you used vinegar or acidic rust removers, rinse the tank thoroughly with water to dilute and remove leftover acids. For chemical rust converters like phosphoric acid, neutralize with a mild soap solution or baking soda dissolved in water—about one tablespoon per gallon. Rinse multiple times to ensure all residues are gone. Once neutralized, drain the tank completely and dry it thoroughly with compressed air, heat, or a fan. Proper neutralization prevents ongoing chemical reactions and rust formation, ensuring your tank is clean, dry, and ready for sealing. Additionally, understanding the cruise industry insights can help you plan a relaxing trip while your motorcycle tank is being repaired. Incorporating proper drying techniques can further enhance the longevity of your tank’s protection. Using electric tools like heat guns or fans can accelerate the drying process and improve results.
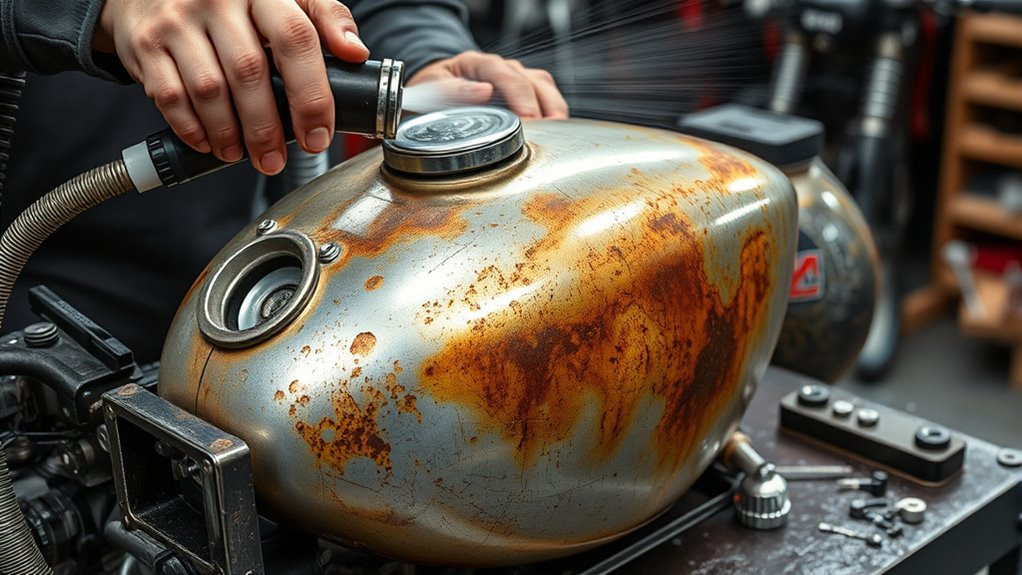
Thoroughly Drying the Interior to Prevent Flash Rust

Thoroughly drying the interior of a motorcycle fuel tank is essential to prevent flash rust, which can quickly form on exposed metal surfaces once moisture remains inside. To guarantee complete dryness, consider these steps:
- Use a heat gun or hair dryer on low heat to evaporate residual moisture, moving steadily to avoid overheating.
- Cap or plug all openings securely to prevent air leaks and allow moisture to escape.
- Employ compressed air or a small blower to force air through the tank, speeding up drying.
- Tilt or rotate the tank periodically to expose all internal surfaces to airflow and heat.
- Incorporate desiccants or moisture-absorbing agents inside the tank to further reduce residual humidity and prevent rust formation. Additionally, using ventilation techniques can help facilitate the drying process and ensure no moisture remains trapped inside. Proper ventilation can also prevent the buildup of moisture from humidity that may cause flash rust later.
Repairing Holes and Structural Damage Before Sealing
Before sealing your tank, you need to fix any holes or structural damage to guarantee it holds fuel safely. Welding or soldering offers a permanent fix for larger issues, while patch kits or epoxy work well for minor holes. Make sure all repairs are solid before moving on to sealing to prevent leaks or failure later.
Welding and Soldering Repairs
Welding and soldering are essential techniques for repairing holes and structural damage in a rusty motorcycle fuel tank. First, assess the damage carefully to determine if welding or soldering is appropriate. Then, follow these steps:
- Clean the area thoroughly to remove rust, grease, and debris, guaranteeing a strong bond.
- For small holes, use solder or epoxy metal filler to seal leaks temporarily.
- For larger damage, weld the metal using appropriate tools and techniques, guaranteeing proper heat control to avoid warping.
- After repairs, grind smooth and inspect for leaks or weak spots before proceeding to sealing or lining.
Proper repair ensures the tank’s integrity, preventing future leaks and corrosion. Always prioritize safety and, if unsure, seek professional welding assistance.
Patch Kits and Epoxy
When repairing holes and structural damage in a rusty motorcycle fuel tank, patch kits and epoxy compounds offer practical solutions for minor to moderate issues. Patch kits typically include fiberglass cloth or metal patches with strong adhesive backing, making them easy to apply over small holes or cracks. Epoxy repair compounds are versatile; you mix them to fill and seal larger perforations or weak spots. For best results, clean and dry the damaged area thoroughly before applying. Press the patch firmly and ensure it adheres evenly. Once cured, sand the surface smooth to prevent rough edges from affecting your sealing process. Keep in mind, these repairs are temporary fixes and should be followed by proper sealing to prevent leaks and future rust problems.
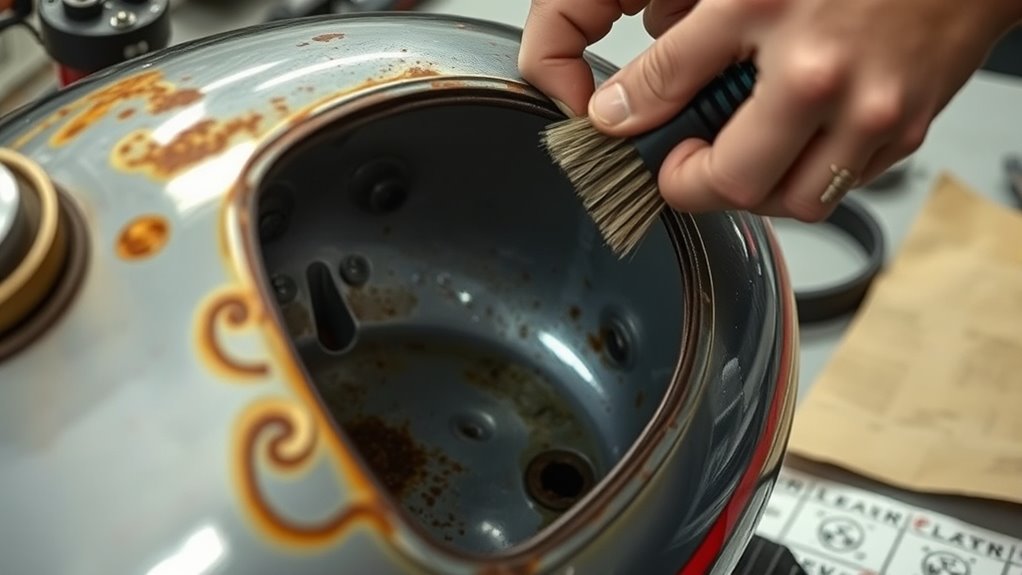
Applying Interior Sealers and Liners for Long-Term Protection
Applying interior sealers and liners is a crucial step in ensuring your motorcycle fuel tank remains rust-free and leak-proof over time. To do this effectively, follow these key steps:
- Choose the right sealer — epoxy-based products like Caswell or similar tank liners provide durable protection.
- Ensure complete surface coverage — rotate the tank slowly to coat all interior surfaces evenly, including the bottom.
- Apply multiple coats if needed — some sealers require two or more layers for maximum durability.
- Allow proper curing time — follow manufacturer instructions to let the liner fully cure before returning the tank to service.
Proper application creates a lasting barrier that prevents future rust and leaks, extending your tank’s lifespan.
Ensuring Proper Curing and Final Inspection
To guarantee your fuel tank’s liner fully bonds and provides long-lasting protection, proper curing is essential. After applying the liner or sealer, follow the manufacturer’s instructions regarding curing time, which typically ranges from 24 to 72 hours. During this period, avoid any movement or exposure to fuel or moisture that could compromise the bond. Conduct a thorough visual inspection to ensure even coverage, no pinholes, and proper adhesion. Check for any signs of bubbling or peeling. Once the curing period is complete, perform a final leak test by sealing all openings and gently pressurizing the tank with air or a vacuum. Confirm that no leaks or deformities are present before reinstalling the tank on your motorcycle. Proper curing and inspection guarantee the durability of your repair.
Reassembling and Reinstalling the Fuel Tank Safely
After confirming that the tank has fully cured and shows no signs of leaks or damage, you can begin reassembling and reinstalling it on your motorcycle. Follow these steps to verify safety:
Ensure the tank is fully cured and leak-free before reinstallation for safe motorcycle operation.
- Inspect all seals and gaskets, replacing any that are worn or damaged to prevent leaks.
- Secure fuel fittings and petcocks tightly, using proper torque specifications to avoid over-tightening.
- Reconnect fuel lines and electrical connections, ensuring they’re properly seated and free of cracks or corrosion.
- Mount the tank firmly to the frame, verifying all bolts are tightened evenly and correctly to prevent movement or vibration.
Double-check all connections and fittings before fueling up. Proper reinstallation guarantees safe operation and prevents future issues.
Frequently Asked Questions
How Do I Identify Hidden Rust Damage Inside the Tank?
You can spot hidden rust damage inside your tank by inspecting for subtle signs like unusual odors, discoloration, or rough patches when you shine a flashlight inside. Shake the tank gently to listen for loose rust flakes or debris. Remove and rinse the tank thoroughly, then tilt and swirl the water or cleaner to see if rust particles settle or float, revealing areas of corrosion that might be concealed or difficult to see.
What Are the Safest Methods to Seal Large or Complex Holes?
Imagine you find a large hole in your tank, and you’re worried about sealing it safely. You should weld or solder the hole for a permanent fix, ensuring the repair is strong and durable. If welding isn’t an option, use a high-quality epoxy or tank patch kit designed for fuel tanks. Clean the area thoroughly, apply the patch per instructions, and let it cure completely before proceeding to seal and line the tank.
Can I Reuse Old Gasket and Seal Components After Cleaning?
You shouldn’t reuse old gasket and seal components after cleaning. Cleaning can degrade their material, reducing their effectiveness and risking leaks. It’s best to replace them with new gaskets and seals to guarantee a proper, secure fit. Fresh components create a better seal, prevent fuel leaks, and maintain the tank’s integrity. Always inspect for cracks or damage before installing new gaskets, and follow manufacturer recommendations for replacement parts.
How Long Should the Tank Cure Before Returning to Fuel?
Imagine the inside of your tank as a freshly painted canvas, waiting for the final touch. You should wait at least 24 to 48 hours for the sealer to cure fully before adding fuel. During this time, the coating hardens, forming a durable barrier against rust and leaks. Keep the tank in a warm, dry place, and avoid any movement to guarantee the sealer bonds perfectly.
What Safety Precautions Are Essential During Chemical Rust Removal?
You should wear protective gear, including gloves, goggles, and a respirator, to prevent chemical contact and inhalation. Work in a well-ventilated area to avoid fumes buildup. Keep chemicals away from children and pets, and follow manufacturer instructions carefully. Avoid open flames or sparks, as some rust removers are flammable. Rinse thoroughly after treatment, and dispose of chemicals responsibly to make certain of safety during the rust removal process.
Conclusion
Now that you’ve carefully cleaned, sealed, and repaired your motorcycle fuel tank, you’ll likely find it surprisingly satisfying how smoothly it runs again. Sometimes, a simple rust problem turns into a rewarding project, revealing hidden potential just like a forgotten treasure. With your effort, you’ve not only restored the tank but also renewed your connection to your bike. Enjoy the ride, knowing you’ve turned rust into resilience—sometimes, the best repairs come from a little bit of patience and a lot of care.