
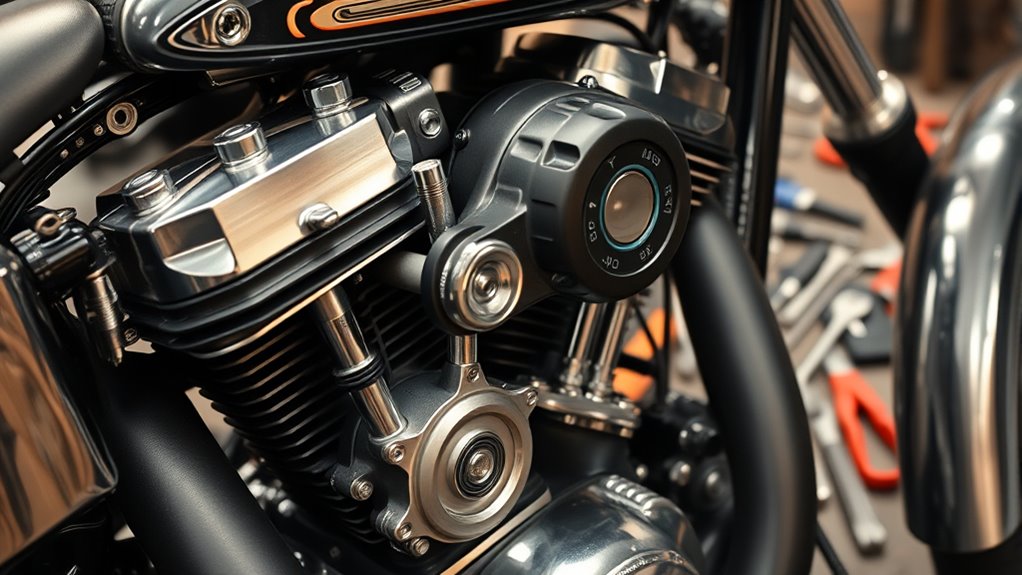
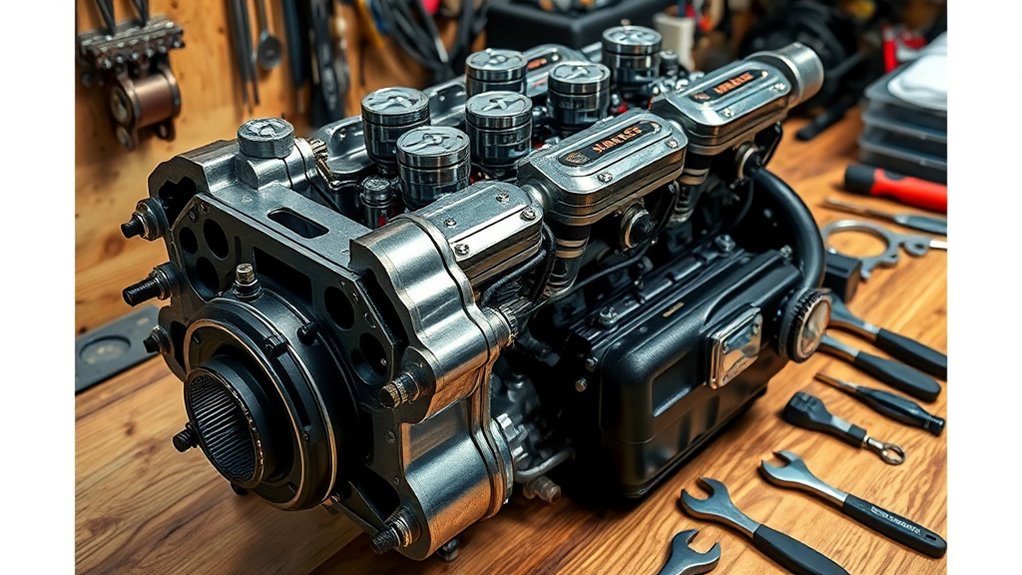
When rebuilding a Harley-Davidson Shovelhead engine, start with careful disassembly, marking pistons and cylinders for proper reassembly. Inspect all parts for wear or damage, and machine cylinders if needed for a perfect fit. Clean everything thoroughly, especially oil passages and galleries. During assembly, follow torque specs precisely and verify oil flow before starting. Proper valve and pushrod adjustments are vital for smooth operation. If you want detailed tips, keep exploring further.
Key Takeaways
- Thoroughly inspect and clean all components, paying close attention to oil passages, valve seats, and cylinder walls.
- Use proper torque procedures and factory specs when tightening fasteners to ensure durability.
- Verify oil and cooling passages are clear and properly aligned during assembly for optimal lubrication.
- Measure and adjust valve clearances accurately with clean feeler gauges to ensure proper sealing.
- Recheck timing marks, ignition timing, and oil pump priming for reliable engine operation.
Engine Disassembly and Inspection Strategies
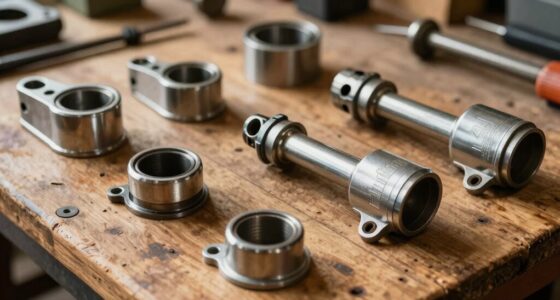
Before disassembling a Harley-Davidson Shovelhead engine, you need to plan your approach carefully to guarantee a thorough inspection. Start by gathering all necessary tools and creating a clean workspace. As you begin, carefully mark piston orientation and cylinder positions to prevent confusion during reassembly. Remove components systematically, inspecting engine cases for cracks, wear, and misalignment. Check pistons, cylinders, and bearings for signs of damage or excessive wear, noting which parts may need replacing. Examine valve seats and guides for wear or pitting, considering upgrades for durability. Document your findings meticulously. Taking your time during disassembly helps you identify potential issues early and ensures nothing gets overlooked, setting a solid foundation for a successful rebuild. Additionally, understanding the importance of exfoliation benefits can help you evaluate the visual aspects of your engine’s performance, especially if you plan to incorporate digital gauges or monitoring displays. Paying close attention to engine cleanliness throughout the process will also facilitate easier reassembly and help prevent contaminants from causing future issues. Incorporating sound healing science principles by working in a calm environment can further enhance focus and reduce mistakes during this detailed process. Moreover, paying attention to vibration analysis can assist in detecting early signs of imbalance or component fatigue, ensuring a more reliable rebuild.
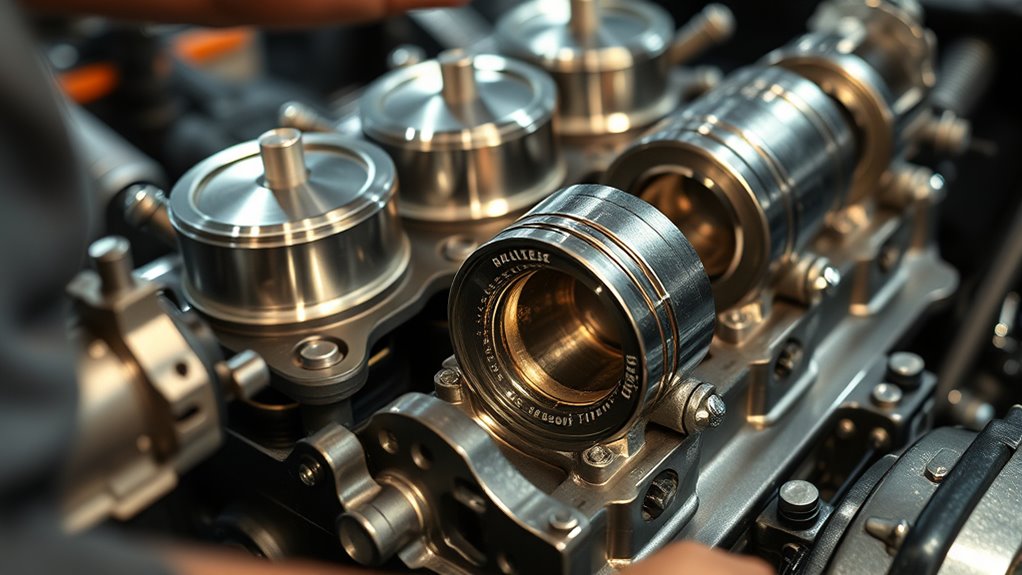
Precise Machining and Part Preparation
Once you’ve completed the disassembly and inspection, focus on machining and preparing each part for reassembly. Start by cleaning all components thoroughly to remove dirt, oil, and metal debris. Examine cylinders and pistons for wear or damage, and machine the cylinders for a precise fit with new pistons. Port and polish oil passages and combustion chambers if needed to improve flow and cooling. Replace valve seats and guides with modern, durable materials to enhance longevity. Use proper tools to ensure all surfaces are smooth and within specifications. When machining, follow the manufacturer’s tolerances carefully to guarantee a proper seal and ideal performance. Incorporating precision machining techniques can further improve the engine’s performance and durability. Additionally, paying attention to engine compatibility ensures that all parts work harmoniously for optimal results. Properly inspecting and measuring clearances during this process helps prevent future issues and ensures a proper fit. Remember to verify the threaded holes and fastener locations for proper alignment before assembly. Finally, double-check all threaded holes and fastener locations, cleaning threads to prevent cross-threading during assembly. Ensuring proper assembly procedures are followed helps maintain engine integrity and safety.
Ensuring Proper Lubrication and Oil Flow
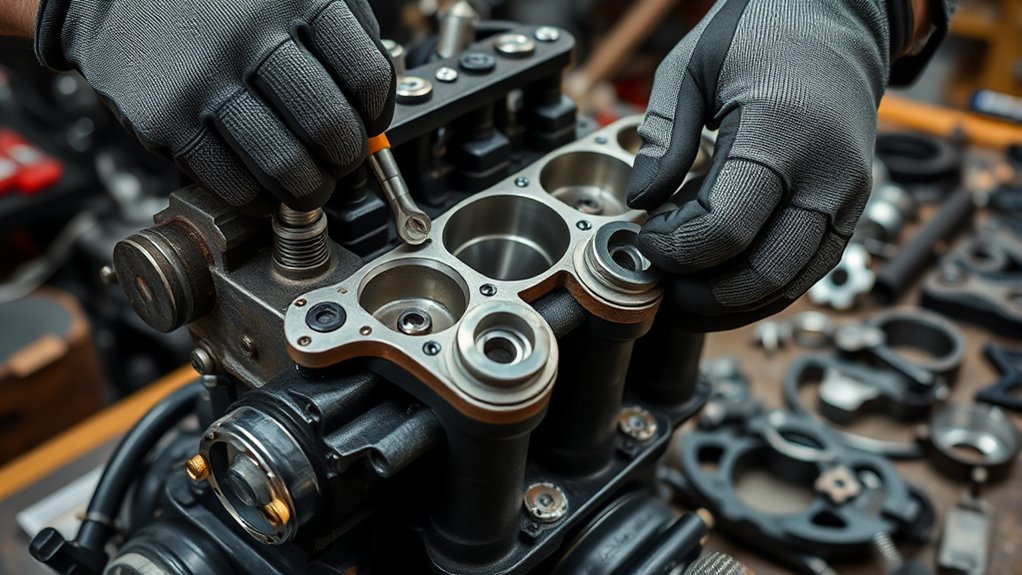
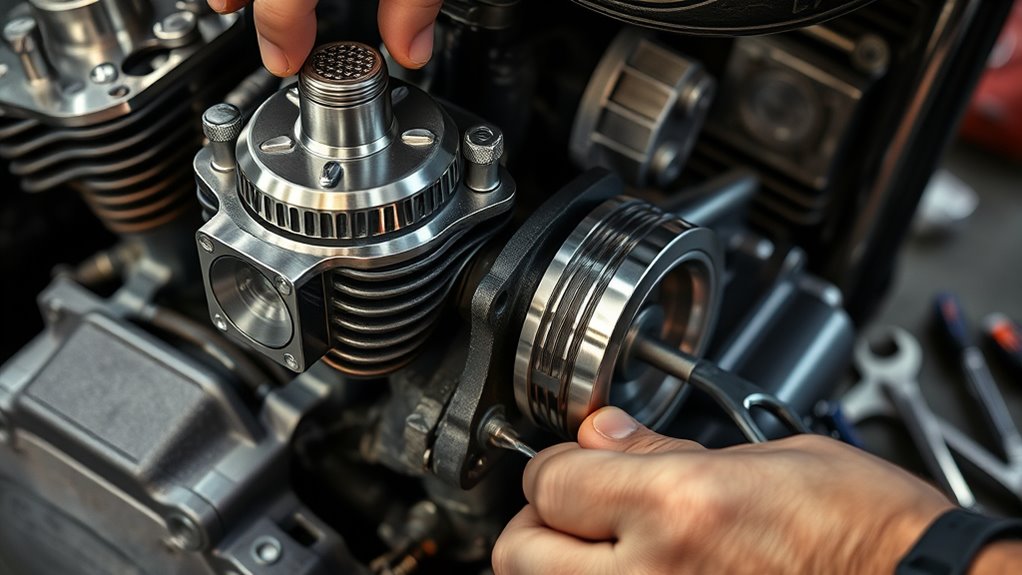
To guarantee proper lubrication and oil flow in your Harley-Davidson Shovelhead engine, you must carefully inspect and clean all oil passages and galleries during assembly. Use a cleaning solvent and compressed air to remove debris, ensuring no blockages remain. Check that oil ports align correctly with case passages and components, such as pushrod tubes and rocker boxes. Pay close attention to the oil galleries in the engine cases, thoroughly flushing them to prevent restrictions. During assembly, verify that all seals and gaskets are seated correctly to avoid leaks that can impair oil flow. Before first startup, prime the oil system with a recommended oil type to ensure oil reaches all essential parts. Proper lubrication is crucial for engine longevity and ideal performance. Additionally, regularly inspecting and maintaining your oil passages can help prevent future blockages and ensure consistent oil flow over time. Understanding how the oil flow interacts with other engine components can help you diagnose issues early and maintain optimal lubrication efficiency. Incorporating proper engine maintenance routines will also extend the life of your engine and prevent costly repairs.
Accurate Valve and Pushrod Adjustments
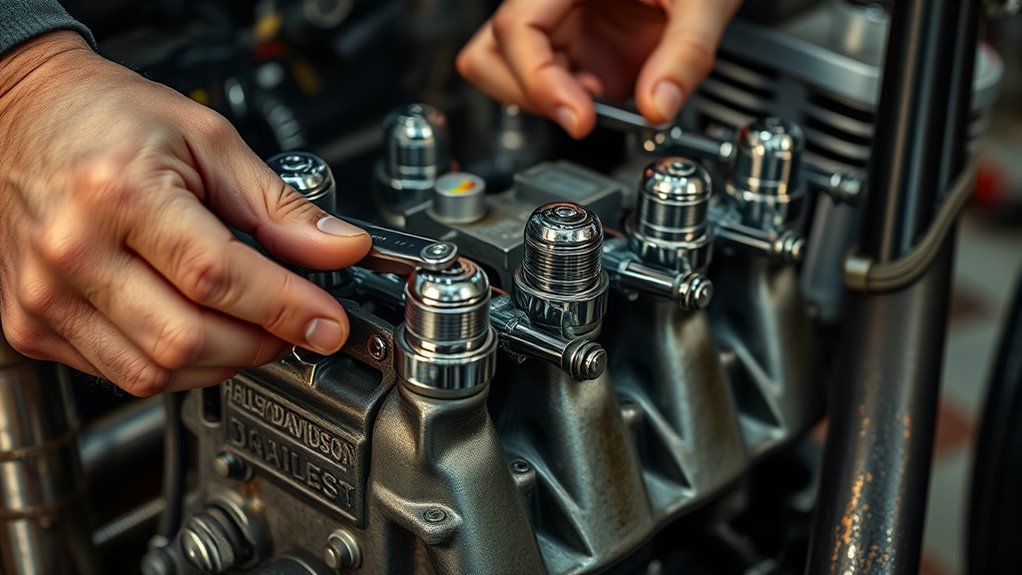
When adjusting your valves and pushrods, it’s essential to use proper measurement techniques to guarantee accurate clearances. Tighten the lock nuts to the correct torque to prevent movement during operation, and always verify the timing and condition of the valve seats. Doing so helps your engine run smoothly and extends its lifespan.
Proper Clearance Measurement Techniques
Achieving accurate valve and pushrod clearances is essential for ideal engine performance and longevity. Proper measurement guarantees smooth operation and prevents premature wear. To get precise readings, follow these steps:
- Use a feeler gauge that matches the manufacturer’s specified clearance, ensuring it’s clean and undamaged.
- Rotate the engine so the valve is fully closed, and insert the feeler gauge between the valve stem and rocker arm gently.
- Adjust the pushrod length or adjuster until the feeler gauge slides with slight resistance—no binding or excessive play.
- Tighten lock nuts to the recommended torque without altering the clearance, then recheck the gap to confirm accuracy.
This method guarantees consistent contact, proper valve timing, and reliable engine performance over time.
Correct Lock Nut Torqueing
Proper lock nut torqueing guarantees that valve and pushrod adjustments stay accurate during engine operation. To achieve this, tighten the lock nuts gradually in small increments, ensuring even pressure. Use a torque wrench set to the manufacturer’s specifications to prevent under- or over-tightening. Proper torque maintains valve clearance and prevents loosening that can cause noise or damage. Keep in mind the sequence: tighten the pushrod adjuster first, then the lock nut securely.
| Adjustment Step | Torque Specification | Notes |
|---|---|---|
| Pushrod screw | 15-20 ft-lb | Use a calibrated torque wrench |
| Lock nut | 25-30 ft-lb | Ensure lock nut is snug |
| Final check | Verify clearance | Confirm proper valve gap |
Timing and Valve Seat Checks
To guarantee your Harley-Davidson Shovelhead engine runs smoothly and reliably, accurately setting the timing and verifying valve seats are essential steps. Proper timing ensures maximum power, while good valve seats prevent leaks and maintain compression.
- Use a dial indicator or timing light to confirm ignition timing aligns with specifications.
- Check valve clearances with a feeler gauge, adjusting pushrods to achieve the correct gap.
- Inspect valve seats for wear or pitting; lap them if necessary to ensure a tight seal.
- Confirm that pushrod length and preload are correct to avoid valve train noise and wear.
Take your time, double-check all settings, and ensure everything is properly seated before moving on. Proper adjustments lead to reliable performance and longevity.
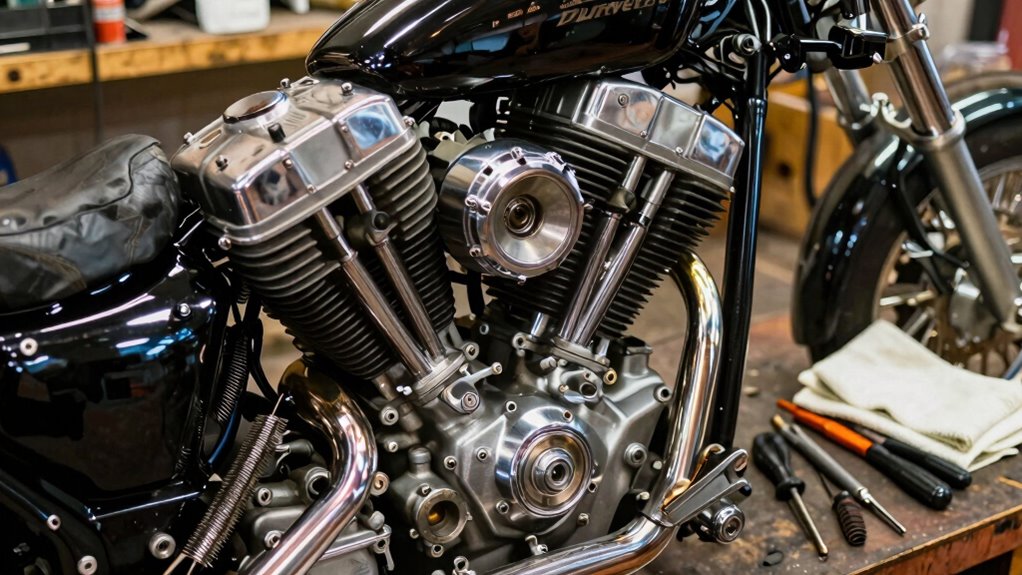
Best Practices for Engine Assembly
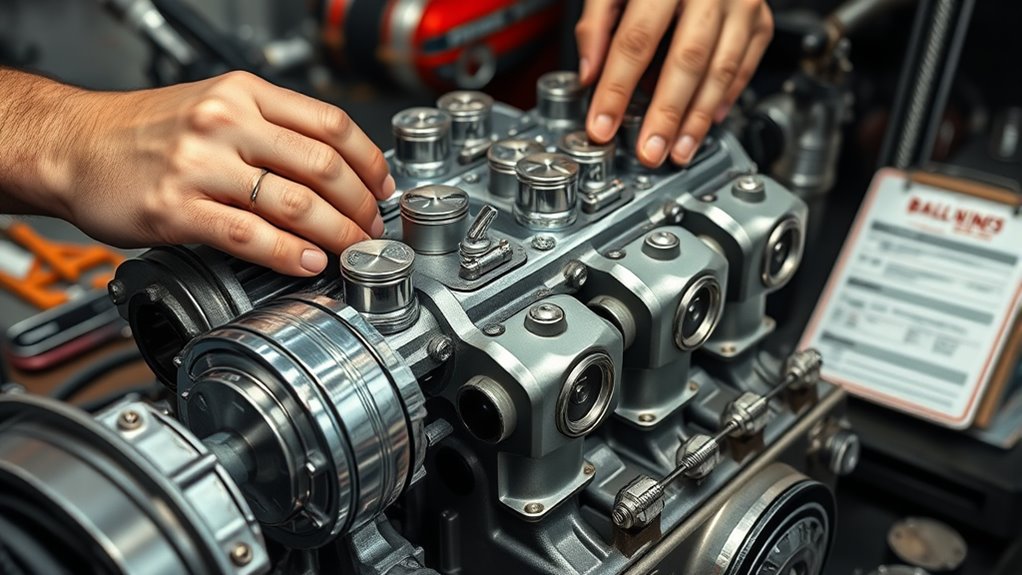
When assembling a Harley-Davidson Shovelhead engine, attention to detail and cleanliness are essential to guarantee a reliable rebuild. Always handle parts with clean hands and work in a dust-free environment to prevent contamination. Apply assembly lube generously to bearings, cam lobes, and rocker shafts to ensure proper lubrication during startup. Verify that oil holes in cylinders align correctly with case passages before installation. Follow the factory torque specifications for all fasteners, tightening gradually in the proper sequence. Double-check piston ring orientation and end gaps to ensure optimal sealing. Take your time during assembly—rushing increases the risk of mistakes. Confirm that all parts are properly seated and lubricated, and ensure that components like pushrods and valves are correctly adjusted for smooth operation. Additionally, incorporating modern kitchen technology principles such as precision tools and automation can improve accuracy and efficiency during assembly. Maintaining a methodical approach throughout the process helps prevent overlooked details that could compromise engine performance. Using high-quality lubricants can also extend the longevity of your rebuilt engine.
Final Checks Before First Startup
Before firing up your rebuilt Harley-Davidson Shovelhead engine for the first time, it’s essential to perform thorough final checks to guarantee everything is in perfect order. First, verify all fasteners are tightened to the specified torque, especially cylinder head and crankcase bolts. Second, inspect oil passages and galleries to ensure they’re clean and unobstructed, preventing dry starts. Third, confirm the timing marks are aligned correctly, and ignition timing is set as per manual specifications. Additionally, double-check that the oil pump priming process was successful to ensure proper lubrication during startup. Proper engine maintenance routines are also critical to prevent issues down the line. Lastly, check all fluid levels, including oil and coolant, and ensure the oil pump priming is complete. These steps help prevent early engine damage, guaranteeing a smooth initial startup and reliable performance. Taking time for these final checks is vital for a successful rebuild. Additionally, consider proper maintenance practices to sustain engine longevity and performance over time.
Troubleshooting Common Rebuild Challenges
When troubleshooting rebuild issues, start by inspecting oil passages for blockages that could hinder lubrication. You’ll also want to carefully check valve seats for proper sealing, as seating problems can cause performance issues. Addressing these common challenges early guarantees your engine runs smoothly and reliably. Additionally, verifying that the cooling system is functioning correctly can prevent overheating and ensure optimal engine longevity cooling system considerations. Regularly inspecting components for wear and tear can also help identify potential issues before they develop into major problems engine maintenance. Incorporating smart monitoring tools can further assist in early detection of potential issues, helping maintain your engine’s health over time.
Addressing Oil Passage Blockages
Oil passage blockages are a common challenge during a Harley-Davidson Shovelhead engine rebuild, and addressing them promptly is essential for proper lubrication and engine longevity. Blocked passages can cause oil starvation, leading to overheating and component wear. To prevent this, you should:
- Carefully inspect all oil galleries during disassembly for debris, rust, or buildup.
- Use a flexible brush or compressed air to clear obstructions in narrow passages.
- Flush passages with solvent or cleaning solution, ensuring complete removal of blockages.
- Double-check alignment of oil holes during reassembly to maintain proper flow paths.
- Remember that proper cleaning and inspection of oil passages are crucial for ensuring optimal lubrication and avoiding engine damage.
- Incorporating thorough inspection techniques can help identify hidden obstructions that may not be immediately visible.
- Utilizing specialized tools designed for engine cleaning can further enhance the effectiveness of clearing these passages.
Managing Valve Seating Issues
Managing valve seating issues is essential to guaranteeing your rebuilt Shovelhead engine runs smoothly and reliably. If valves don’t seat properly, you’ll experience compression loss, misfires, or overheating. To troubleshoot, start by inspecting the valve seats and guides for signs of wear or damage. If you notice pitted or burnt seats, consider re-lapping or replacing them with modern, durable materials. Properly cleaning and preparing the surfaces before seating helps achieve a tight seal. When installing new valves or guides, ensure they’re properly aligned and torqued to specifications. Use a valve lapping tool to create a smooth, even contact surface. Regularly check valve clearances and adjust as needed to maintain ideal seating and prevent leaks that could compromise engine performance.
Maintenance Tips for Longevity
Regular maintenance is essential to guarantee your Harley-Davidson Shovelhead engine remains reliable and performs at its best over time. To maximize longevity, stay consistent with these practices:
Consistent maintenance ensures your Harley Shovelhead engine stays reliable and performs optimally over time.
- Regular oil changes with high-quality oil to reduce wear and keep internal parts lubricated.
- Inspect and replace worn valve guides and seals to prevent leaks and maintain compression.
- Keep the oil system clean by flushing oil galleries and ensuring passages are clear.
- Adjust valves and pushrods periodically to avoid excessive wear and noise.
Frequently Asked Questions
How Do I Identify Correct Piston Orientation During Installation?
To identify the correct piston orientation, first check for the piston’s markings or notches, which usually indicate the intake or exhaust side. Position the piston so the notch or arrow points toward the front of the engine. Confirm the piston’s wrist pin offset aligns with the cylinder’s design. Double-check the piston’s pin bore and ring gaps, and consult your manual for specific orientation marks to avoid misassembly.
What Are Signs of Wear in Engine Cases That Require Replacement?
Did you know that cracks in engine cases can lead to catastrophic failure? If you notice any visible cracks, especially around critical areas like main bearing journals or oil passages, you should replace the cases. Signs of wear include excessive scoring, warping, or corrosion. Also, check for metal shavings or debris in oil passages. When in doubt, a professional inspection can help determine if the cases are still sound or need replacement.
How Can I Ensure Oil Passages Are Fully Cleared Before Assembly?
You can guarantee oil passages are fully cleared by thoroughly inspecting and cleaning all galleries and passages with compressed air. Use a small wire brush or pipe cleaner to remove any debris or buildup, then blow out each passage with compressed air from both ends. Double-check for obstructions or blockages, and make sure all passages are free of dirt before reassembling. Proper cleaning helps prevent oil flow issues and ensures smooth engine operation.
What Techniques Improve Valve Seat Sealing During Reassembly?
To improve valve seat sealing during reassembly, lap the valves and seats thoroughly using a suitable grinding compound. Guarantee the valve and seat are clean and free of debris before installation. Check for proper contact pattern and guarantee the valve sits flush with the seat. Use high-quality valve guides and consider upgrading to modern materials for better sealing and durability. Properly adjust valve clearances to maintain ideal compression and sealing.
How Do I Verify Correct Timing After Engine Rebuild?
Picture your engine as a finely tuned orchestra—timing is its heartbeat. To confirm correct timing after your rebuild, connect a timing light to the spark plug wire, then start the engine. Aim the light at the timing mark on the crankcase, and adjust the magneto or ignition until the mark aligns perfectly as the engine runs. This harmony ensures your bike roars with power and smoothness.
Conclusion
Think of your rebuild as planting a seed—carefully tending each part guarantees it grows strong and true. With patience and precision, you breathe new life into your Harley, turning a worn engine into a roaring symbol of craftsmanship. Remember, every bolt and shim is a essential drop of water, nurturing your motorcycle’s spirit. When you hit that first start, you’re not just riding—you’re reviving a legend built by your hands.