Before replacing your old wiring harness, verify it’s compatible with your vehicle’s year, make, and model by checking the manufacturer’s part number and comparing it with your current harness. Safety is key—disconnect the battery and inspect all connections for damage or corrosion. Consider upgrading to a more durable, insulated harness for better protection against environmental factors. Evaluate if new fuses or relays are needed, and seek professional help if you’re unsure about the process. More tips await if you keep exploring.

Get business pricing on garage and car supplies
- Business-only prices and quantity discounts
- Tax-exempt purchasing
- Multiple users, one account, clear invoices
Key Takeaways
- Ensure the replacement harness matches your vehicle’s make, model, and year; check part numbers for accuracy.
- Disconnect the battery and inspect all wires for damage, corrosion, or frays before installation.
- Upgrade to harnesses with better insulation for durability in harsh environmental conditions.
- Verify if additional components like fuses or relays are needed during the replacement process.
- Consider consulting a professional for proper installation and system testing to prevent electrical issues.
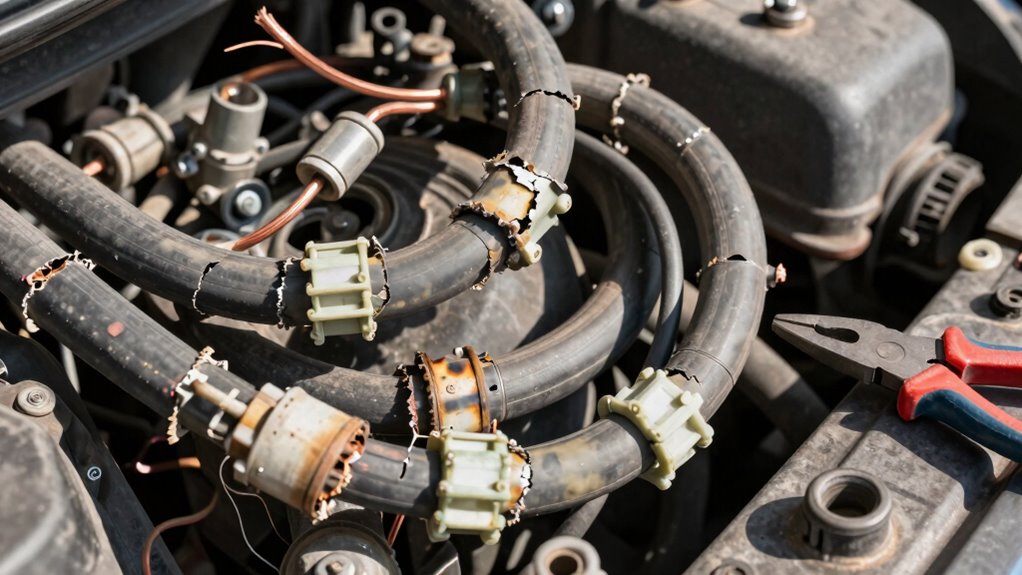
Over time, an old wiring harness can become brittle, corroded, or damaged, leading to electrical issues that affect your vehicle’s performance. Before you decide to replace it, it’s crucial to understand the importance of wire harness compatibility. Not all wiring harnesses are universal; they’re designed specifically for certain makes, models, and engine types. Installing an incompatible harness can cause more problems, including electrical system faults or even damage to other components. You need to verify the replacement harness matches your vehicle’s specifications exactly. Check the manufacturer’s part number and confirm compatibility with your vehicle’s year, make, and model. Sometimes, extra connectors or different wire lengths are necessary, so compare the old harness carefully to the new one before installation.
Another essential aspect to consider is electrical system safety. An old wiring harness might have exposed or frayed wires that pose a risk of short circuits or electrical fires. When replacing the harness, you want to make sure the new one is installed properly to maintain your vehicle’s safety standards. Disconnect the battery before starting any work to prevent accidental shorts. During installation, inspect all connections and ensure they’re secure and free of corrosion. Use appropriate tools and connectors to avoid damaging wires or creating loose connections, which can compromise safety and performance. Additionally, choosing a harness with better insulation or protective coverings can help prevent future damage. Also, upgrading to a harness with enhanced durability can be beneficial if your vehicle operates in harsh conditions or experiences frequent exposure to moisture or heat. Proper installation is vital to ensure the longevity and safety of your electrical system. Incorporating quality components during replacement can further enhance system reliability and reduce the likelihood of future issues.
It’s also wise to evaluate whether you need additional components, such as new fuses or relays, when replacing the harness. Sometimes, older wiring systems may require a complete electrical system check-up to identify other potential issues. Recognizing potential electrical hazards early can prevent costly repairs and improve safety. If you’re not confident in your skills, consulting a professional is a good idea. Proper installation isn’t just about plugging in wires; it’s about ensuring that every connection is correct and that the entire system functions reliably. This not only extends the lifespan of your vehicle’s electrical components but also keeps you safe on the road. Remember, a correctly matched and installed wiring harness preserves electrical system safety and guarantees your vehicle operates smoothly for years to come.
vehicle wiring harness replacement
As an affiliate, we earn on qualifying purchases.
As an affiliate, we earn on qualifying purchases.
Frequently Asked Questions
How Long Does a Wiring Harness Replacement Typically Take?
A wiring harness replacement usually takes between 2 to 6 hours, depending on your vehicle and the complexity of the job. You’ll need basic electrical diagnostics to identify issues and the right tool requirements, like screwdrivers, pliers, and wire crimpers. If you’re experienced, you might finish quicker, but if not, plan for extra time. Taking your time guarantees proper connections and safety during the process.
Can I Replace the Wiring Harness Myself?
You can replace the wiring harness yourself if you’re comfortable with automotive work and understand DIY safety. Make sure you have the right tool requirements, like screwdrivers, pliers, and wire connectors. Always disconnect the battery before starting to prevent shocks or shorts. Follow a detailed guide or manual, and take your time. If you’re unsure, consulting a professional is a safer choice to avoid damaging your vehicle or risking safety.
What Are the Signs of Wiring Harness Corrosion?
You’ll notice wiring harness corrosion through corrosion indicators like rust, discoloration, or corrosion buildup on the wires and connectors. Signs of wiring deterioration include frayed or cracked insulation, exposed wires, or corrosion on terminals. If you see any of these issues, it’s a clear sign that the wiring harness needs attention. Addressing corrosion early helps prevent electrical failures and keeps your vehicle running smoothly.
How Much Does a Wiring Harness Replacement Cost?
Imagine your vehicle’s electrical system as a fragile network, and replacing the wiring harness is like rewiring that intricate web. The cost estimate for this process varies, typically ranging from $500 to $2,000 depending on your vehicle’s make and model. During the replacement process, a mechanic carefully removes the old harness and installs a new one, ensuring every connection is secure. Expect labor costs to be a significant part of the total, so plan accordingly.
Are There Any Safety Precautions During Replacement?
During replacement, you should prioritize safety by disconnecting the battery to prevent electrical shocks or fire hazards. Use proper tools designed for electrical work to avoid damaging components or causing shorts. Keep fire safety in mind, guaranteeing no flammable materials are nearby, and work in a well-ventilated area. Always wear protective gear, like gloves and safety glasses, to minimize risks and ensure a safe, smooth replacement process.
car wiring harness compatible with [vehicle make and model]
As an affiliate, we earn on qualifying purchases.
As an affiliate, we earn on qualifying purchases.
Conclusion
So, you’re about to swap out that ancient wiring harness—proof of your car’s age and your patience. Just imagine, after all the effort, you might find yourself admiring that sleek, modern wiring system, only to realize it’s now the most exciting thing in your engine bay. Irony’s a funny thing; sometimes, the old, tangled mess is the nostalgic charm, and the shiny new harness is just a high-tech upgrade. Good luck, and enjoy the sparks of progress!
automotive wiring harness with insulation upgrade
As an affiliate, we earn on qualifying purchases.
As an affiliate, we earn on qualifying purchases.
As an affiliate, we earn on qualifying purchases.
Halloween Picks
halloween
As an affiliate, we earn on qualifying purchases.