
To safely lower your bike’s stance, start by evaluating your current fit and goals, ensuring comfort and safety. Gather the right tools, stabilize your bike, and adjust the saddle first by lowering and repositioning it for proper knee bend and support. Next, modify handlebar reach and stem height to improve posture. Fine-tune your cleats and pedal setup for efficiency. Consider how frame geometry impacts handling, and make gradual changes, testing stability along the way. Keep safety in mind, and continue to refine your setup for ideal control.
Key Takeaways
- Use a bike stand to stabilize the bike before making any adjustments to prevent accidents.
- Gradually lower the saddle or handlebar height, testing comfort and handling after each change.
- Loosen bolts with appropriate tools, adjust components carefully, then tighten to manufacturer torque specifications.
- Adjust frame geometry cautiously, considering impacts on handling, stability, and safety during test rides.
- Regularly evaluate body comfort and ride performance, making incremental adjustments for optimal stance and safety.
Assessing Your Current Bike Fit and Goals

Before making any adjustments to your bike, it’s essential to assess your current fit and identify your riding goals. Start by evaluating how comfortable you feel during your rides—note any persistent pain or discomfort, especially in your knees, back, or neck. Consider your riding style: do you prioritize speed, endurance, or casual commuting? Measure key fit points like saddle height, handlebar reach, and stem length. Take note of how your body aligns with the bike, ensuring your hips, knees, and ankles work efficiently. Understanding your current setup and aspirations helps you target specific adjustments, making your bike fit better and your rides more enjoyable. Pay attention to your support system and how it influences your comfort during rides. Incorporating ergonomic principles can further optimize your bike fit for long-term comfort and performance. Additionally, understanding the importance of proper bike fit can prevent injuries and improve overall riding efficiency. Regularly assessing your body positioning during rides can help you maintain optimal alignment and prevent strain. Incorporating the right bike components suited to your needs can also enhance comfort and performance.
Preparing Your Bike for Adjustment Safely
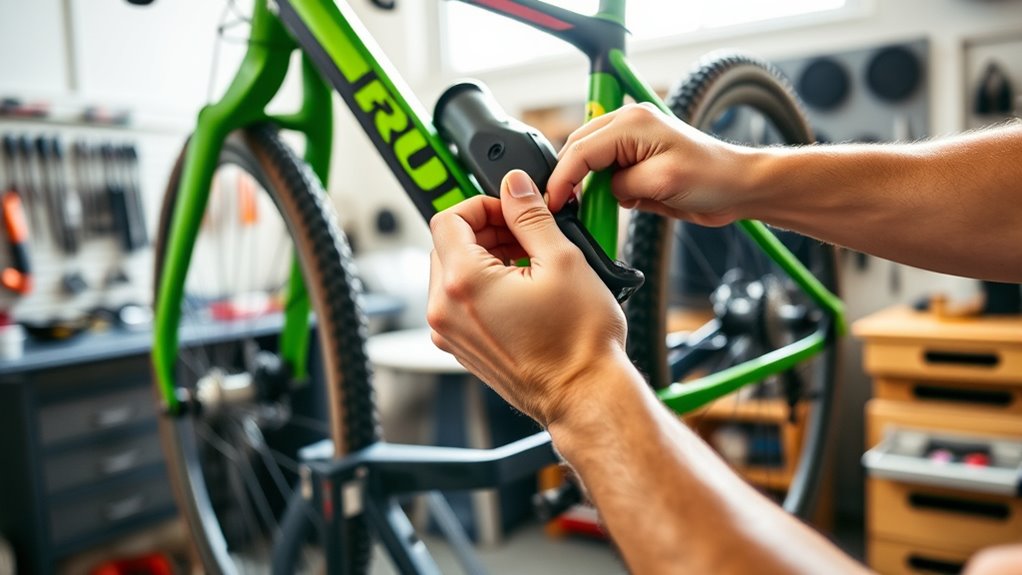
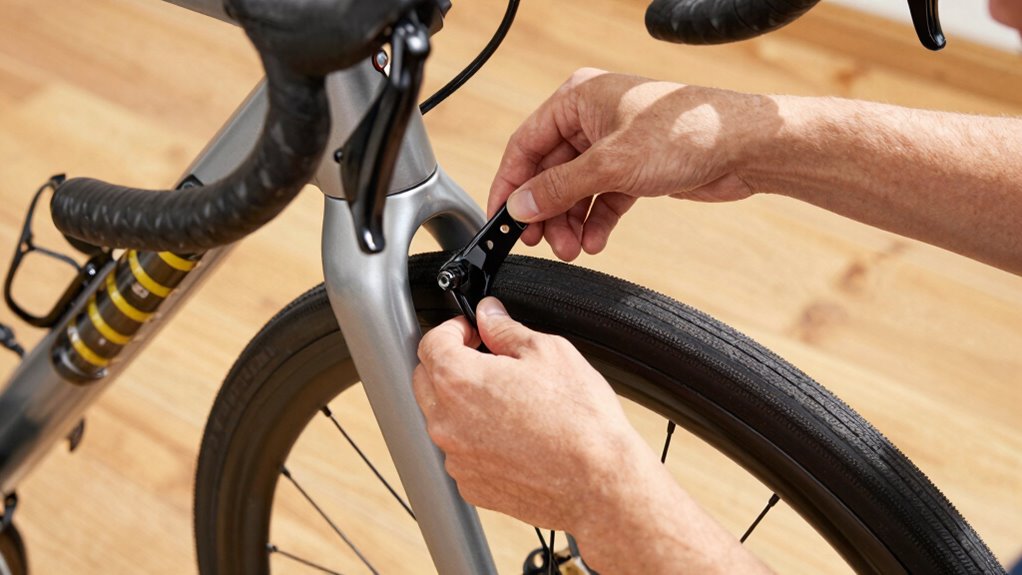
Before you start adjusting your bike, make sure you gather the right tools, like Allen wrenches, screwdrivers, and a torque wrench. It’s important to stabilize the bike properly, using a bike stand or leaning it against a secure surface to prevent accidents. Taking these steps guarantees you can make safe, precise adjustments without risking damage or injury. Additionally, consider Free Floating components that may require special attention during your adjustment process to ensure optimal performance. Properly understanding component compatibility can help prevent issues during adjustments and maintain your bike’s overall safety and efficiency. To further ensure your setup is reliable, consult whole-home backup power guidelines for safe and effective maintenance practices. Incorporating alignment techniques can also improve the accuracy of your adjustments and prolong component lifespan. Being aware of temperature effects can help you make adjustments that hold up under different riding conditions.
Gather Necessary Tools
Are you ready to adjust your bike safely? Before you start, gather the right tools to prevent damage and *guarantee* a smooth process. You’ll need a set of Allen wrenches or hex keys, a torque wrench for precise tightening, a adjustable spanner or wrench, and a bike stand or repair mat for stability. Having these on hand makes adjustments easier and safer. Use the table below to check your tools:
| Tool | Purpose | Notes |
|---|---|---|
| Allen wrenches | Saddle, stem, handlebar bolts | Multiple sizes needed |
| Torque wrench | Tighten bolts to spec | Prevents over-tightening |
| Spanner/Wrench | Pedal and component bolts | Ensure firm attachment |
| Bike stand | Stabilize bike during work | Keeps bike steady |
Make sure everything is within reach before starting adjustments.
Ensure Bike Stability
To guarantee your bike remains stable during adjustments, you need to secure it firmly in a suitable position. Use a bike stand or lean it against a sturdy surface to prevent slipping or tipping. If you’re working on the ground, place your bike on a non-slip mat or a soft surface to avoid scratches and make sure it won’t slide. Engage the brakes—either by squeezing the brake levers or applying wheel chocks—to keep the wheels from moving. Double-check that the bike is balanced and not wobbling before making any adjustments. This stability minimizes the risk of injury or damage and helps you work efficiently. Always take your time to ensure everything is secure before proceeding with any modifications. Incorporating proper stability techniques can further enhance your safety during bike adjustments. Additionally, understanding bike maintenance tools can make the process smoother and more effective. Using the right tools and techniques can also prevent damage to your bike during the adjustment process, and familiarizing yourself with bike safety protocols is beneficial for safe handling. Implementing effective safety practices based on best practices can help you avoid accidents and injuries during maintenance.
Adjusting Saddle Height and Position for Optimal Power and Comfort
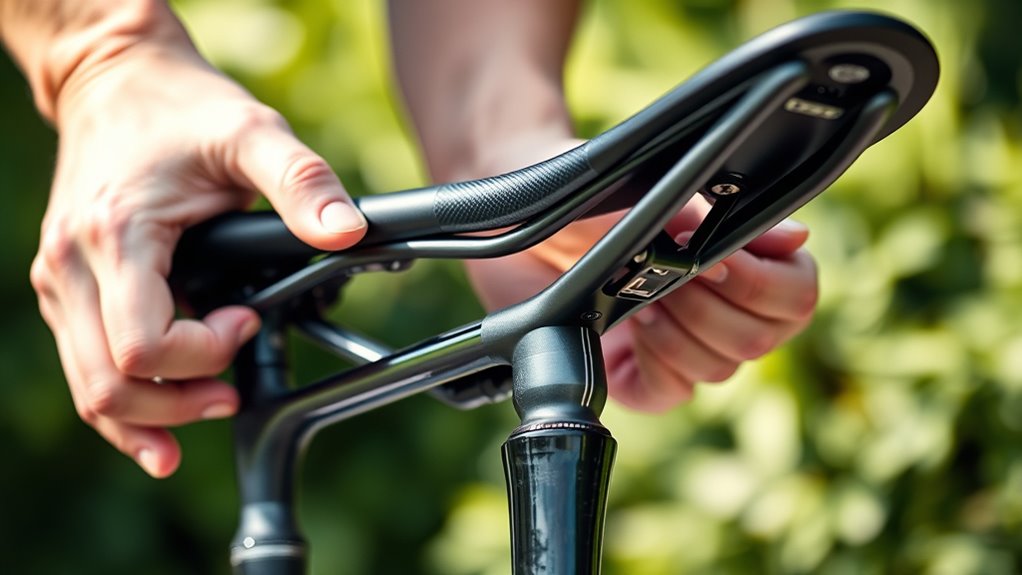
Adjusting your saddle height and position is essential for maximizing both power output and riding comfort. Start by loosening the seat post clamp or bolts, then slide the saddle up or down to find the right height. Your leg should have a slight bend at the knee when the foot is at the bottom of the pedal stroke, typically around 25-35 degrees. Next, slide the saddle forward or backward on its rails to align your hips properly over the pedals, ensuring you don’t exceed the rail limits for safety. Keep the saddle level or with a slight tilt to improve comfort and pressure distribution. Once adjusted, tighten the bolts to the manufacturer’s torque specs to prevent slipping and ensure stability during rides. Proper saddle positioning helps prevent discomfort and injuries, contributing to a more enjoyable riding experience. Additionally, using a bike-specific tools can make precise adjustments easier and more accurate.
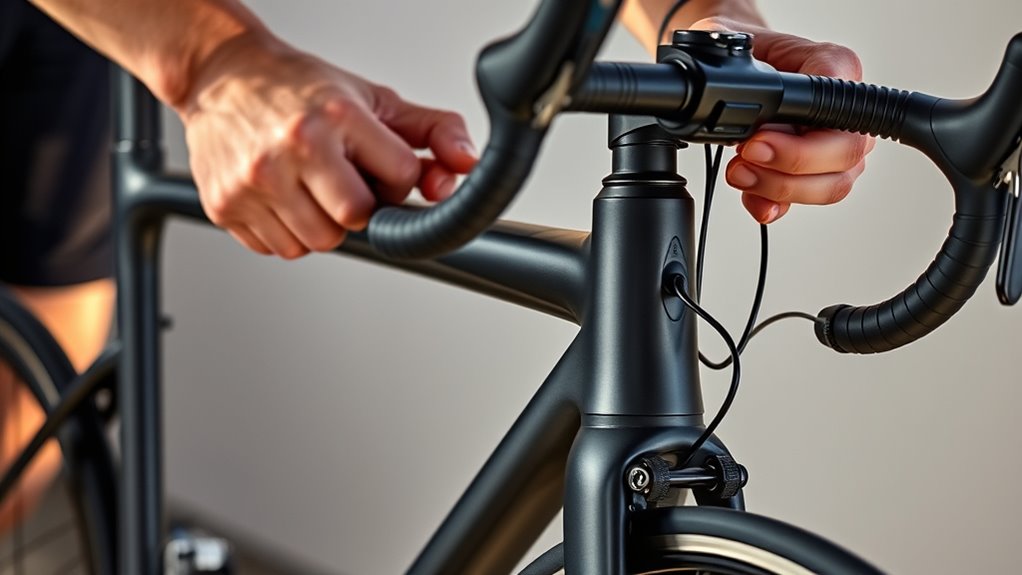
Modifying Handlebar Reach and Stem Setup for Better Posture
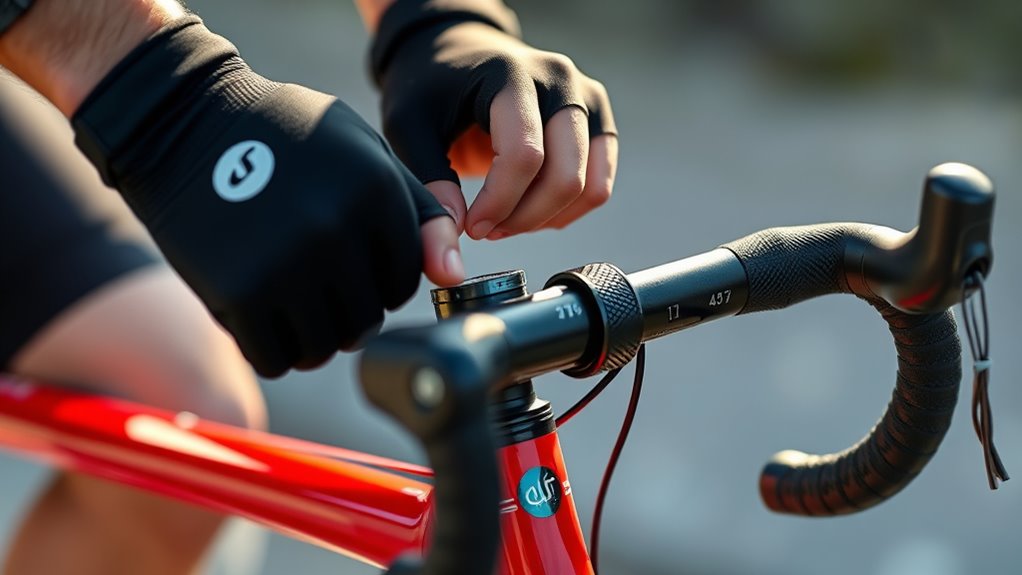
Modifying handlebar reach and stem setup can substantially improve your riding posture and comfort. Shortening the reach brings handlebars closer, reducing shoulder and neck strain. Flipping or swapping stems lowers the front end, offering a more aggressive stance. Adjust handlebar roll to keep brake hoods ergonomic after changes. Remember, altering handlebar width or drop depth can optimize aerodynamics and accessibility. Ensuring proper bike fit is essential for long-term comfort and injury prevention. Incorporating essential oils for relaxation can also promote a more relaxed mindset during rides and adjustments.
Fine-Tuning Pedal and Cleat Placement for Efficiency

Fine-tuning your pedal and cleat placement is essential for maximizing efficiency and comfort during rides. Start by adjusting your cleats backward or forward on your shoes to align with your natural foot position, ensuring your knee stays over the pedal axle. Slightly angling your cleats (canting) can improve foot stability and reduce hot spots or numbness. Use wedges or inserts to correct pronation or supination issues, promoting even pressure distribution. Proper cleat position helps you apply power evenly throughout the pedal stroke, reducing fatigue and discomfort. Remember, a stable foot position over the big toe during pedaling enhances power transfer. Being aware of your foot biomechanics can help you make more informed adjustments for optimal comfort and efficiency. Additionally, understanding leverage points can guide you in optimizing your pedal stroke for increased performance. Regularly inspecting your cleat wear and ensuring secure attachment can prevent injury and improve pedal efficiency. Paying attention to your body positioning can make a significant difference in comfort and energy transfer. Small adjustments, based on ergonomic principles, allow you to find the setup that feels natural, efficient, and comfortable during your rides.
Considering Frame Geometry and Its Impact on Handling
Lowering your bike changes how it handles, especially in cornering and stability. When you adjust the frame geometry, you might notice shifts in weight distribution that affect grip and control. Staying aware of these handling dynamics helps you fine-tune your setup for safer, more responsive rides.
Handling Stability Changes
How your bike’s frame geometry influences handling stability is essential when making adjustments. Lowering your bike changes weight distribution and steering responsiveness, which can make handling feel more aggressive or unpredictable. You might notice increased front-end sensitivity or a tendency to oversteer. To manage these changes:
- Shift weight forward to improve front grip and stability.
- Adjust tire pressure for better traction and control.
- Maintain proper steering alignment to prevent wobble or wandering.
- Be cautious with sharp turns until you adapt to the new stance.
- Gradually test adjustments to find the right balance between responsiveness and stability.
- Understanding handling stability helps you fine-tune your bike’s handling, ensuring safer rides and better control as you lower your stance.
Cornering Dynamics Adjustment
When you modify your bike’s frame geometry, especially by lowering the stance, it directly influences your cornering dynamics. A lower center of gravity increases stability, making it easier to hold tight turns without wobbling. However, lowering the front end can make steering feel more responsive but also more twitchy if overdone. It shifts weight distribution toward the rear, improving grip on the rear tire during cornering, but may reduce front-end confidence if too aggressive. Changes to handlebar height and reach also affect your body position, impacting how smoothly you lean into corners. Remember, balancing lowered components with proper suspension and tire pressure ensures predictable handling. Testing your adjustments on different curves will help you fine-tune your bike’s cornering response for safer, more confident riding. Additionally, understanding how frame geometry impacts handling can help you make more informed modifications to optimize your riding experience.
Ensuring Safety and Ergonomics During and After Adjustments

Ensuring safety and ergonomics during and after bike adjustments is crucial to prevent injuries and maintain comfort. You should take gradual steps when lowering your ride, giving your body time to adapt. Always check that all bolts and components are tightened to manufacturer specifications to avoid mechanical issues. Observe your new posture for signs of discomfort or pressure points, and make small tweaks as needed. Confirm your bike’s clearances are adequate to prevent frame or brake interference. Pay attention to wrist, shoulder, and lower back positions to avoid strain. Regularly test your setup on rides, noting how your body responds. Remember, proper ergonomics not only prevent injuries but also enhance riding efficiency and enjoyment.
- Make small, incremental changes rather than drastic adjustments
- Tighten bolts to specified torque settings
- Watch for pressure points and adjust accordingly
- Check clearances for mechanical safety
- Listen to your body for signs of discomfort
Testing and Fine-Tuning Your New Position for Maximum Performance

To achieve ideal performance after adjusting your bike, you need to systematically test your new position under real riding conditions. Start with short rides on familiar routes, paying close attention to comfort, power transfer, and handling. Focus on your pedal stroke, ensuring even pressure and full extension without discomfort. Listen for any signs of strain in your knees, back, or shoulders, and adjust accordingly. Experiment with different saddle heights, handlebar positions, and cleat alignments during these rides. Use feedback from your body and performance metrics to refine your setup. Remember, small incremental changes often yield the best results. Keep testing and fine-tuning until you find a position that offers maximum efficiency, comfort, and control for your riding style.
Frequently Asked Questions
How Often Should I Revisit My Bike Fit After Lowering My Stance?
You should revisit your bike fit after lowering your stance every few weeks or whenever you notice discomfort, numbness, or decreased performance. Changes in posture can put strain on your joints or muscles, so it’s essential to pay attention to your body. Regularly check your saddle and handlebar positions, and consider a professional fit if you experience persistent issues. This ensures your ride remains comfortable, efficient, and safe over time.
Can Lowering the Bike Affect My Overall Riding Stability?
Imagine your bike as a predator lowering its stance to sneak faster. Yes, lowering your bike can affect stability; a lower center of gravity improves cornering but may reduce handling on uneven terrain. You might feel more planted but also more sensitive to road imperfections. To maintain control, make gradual adjustments and test ride carefully, ensuring your bike feels balanced and secure before tackling challenging routes.
What Signs Indicate My Bike Setup Is Causing Discomfort or Injury?
If your bike setup causes discomfort or injury, you’ll notice persistent pain in your knees, lower back, neck, or wrists. You might feel numbness or tingling in your feet or hands, or experience numbness during rides. Unusual fatigue, joint soreness, or pressure points also signal poor fit. If you’re adjusting your position and these issues persist, it’s a sign to reassess your setup and seek professional fitting to prevent further injury.
Is It Necessary to Professional Bike Fitting After Making Adjustments?
Think of your bike like a finely tuned instrument; small adjustments can throw it out of harmony. After making significant changes, a professional fitting isn’t always necessary, but it’s highly recommended. It’s like consulting a conductor to guarantee every string is perfectly tuned. A pro can fine-tune your setup, optimize comfort, prevent injuries, and reveal your bike’s full potential, especially after major modifications.
How Do I Prevent Damage When Lowering My Bike’s Front End?
You prevent damage when lowering your bike’s front end by first raising the bike on a stand for stability. Carefully loosen and adjust the fork or spacers, avoiding over-tightening or forcing components. Always follow manufacturer torque specs when tightening bolts. Check for proper clearance and alignment after adjustments. Gradually lower the front end in small steps, testing ride comfort and handling to avoid stressing or damaging parts.
Conclusion
By making these adjustments carefully, you can improve your comfort and performance on every ride. Remember, studies show that proper bike fit can reduce fatigue by up to 30%, helping you ride longer and safer. Take your time to test and fine-tune your setup, ensuring it suits your body and riding style. A well-optimized stance not only boosts efficiency but also minimizes injury risk—so, ride smarter and enjoy every mile more comfortably.