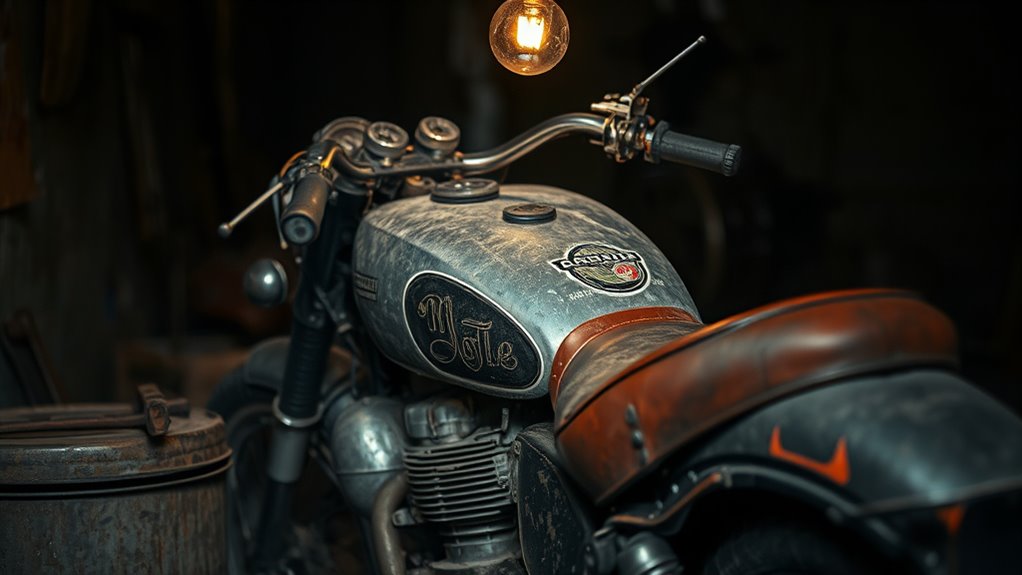

To revive a motorcycle that’s sat for years, start by inspecting your workspace and cleaning the bike’s exterior thoroughly to spot rust or damage. Drain old fuel, clean or replace the fuel system components, and make certain the battery is charged and connections are clean. Check mechanical parts, change fluids and spark plugs, then carefully start the engine. If you want a detailed step-by-step process, keep going to discover all the essential tasks involved.
Key Takeaways
- Prepare a clean, well-ventilated workspace and inspect the motorcycle externally for rust, damage, and corrosion.
- Drain old fuel, clean or replace the fuel system components, and refill with fresh, stabilized fuel.
- Check and replace the battery, inspect wiring, and test electrical systems for proper operation.
- Change engine oil, replace filters, spark plugs, and fluids to ensure smooth engine performance.
- Start the engine carefully, listen for abnormalities, and conduct a test ride to confirm proper reviving.
Assess the Storage Conditions and Prepare Your Workspace

Before you begin reviving your motorcycle, it’s vital to evaluate your storage environment and prepare your workspace accordingly. First, check that your garage or storage area is clean, dry, and well-ventilated, free of pests and excessive humidity. Make certain there’s enough space to work comfortably around the bike and access tools easily. Remove any clutter or obstacles that could cause accidents or delays. Confirm that lighting is sufficient to see all components clearly. Set up a sturdy workbench with necessary tools nearby, and gather supplies for cleaning and maintenance. If you’re working outdoors temporarily, pick a shaded, protected spot and have covers ready to shield the motorcycle from dust and weather. Proper preparation minimizes risks and makes the revival process more efficient. Additionally, understanding the storage conditions can help prevent future issues like rust or corrosion, ensuring your motorcycle remains in good shape. Maintaining a clean and organized workspace further enhances safety and efficiency during the revival process. Ensuring proper ventilation in your workspace also helps disperse fumes from cleaning products and fuels, contributing to a safer environment. Moreover, being aware of humidity levels can help you take additional steps to prevent rust and corrosion over time.
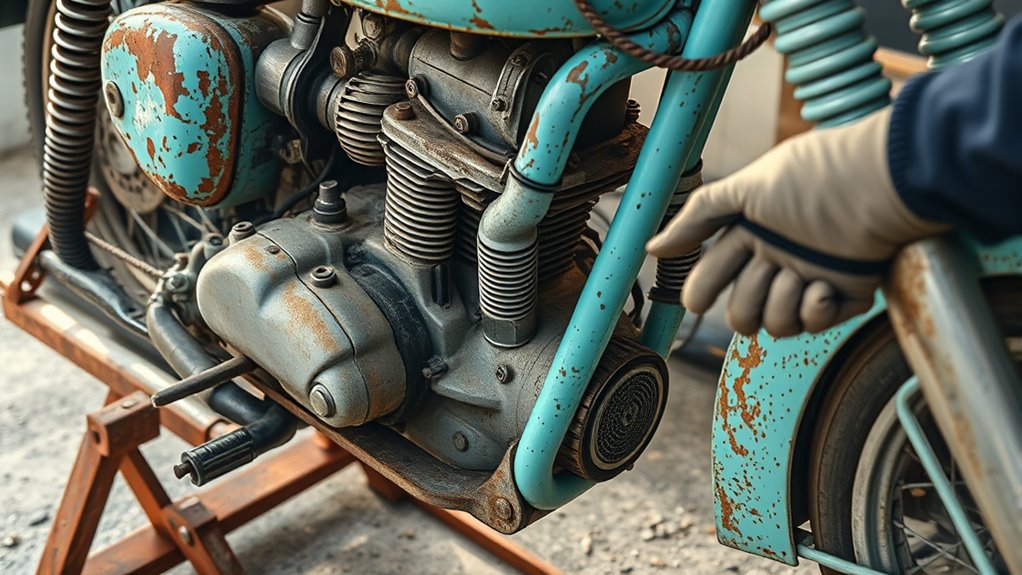
Perform a Thorough Exterior Cleaning and Inspection
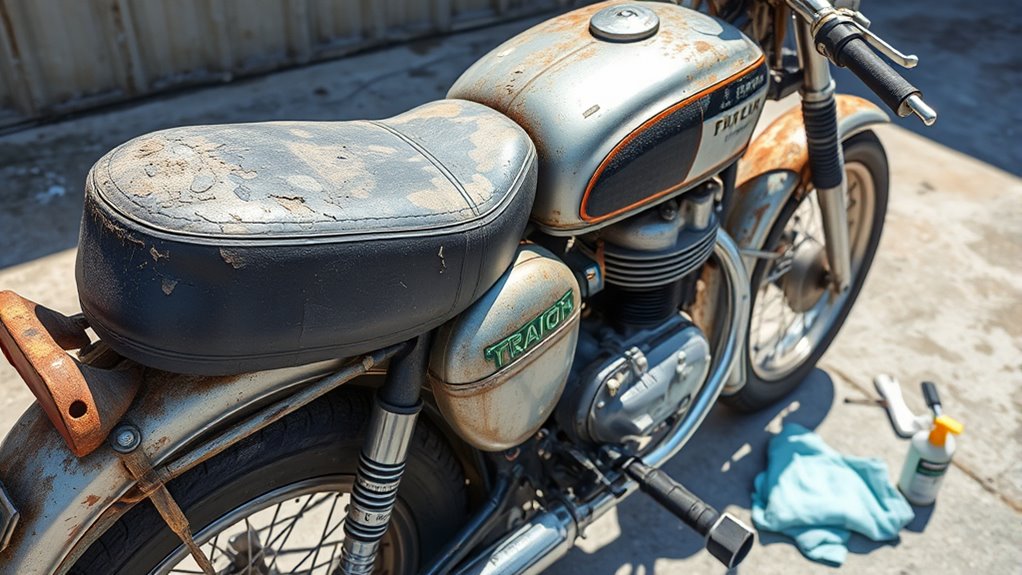
A thorough exterior cleaning is essential to uncover any hidden damage and prepare your motorcycle for inspection. Begin by removing loose dirt with a gentle hose rinse. Use a mild detergent and soft brush to scrub the frame, fairings, and wheels, ensuring you reach crevices and hard-to-see spots. After washing, dry the surface completely to prevent rust. While cleaning, inspect for rust spots, paint chips, or cracks. Check the condition of plastics and decals, and look for signs of corrosion or damage. Use the table below to identify common exterior issues and their solutions:
| Issue | Solution |
|---|---|
| Rust spots | Sand and treat with rust converter |
| Cracked plastics | Repair or replace damaged parts |
| Paint chips | Touch-up with matching paint |
| Corrosion | Clean, apply protective coating |
Additionally, reviewing the Pinball Machine Weight can help you understand the importance of properly handling and transporting your motorcycle during repairs or storage. Being aware of the horsepower of electric dirt bikes can also inform how you approach maintenance and upgrades for your motorcycle’s performance. Recognizing the potential for rust is crucial in preventing long-term damage to your bike’s exterior.
Drain, Clean, and Refill the Fuel System

You need to start by draining the old fuel from the tank and lines to remove any varnish or sediment. Next, clean or replace the fuel components like filters and carburetor parts to prevent clogs. Additionally, inspecting the fuel system for corrosion and addressing any issues can prevent future problems. Regular maintenance and routine health checks can help identify potential issues early. Incorporating waterpark amenities in your maintenance routine can also promote more sustainable and efficient operation of your motorcycle. Finally, refill the system with fresh fuel to guarantee smooth operation when you start the engine.
Empty the Old Fuel
When restoring a motorcycle that has sat idle for years, draining the old fuel is a crucial first step. Old gasoline can break down, forming varnish and gunk that clog your fuel system. To start, turn off the fuel valve and carefully disconnect the fuel line from the tank. Drain the stale fuel into a suitable container, making sure to dispose of it responsibly. Once emptied, wipe down the tank’s interior if possible to remove any residue. Reconnect the fuel line and fill the tank with fresh, stabilized fuel. This process prevents gum buildup and ensures your motorcycle runs smoothly. Draining the old fuel also helps avoid engine damage and simplifies the next steps of cleaning and refilling the entire fuel system.
Clean Fuel Components
To guarantee your fuel system is free of rust, debris, and stale fuel, start by draining all remaining fuel from the tank, lines, and components like the fuel pump and filters. Next, thoroughly clean each part to remove varnish and sediment. Follow these steps:
- Remove and disassemble the carburetor or fuel injectors, then soak parts in a fuel system cleaner or ultrasonic bath.
- Inspect and replace clogged or degraded fuel filters to ensure proper flow.
- Flush fuel lines with fresh fuel or a cleaning solvent to eliminate buildup and prevent clogs and blockages.
- Reassemble the system with clean components and refill with fresh, stabilized fuel for peak operation. Additionally, ensuring proper fuel system maintenance helps prevent future issues and enhances overall performance. Regular maintenance, including inspecting for corrosion or leaks, further prolongs the lifespan of your motorcycle’s fuel components. Incorporating preventative measures can also help maintain optimal fuel system health over time.
This process prevents clogs, improves fuel delivery, and prepares your motorcycle for reliable startup.
Check and Service the Battery and Electrical Components

Start by inspecting your battery for corrosion, leaks, or swelling, and replace it if it can’t sustain a charge. Then, test the charging system and ensure all electrical connections are clean and tight. Additionally, verify that all electronic components, like lights and gauges, work properly before firing up the engine. To further support your motorcycle’s electrical system, consider inspecting the performance of your alternator and starter motor, as these are critical for reliable operation. Regularly maintain and clean electrical contacts to prevent future issues. Finally, ensure the wave and wind options are available in your area to start your day energized after your maintenance. For a comprehensive understanding, consider reviewing Youngster Choice to learn about financial independence and personal branding that can support your motorcycle maintenance journey.
Battery Inspection and Replacement
Inspecting and servicing your motorcycle’s battery is a crucial step before attempting to start it after long-term storage. First, check the battery’s voltage with a multimeter; it should read around 12.6 volts. If it’s below 12 volts or shows signs of swelling, corrosion, or leaks, replace it. Next, clean the terminals with a wire brush to remove corrosion and ensure a solid connection. Then, perform these steps:
- Test the battery’s capacity using a load tester to confirm it can hold a charge.
- Inspect for corrosion or loose connections and tighten or replace as needed.
- Charge the battery fully using a compatible charger or tender.
- Reinstall the battery, ensuring terminals are clean and properly connected.
Additionally, verify the battery’s reusability and consider eco-friendly options if replacement is necessary. Regularly checking the battery’s state of health can help prevent unexpected failures and ensure reliable electrical performance before you attempt to start your motorcycle. It’s also beneficial to understand battery maintenance best practices to prolong its lifespan and maintain optimal performance. Incorporating proper reconditioning techniques can also extend the life of older batteries and improve their overall efficiency.
Electrical System Testing
After ensuring your motorcycle’s battery is fully charged and terminals are clean, it’s time to verify that all electrical components are functioning correctly. Start by inspecting wiring harnesses, connectors, ignition coils, and spark plugs for damage, corrosion, or rodent bites. Use a multimeter to check voltage at key points, ensuring the charging system is working properly. Test lights, indicators, horn, and instrument panel to confirm they operate smoothly. Look for short circuits or broken wires that could cause issues. Label connections if you disconnect anything to avoid wiring mistakes during reassembly. Keep the battery on a tender during testing to maintain stable voltage. Address any faulty components or connections before attempting to start the engine, preventing electrical failures during startup.
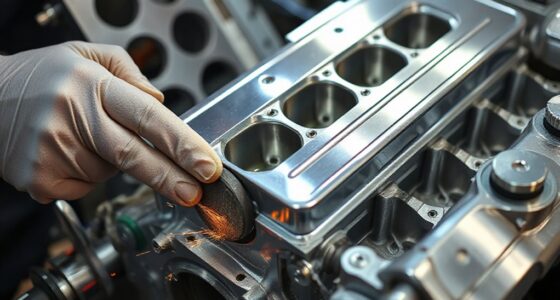
Inspect and Maintain Mechanical and Engine Systems
Before firing up a motorcycle that’s been sitting for years, it’s essential to thoroughly examine its mechanical and engine systems. Start by inspecting these critical areas:
- Check the engine for corrosion, rust, or stuck components, and clean as needed.
- Change the engine oil to remove old, degraded fluid and prevent internal damage.
- Examine the cooling system—flush and refill if necessary—to avoid overheating.
- Inspect the brake system: clean calipers, replace pads if hardened, and bleed lines for proper function.
Ensure all mechanical parts are free of debris, rust, or damage. Lubricate pivot points, cables, and chains to prevent rust and guarantee smooth operation. Performing these steps helps restore reliable performance and prevents future issues.
Replace Fluids, Filters, and Spark Plugs
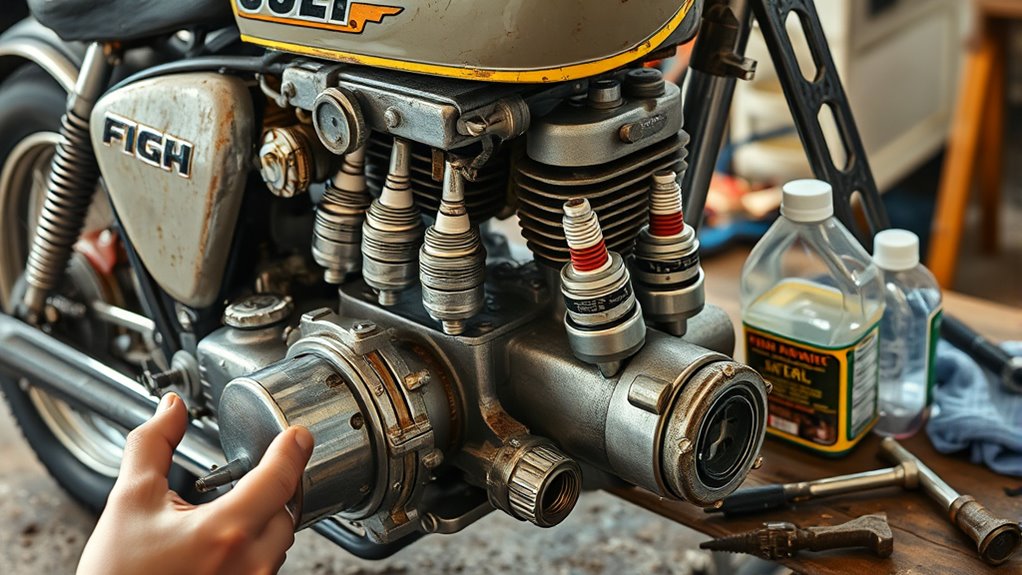
Replacing fluids, filters, and spark plugs is an essential step in restoring your motorcycle after years of sitting. Old oil, fuel, and contaminated filters can cause damage or poor performance. Drain the engine oil and replace it with fresh oil to guarantee proper lubrication. Change the fuel filter to prevent debris from clogging the fuel system. Remove and inspect the spark plugs; replace them if they’re fouled, worn, or corroded. Fresh spark plugs help assist ensure reliable ignition and smooth engine running. Also, replace the coolant and brake fluids if needed, as these degrade over time. Clean or replace air filters to improve airflow and engine efficiency. This process guarantees your motorcycle runs cleanly and efficiently, setting a solid foundation for a safe, reliable start.
Start the Engine Carefully and Conduct a Test Ride

Starting the engine carefully is essential to guarantee your motorcycle runs smoothly after sitting idle for years. First, verify all systems are checked—fluid levels, electrical connections, and the exhaust. Then, follow these steps:
- Prime the engine by briefly cranking with fresh oil and fuel to circulate lubricants.
- Start the engine and let it idle, listening for abnormal noises or leaks.
- Rev the engine gently a few times to clear out stale fuel, then let it cool down.
- Conduct a short test ride, staying alert for unusual vibrations, sounds, or braking issues.
During the test ride, monitor gauges closely, and avoid high speeds or aggressive acceleration. This cautious approach helps prevent damage and confirms your motorcycle is ready for regular riding.
Frequently Asked Questions
How Do I Identify Hidden Rust or Corrosion Before Starting Repairs?
You spot hidden rust or corrosion by inspecting critical areas like the frame, suspension components, and inside the fuel tank or carburetor. Look for discoloration, flaking paint, or a rough texture. Use a flashlight to check crevices and joints. Gently tap metal surfaces with a screwdriver—dull sounds indicate rust. If you find suspect spots, clean and treat them promptly to prevent further damage before proceeding with repairs.
What Signs Indicate a Damaged or Degraded Carburetor Needing Replacement?
You’ll notice if your carburetor is damaged or degraded by poor engine performance, such as difficulty starting, rough idling, or sputtering. Look for visible signs like cracks, corrosion, or leaks around the float bowl and choke. If the carburetor is clogged or gummed up with varnish, it’ll cause sluggish throttle response and uneven acceleration. In severe cases, you might need to replace the entire unit for peak performance.
How Can I Safely Dispose of Old Fuel and Contaminated Fluids?
You should dispose of old fuel and contaminated fluids at a proper recycling center or hazardous waste facility. Never pour them down drains, onto the ground, or into storm drains. Use approved containers to store the fluids temporarily, then take them to authorized disposal sites. Contact local waste management authorities for guidance. Handling these fluids responsibly protects the environment and keeps you safe from harmful chemicals.
When Should I Consider Replacing Rather Than Repairing Electrical Wiring?
When electrical wiring becomes a ticking time bomb, it’s time to replace rather than repair. If you notice persistent corrosion, cracked insulation, or frequent shorts, patching it up is like putting a bandage on a leaking pipe—temporary at best. Old wiring also fails safety tests and can cause fires. Trust your instincts; when in doubt, substituting ensures peace of mind and keeps your motorcycle running smoothly and safely.
What Are Key Safety Precautions During the Initial Engine Startup After Storage?
You should wear protective gear, including gloves and eye protection, during the initial startup. Make sure the motorcycle is on a stable, flat surface, and check for leaks, loose wires, or any hazards. Turn off the fuel valve and disconnect the battery if needed. Start the engine slowly, listen for unusual sounds, and monitor gauges closely. Keep a fire extinguisher nearby in case of emergencies.
Conclusion
Reviving a motorcycle that’s been sitting for years takes patience and careful steps. By thoroughly inspecting, cleaning, and replacing key components, you give your bike the best chance to run smoothly again. Remember, it’s more than just restarting an engine — it’s about restoring trust in your machine. Are you ready to breathe new life into your motorcycle and enjoy the open road once more? With the right effort, that dream ride is within reach.