To keep your classic bike’s carburetors clean and tuned, you should perform regular maintenance by inspecting components like O-rings, floats, and throttle valves for wear or leaks. Use proper cleaning techniques with carb cleaner, brushes, and rebuild kits to remove deposits, and always choose ethanol-free fuel to prevent gumming and corrosion. Adjust idle and mixture settings for smooth operation, and store your bike properly during off-season. If you continue exploring, you’ll discover essential tips to optimize your bike’s performance even further.
Key Takeaways
- Regularly inspect and clean carburetor components to prevent deposits, varnish buildup, and ensure smooth engine performance.
- Use appropriate tools and carb cleaner to disassemble, clean, and rebuild the carburetor, organizing parts for easy reassembly.
- Choose ethanol-free fuel and add stabilizer during storage to avoid varnish, gum, and phase separation issues.
- Adjust float levels, idle speed, and mixture screws periodically for optimal tuning and reliable engine operation.
- Store your classic bike properly during off-season, including draining fuel, spraying fogging oil, and covering to protect internal parts.

Avalon Towels Microfiber Cleaning Cloths (Value Pack of 36) - Size 16 x 16 Inches, Highly Absorbent Cleaning Rags, Lint Free, Reusable and Washable, Microfiber Towels for Cars
Value Pack: These large microfiber cleaning cloths come in a pack of 36 measuring 16x16 Inches. The bulk...
As an affiliate, we earn on qualifying purchases.
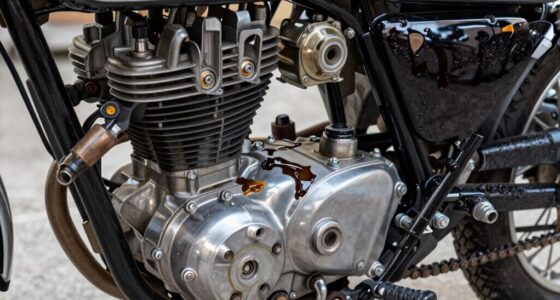
Understanding the Importance of Regular Carburetor Maintenance
Regular carburetor maintenance is essential for keeping your engine running smoothly and efficiently. Over time, deposits, varnish, and debris can clog jets and passageways, causing poor fuel flow, rough idling, or stalling. Neglecting maintenance leads to decreased performance, increased fuel consumption, and potential damage to engine components. Regular inspections allow you to spot issues early, such as cracked diaphragms or worn O-rings, preventing costly repairs. Using proper cleaning techniques and fresh fuel helps maintain ideal fuel-air mixture, ensuring reliable starts and smooth acceleration. Staying informed about European cloud innovation and integrating modern solutions can also enhance your maintenance routines by offering better diagnostic tools and remote monitoring options. Additionally, understanding the horsepower of electric dirt bikes can help you better tune your bike for optimal performance. If you’re serious about preserving your vintage bike’s performance, staying consistent with carburetor upkeep isn’t optional—it’s a key step to prolonging its life and enjoying a dependable ride.

AIDEA Microfiber Cleaning Cloth Black 50PK, Microfiber Towels for Cars, Premium Car Cloths, Dusting Cloth Lint Free Cleaning Rags for SUVs, House, Kitchen, Window, Workshops,12×12"
Super Absorbent: Experience the excellent quality of AIDEA all-purpose microfiber cleaning cloths; made from premium materials; offering exceptional...
As an affiliate, we earn on qualifying purchases.
Effective Techniques for Cleaning and Disassembling Your Carbs
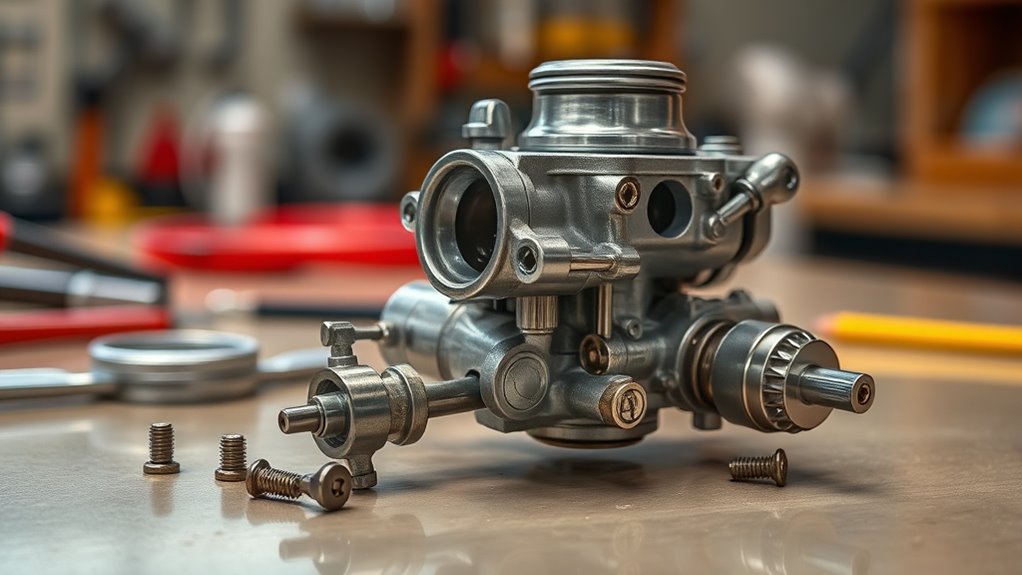
To effectively clean and disassemble your carburetor, start by gathering the right tools, including carburetor cleaner spray, a soft brush, small containers for parts, and protective gear like gloves and safety glasses. This guarantees safety and organization during the process. Carefully remove the carb from your bike, noting how parts fit together. As you disassemble, keep these tips in mind:
- Use small containers or labeled bags to keep screws, jets, and small parts organized.
- Spray carb cleaner and penetrating oil on jets, needle seats, and passages before removal to prevent damage.
- Handle delicate components gently, avoiding force that could cause breakage or distortion.
- Paying attention to projector technology can help you understand how different parts of your carburetor work together, ensuring a more effective cleaning process. Additionally, understanding quality assurance principles can guide you in maintaining consistent cleaning standards for optimal performance. Recognizing the importance of preventive maintenance can also prolong the lifespan of your carburetor and keep it running smoothly. Incorporating proper lubrication during reassembly can further enhance functionality and reduce wear over time. Using the correct oil type helps maintain the carburetor’s internal components and prevents corrosion. Taking your time and staying organized helps ensure a thorough cleaning, making reassembly smoother and your carburetor performing like new.

GLIMGLINT Blue Microfiber Cleaning Cloth,150PK Reusable Cleaning Rags,Highly Absorbent Shop Rags Bulk,All-Purpose Car Cleaning Towels for TV Screen, Kitchen, Bathroom, Restaurant, Garage, 14"X12"
Easy Handling Size: Each microfiber cleaning cloth measures 14" x 12", offering just the right size for comfortable...
As an affiliate, we earn on qualifying purchases.
Choosing the Right Fuel and Preventing Common Fuel-Related Problems
Choosing the right fuel is key to keeping your carburetor running smoothly, so opt for ethanol-free gas whenever possible. Stale fuel can cause varnish buildup and clog your jets, leading to poor performance, so always use fresh gas. Adding a fuel stabilizer during storage helps prevent gumming and protects your carb components from damage.
Ethanol-Free Gas Benefits
Opting for ethanol-free gasoline offers significant benefits for maintaining your carburetor’s health and performance. Ethanol blends attract moisture, which can lead to corrosion, gumming, and deposits inside your carburetor. Using ethanol-free fuel minimizes these issues, ensuring smoother operation and easier tuning. Plus, it helps prevent phase separation, where water separates from the fuel, causing engine misfires or stalls.
You’ll notice fewer clogged jets and reduced corrosion, extending your carburetor’s lifespan. To keep your classic bike running reliably, consider these benefits:
- Less moisture absorption, reducing internal corrosion
- Fewer deposits and varnish buildup in jets and passages
- Easier starting and smoother idle performance
Choosing ethanol-free gas keeps your carburetor cleaner and your engine performing at its best.
Stale Fuel Hazards
Stale fuel is a common problem that can cause significant damage to your carburetor and engine performance. When fuel sits for too long, it evaporates and leaves behind varnish, gum, and deposits that clog jets and tiny passages. This leads to rough idling, poor acceleration, and difficulty starting. Using old fuel can also cause fuel to phase-separate, creating inconsistent air-fuel mixtures. To prevent these issues, always use fresh fuel and avoid storing your bike with old gasoline in the tank. Regularly run the engine to burn off any residual stale fuel and keep the system clean. If you plan to store your bike for an extended period, drain the carburetor bowls and avoid leaving fuel in the system. Proper maintenance prevents clogging and helps your classic bike run smoothly. Additionally, implementing sector diversification strategies can help mitigate risks associated with fuel quality fluctuations and ensure consistent performance over time.
Fuel Stabilizer Usage
Using a fuel stabilizer is essential to prevent fuel-related problems that can damage your carburetor and hinder engine performance. It helps keep fuel fresh during storage, reducing varnish buildup and gumming inside delicate passages. When choosing a stabilizer, consider these key points:
- Use a stabilizer compatible with ethanol-free or premium fuel for best protection.
- Add stabilizer to your tank before storage, following the manufacturer’s recommended dosage.
- Run the engine for a few minutes afterward to circulate stabilizer through the system.
- Incorporate modern kitchen technology to monitor your fuel quality and engine performance remotely, ensuring optimal operation.
This simple step minimizes the risk of clogged jets, stuck floats, and corrosion. Regular use of stabilizer ensures your carburetor stays clean and your vintage bike runs smoothly, especially during periods of inactivity. Proper fuel management keeps your engine reliable and ready to ride.

USANOOKS Microfiber Cleaning Cloth Grey - 12 Pcs (12.5"x12.5") - High Performance - 1200 Washes, Ultra Absorbent Microfiber Towel Weave Grime & Liquid for Streak-Free Mirror Shine - Car Washing Cloth
10x GRIP-ROOT WEAVE - TRAP MORE, WORK LESS: Ultra-absorbent microfiber towels for car Grip Root weave works like...
As an affiliate, we earn on qualifying purchases.
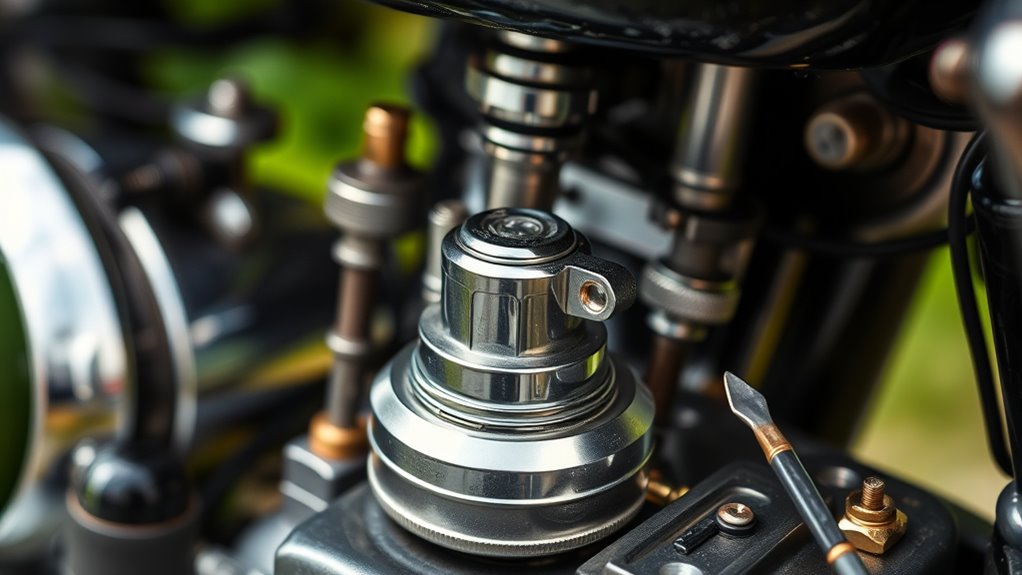
Inspecting and Replacing Key Components for Optimal Performance

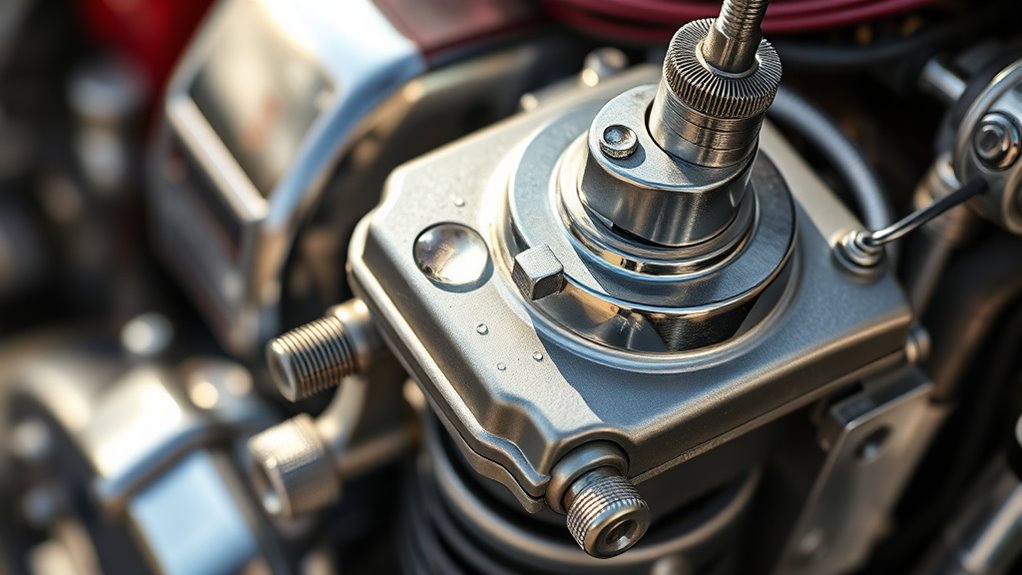
To keep your carburetor running smoothly, you need to inspect key components like the throttle valves, O-rings, and float levels regularly. Worn or damaged parts can cause poor performance, so replacing them guarantees proper fuel flow and engine response. Taking these steps now helps prevent bigger issues and keeps your bike performing at its best.
Checking Throttle Valves
Inspecting throttle valves is a crucial step in maintaining ideal carburetor performance. You want to confirm these components move freely and seal properly to maintain proper airflow and fuel mixture. Start by removing the carburetor cover and gently inspecting the throttle valves for signs of wear, cracks, or sticking. Check that the valves open and close smoothly without hesitation. Look for any buildup of dirt or varnish that could restrict movement. If the valves are damaged or warped, replace them immediately to prevent poor throttle response. Pay attention to:
- Cracks, holes, or warping in the throttle valves
- Sticking or sluggish movement
- Excessive buildup or deposits affecting sealing
Keeping throttle valves in good shape guarantees responsive acceleration and smooth engine performance. Additionally, consider using a vetted product to ensure your carburetor components remain clean and functioning optimally.
Replacing Worn O-Rings
Worn O-rings can compromise your carburetor’s seal, leading to fuel leaks and inconsistent operation. When these small seals deteriorate, they allow air and fuel to bypass the proper pathways, causing poor idling, rough running, or flooding. To prevent this, carefully disassemble the carburetor and inspect each O-ring for cracks, hardening, or brittleness. Replace any damaged or hardened O-rings with new ones, making sure to select the correct size and material. Lubricate the new O-rings lightly with fresh fuel or a compatible O-ring lubricant to guarantee a proper seal. When reassembling, avoid pinching or twisting the O-rings, as this can cause leaks. Regularly replacing worn O-rings helps maintain ideal fuel delivery and ensures your classic bike runs smoothly and efficiently. Additionally, consulting security zone info can provide insights into best practices for maintenance and safety precautions. Ensuring clean and properly fitted O-rings is also crucial for carburetor performance and longevity.
Inspecting Float Level
Have you checked your carburetor’s float level lately? If not, it’s a vital step to guarantee proper fuel flow and prevent flooding or starvation. To inspect, remove the carburetor bowl and locate the float. Measure the float height against the manufacturer’s specifications using a ruler or calipers. If it’s off, it can cause inconsistent fuel levels and poor engine performance. Here’s what to focus on:
- Float height: Ensure it matches the recommended setting for your model.
- Float condition: Look for cracks, deformation, or fuel inside the float, which indicate replacement.
- Needle seat: Check for wear or dirt that could cause leaks or sticking.
Adjust or replace the float and needle seat as needed to keep your carburetor running smoothly and efficiently.
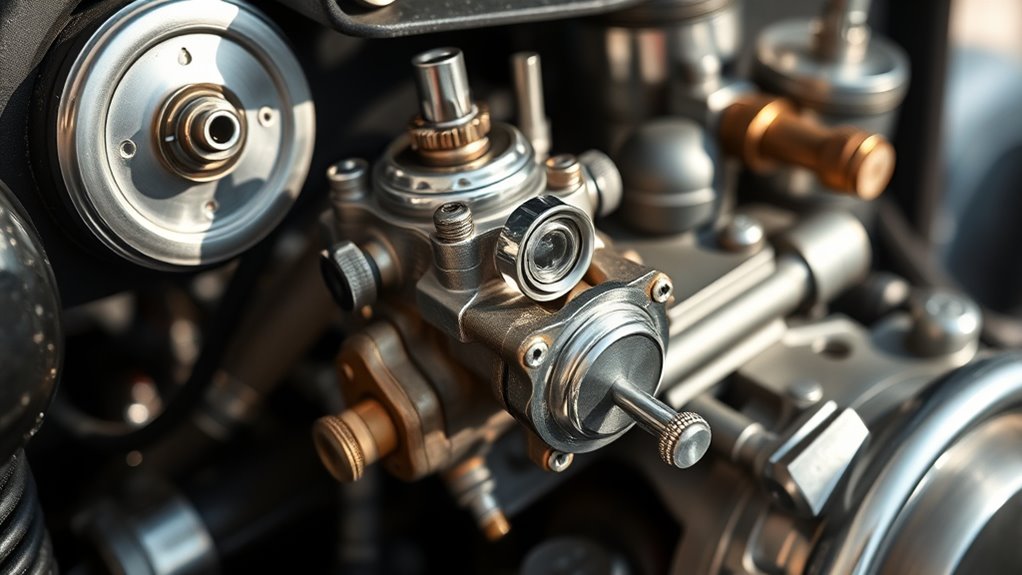
Fine-Tuning Your Carburetors for Smooth and Efficient Running
Fine-tuning your carburetors is essential for achieving smooth engine performance and maximum efficiency. Start by adjusting the idle speed screw to ensure the engine runs steadily without stalling. Then, turn the mixture screws in small increments—about a quarter turn at a time—to find the ideal air-fuel ratio. Listen for a steady, smooth idle; if it roughs or stalls, adjust accordingly. Synchronize multiple carbs using a manometer or vacuum gauges to balance air intake across cylinders, preventing uneven running. Pay close attention to throttle response—there should be no hesitation or bogging. After adjustments, test ride your bike under different loads to confirm top performance. Regular fine-tuning keeps your classic bike running smoothly and helps prevent issues caused by improper carb settings. Utilizing AI tools can help streamline the tuning process and diagnose carburetor problems more efficiently. Additionally, monitoring air-fuel mixture consistency with digital tools can enhance precision and save time during adjustments. Implementing carburetor cleaning routines as part of your maintenance schedule ensures that fuel flows properly and prevents buildup that can impair performance. Maintaining clean carburetors with proper fuel system care also contributes significantly to optimal performance.
Essential Tools and Best Practices for Servicing Your Carburetor
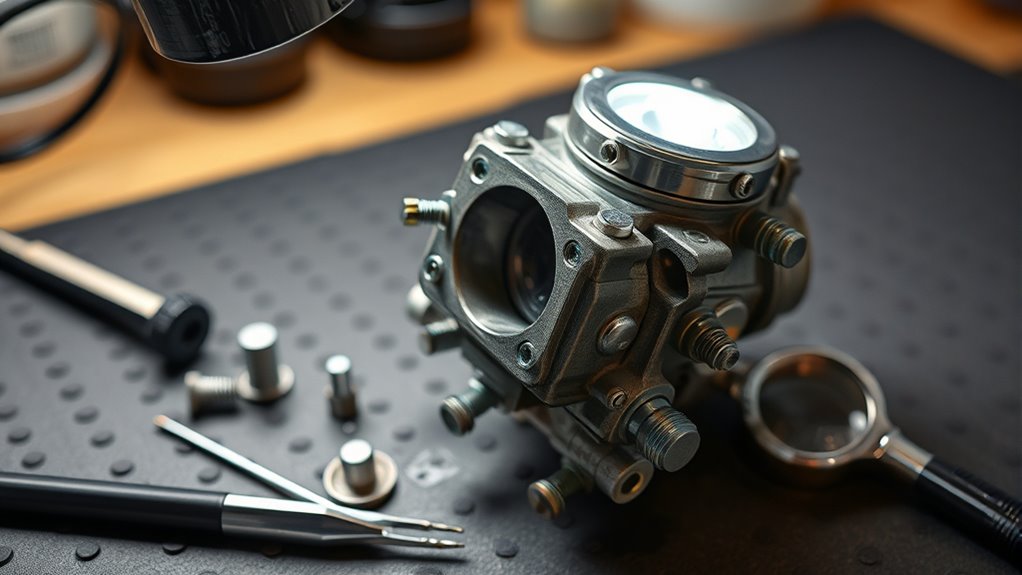
Using the right tools is essential to guarantee your carburetor service goes smoothly and efficiently. Proper tools help prevent damage and make disassembly and cleaning easier. You’ll need:
- A carburetor rebuild kit with jets, O-rings, and gaskets
- Small screwdrivers and pliers for delicate parts
- A spray bottle with carb cleaner and brushes for thorough cleaning
Additionally, keep a large rubber mat to organize parts and prevent loss. Use labeled containers or zip bags to separate screws, jets, and small components. Have rags and spill containers ready to handle fuel or cleaner drips. Penetrating oils like WD-40 will help loosen seized parts. Always wear safety glasses and gloves when working with chemicals to protect yourself. Proper tools and practices are crucial for a successful overhaul, especially considering the rich cowboy culture often associated with classic bikes in regions like Fort Worth, Texas, and can save time and ensure your carburetor functions properly. Regular inspection and cleaning of your body jewelry can also prevent complications during maintenance. Incorporating proper maintenance techniques can extend the lifespan of your carburetor and improve overall performance, and understanding the essential oils for carburetor cleaning can further enhance your maintenance routine.
Proper Storage and Preservation to Protect Your Carburetors During Off-Season
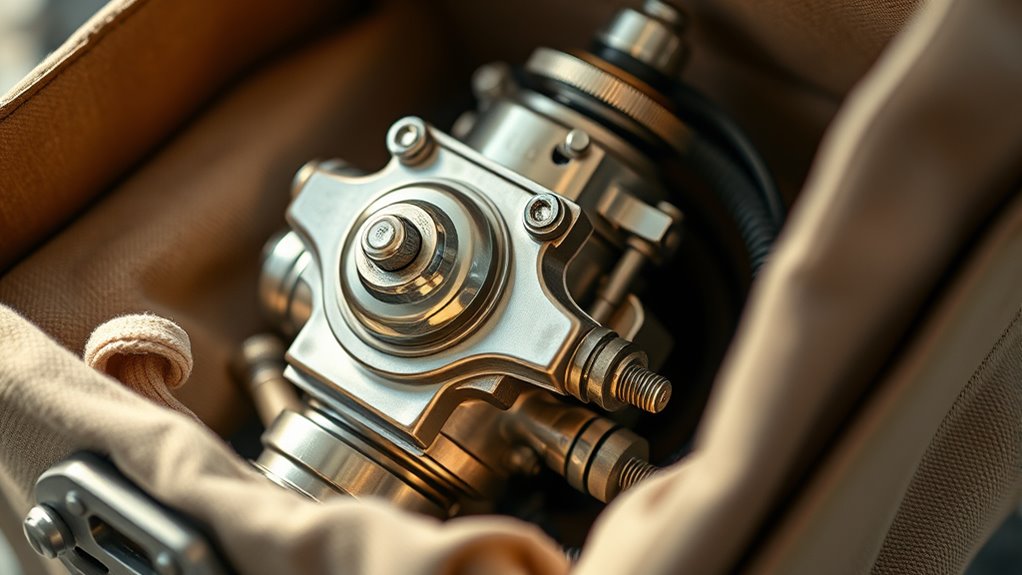
Proper storage and preservation practices are essential to keep your carburetors in top condition during the off-season. Before putting your bike away, top off the fuel tank and add a fuel stabilizer to prevent varnish buildup inside the carbs. Drain the fuel bowls and turn off petcocks to stop fuel from degrading over time. Spray fogging oil into the cylinders through the intake to protect internal components from corrosion. Keep the battery connected to a maintenance charger to prevent electrical issues that could affect carb components. Cover your motorcycle with a soft blanket or breathable cover to shield it from dust and moisture, which can lead to corrosion. These steps help ensure your carburetors stay clean, dry, and ready for trouble-free operation when you hit the road again.
Frequently Asked Questions
How Often Should I Replace Carburetor Gaskets and O-Rings?
You should replace carburetor gaskets and O-rings whenever you disassemble the carburetor for cleaning, rebuilding, or if you notice leaks, cracks, or hardening. Regular inspections during maintenance help catch signs of wear early. If they’re old or damaged, replacing them guarantees a proper seal, prevents fuel leaks, and keeps your bike running smoothly. Don’t wait for leaks; proactive replacement maintains peak performance and prevents costly repairs.
Can I Use Regular Gasoline Instead of Ethanol-Free Fuel?
Using regular gasoline instead of ethanol-free fuel is like playing with fire. Ethanol can damage your carburetor parts and cause corrosion, leading to costly repairs. Regular fuel may contain ethanol, which attracts moisture and creates deposits, clogging jets and passages. For your vintage bike, stick to ethanol-free gas to keep everything running smoothly and avoid unnecessary headaches down the road. It’s worth the extra effort for peace of mind.
What Are Signs My Carburetor Needs Cleaning or Adjustment?
You’ll notice your carburetor needs cleaning or adjustment if your bike stalls, idles rough, or sputters during acceleration. A noticeable decrease in power, poor fuel economy, or difficulty starting also signals issues. You might see black smoke, fuel leaks, or inconsistent throttle response. Regularly inspecting your carburetor’s components, adjusting the mixture screws, and cleaning jets can keep your bike running smoothly and prevent bigger problems down the line.
How Do I Know if My Float Height Is Correct?
You can tell if your float height is correct by checking the fuel level in the carburetor bowl. Remove the float and measure it against the specifications in your manual, usually in millimeters from the pivot to the float tab. When properly set, the float should just contact the needle seat without applying pressure. An incorrect float height causes flooding or fuel starvation, so verify it matches factory specs.
Is It Necessary to Synchronize Carburetors After Every Cleaning?
You don’t need to synchronize your carburetors after every cleaning, but skipping it can turn your ride into a sluggish turtle. If you’ve disassembled and cleaned multiple carbs, synchronization ensures they work together perfectly, balancing the air and fuel mix. It’s especially important if you notice rough idling or uneven engine performance. Regularly check and synchronize as needed to keep your bike running smooth, efficient, and ready for adventure.
Conclusion
Think of your carburetor as the heart of your classic bike—its health keeps your ride lively and smooth. With regular care, cleaning, and tuning, you’re nurturing this essential organ, ensuring it beats with efficiency season after season. Like a skilled doctor tending to a delicate patient, your attention preserves its vitality and performance. Keep up the good maintenance, and your vintage bike will continue to hum along, a testament to your dedication and craftsmanship.