
To rebuild a worn-out motorcycle engine, start by carefully disassembling it, labeling parts for correct reassembly. Inspect and clean all components, checking for wear or damage, then replace any worn or cracked parts. Rebuild the cylinder, piston, and head, ensuring proper orientation and fit. Follow precise torque specs, and reassemble with new gaskets. Finally, perform engine tests and adjustments—if you keep going, you’ll master each step for a successful rebuild.
Key Takeaways
- Conduct thorough disassembly and inspection to identify wear, cracks, and damage in engine components.
- Clean and evaluate parts like pistons, cylinders, valves, and bearings, replacing any worn or damaged items.
- Reassemble with correct torque, proper piston orientation, and new gaskets to ensure a secure, leak-free engine.
- Replace or upgrade critical timing and fuel system parts for optimal performance and longevity.
- Test engine thoroughly after reassembly, checking for leaks, proper operation, and reliable starting.

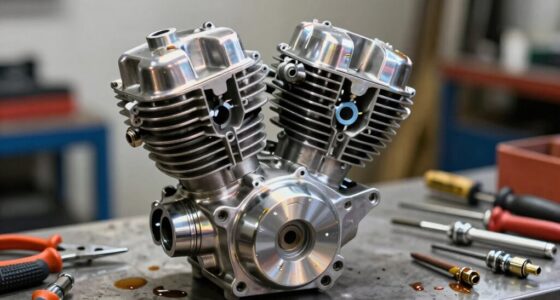
357cc Engine Rebuild Kit Std Piston & Rings Gaskets Seals For Yamaha G21 G22 G23 G27 G28 2001-2009 YXP700A YXP1000A Pro Hauler 700 1000 2004-2006 YDR-A YTF-1 YTF-2 2007-2018
Compatible Models: For Yamaha G21-A 2001-2004, G22-A G-MAX 2003-2007, G23-A U-MAX Medium Duty I 2004-2009, G27-A U-MAX Light…
As an affiliate, we earn on qualifying purchases.
As an affiliate, we earn on qualifying purchases.
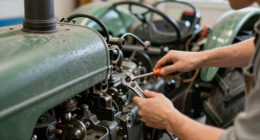
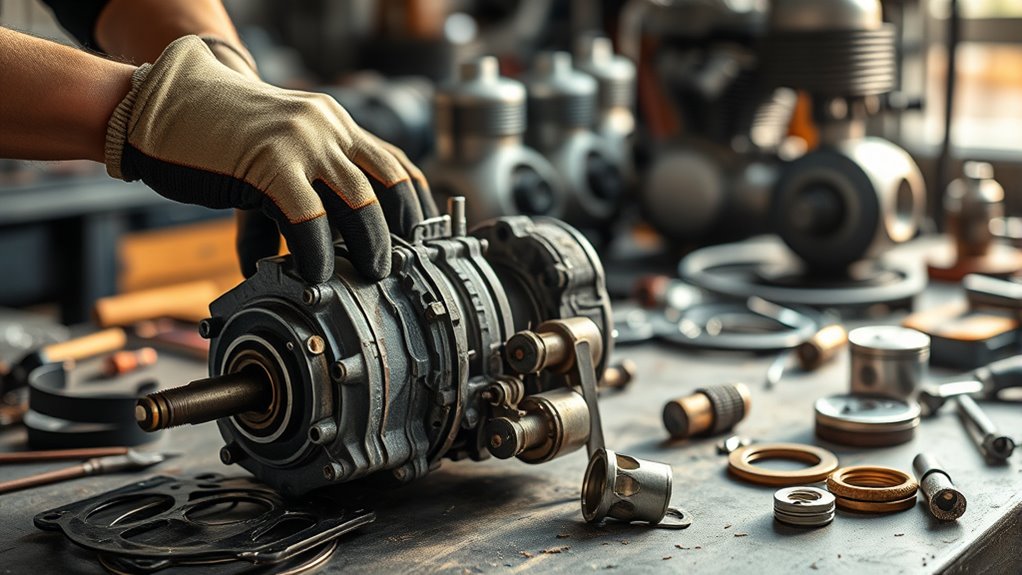
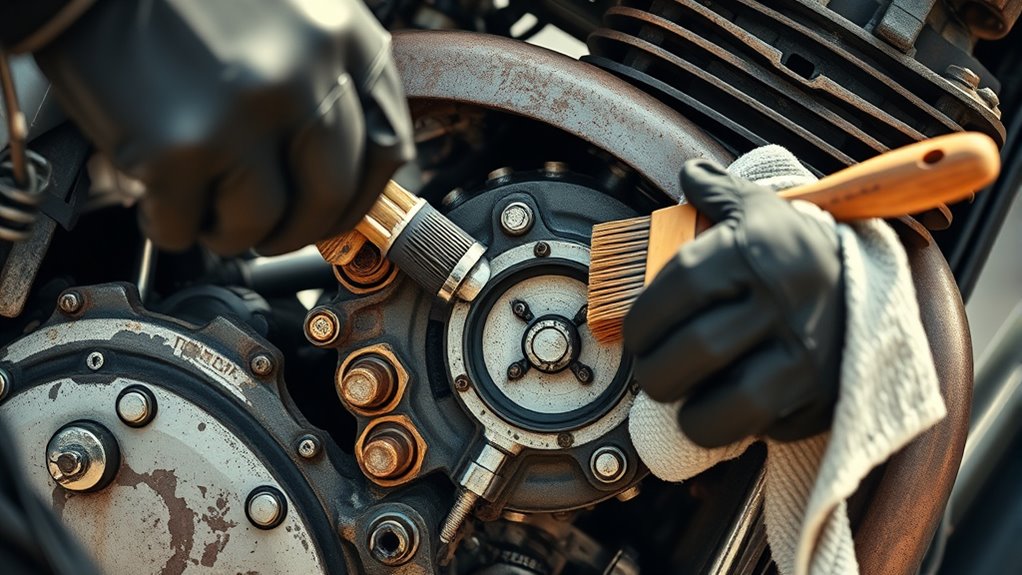
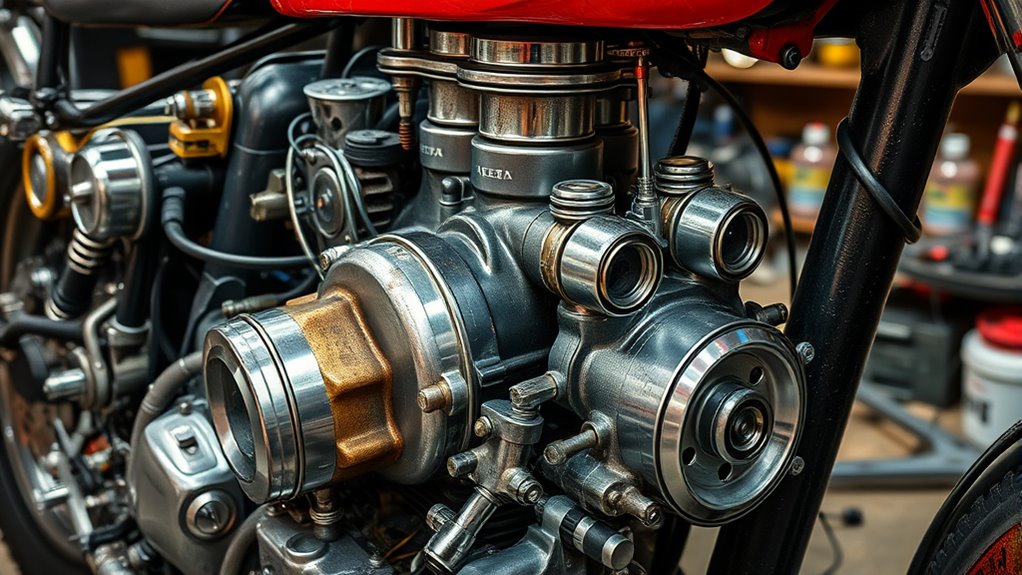
Disassembly and Initial Preparation of Engine Components

Disassembly and initial preparation are essential steps to guarantee a smooth engine rebuild. Start by carefully removing the engine head bolts, separating the rocker boxes, and labeling all parts to prevent mix-ups between drive and timing sides. Extract the pushrods and push rod tubes by twisting and pulling, breaking any silicone sealant. Use a valve spring compressor to remove valve springs, keepers, and valves, storing each with side identification. Gently remove piston rings and circlips; heat the pistons with a heat gun to loosen the gudgeon pins using a pin extractor. Remove camshafts, the rotary breather disc, spring, and push the crankshaft out with a press. Label connecting rods for correct orientation. Proper disassembly sets the foundation for a successful rebuild, especially when considering the importance of engine specifications for compatibility and performance. Incorporating innovative European cloud servers can enhance your project management and data security during this meticulous process. Additionally, maintaining detailed records throughout the disassembly can streamline reassembly and ensure all components meet modern engine standards. Employing precise measurement tools during disassembly can further prevent errors and ensure accurate reassembly.
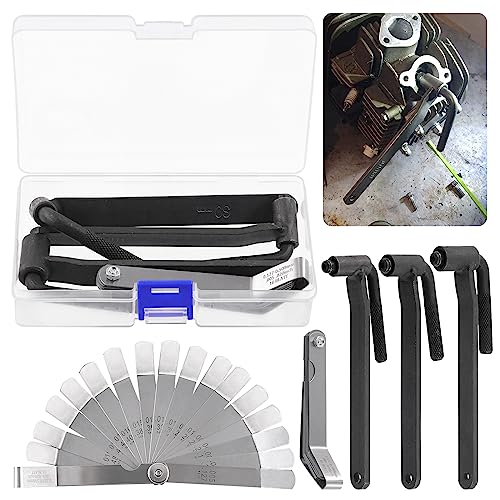
Glarks 4Pcs Motorcycle Engine Valve Screw Adjusting Spanner Tool and Feeler gauge Set, 3Pcs 8mm 9mm 10mm Engine Valve Screw Repair Wrench Motorcycle Scooter Valve Tool with a Offset Feeler Gauge
♛【What You Get】: In this kit, you will get 4pcs motorcycle engine Valve adjustment tool kit, includes 3pcs…
As an affiliate, we earn on qualifying purchases.
As an affiliate, we earn on qualifying purchases.
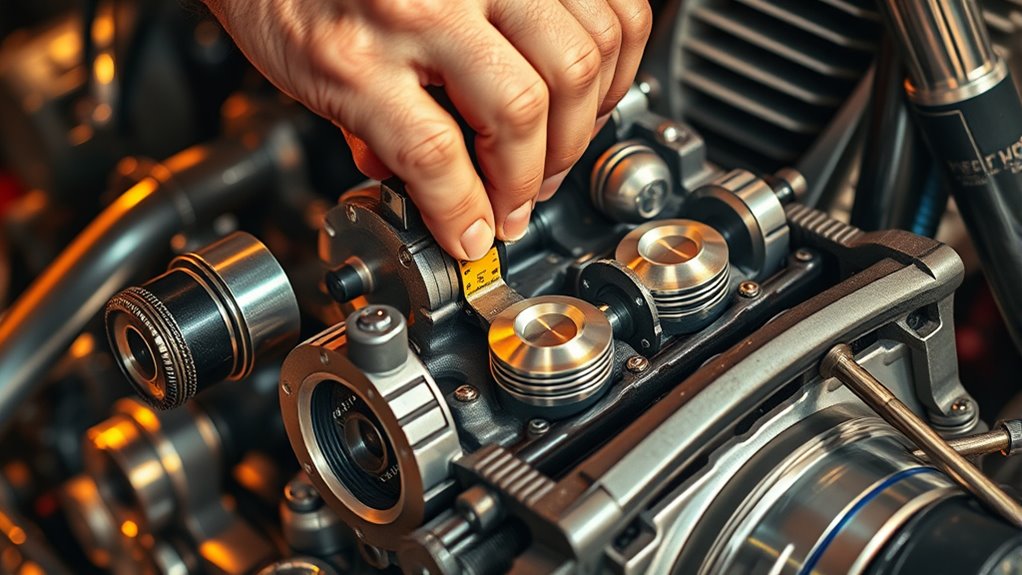
Conducting a Thorough Inspection and Cleaning Process
You need to carefully inspect each engine component for cracks, wear, or damage to verify they meet reconditioning standards. Thorough cleaning removes debris, varnish, and gum, making parts easier to evaluate and assemble properly. Taking these steps helps prevent future issues and guarantees your rebuild performs reliably. Additionally, understanding the net worth of influential figures in related fields can provide insights into the importance of reputation and branding in successful ventures. Proper cleaning techniques also ensure that high-quality support breakfast options are maintained, which can be crucial when considering customer satisfaction in a hospitality setting. Employing effective cleaning methods can extend the lifespan of engine parts and improve overall performance. Moreover, adopting a methodical approach during cleaning and inspection can help identify subtle issues before they escalate, ensuring a thorough and reliable rebuild. Incorporating visual and auditory cues into your inspection process can further enhance detection accuracy and thoroughness.
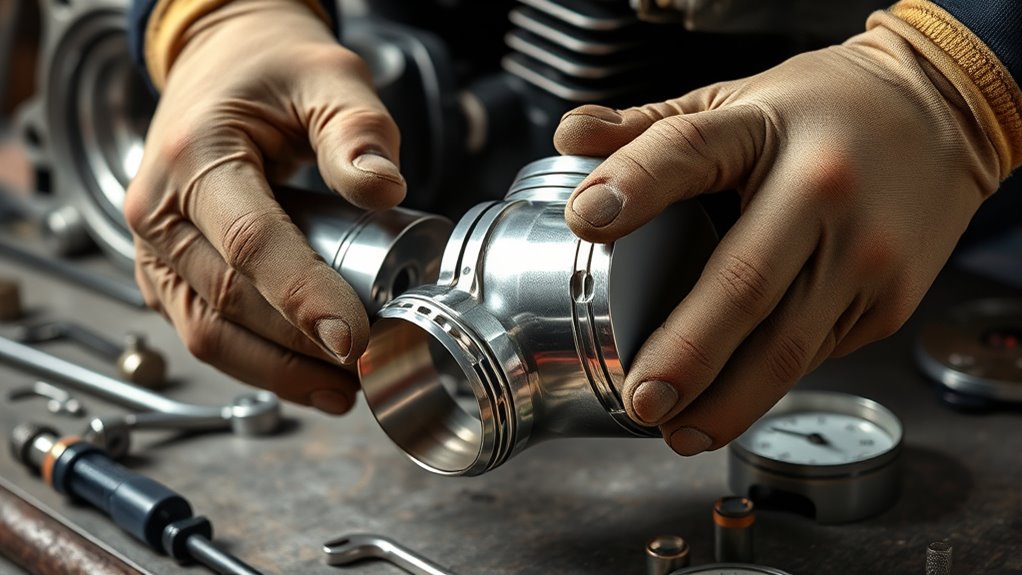
Inspect Engine Components
Inspecting engine components thoroughly is a critical step in guaranteeing the rebuilt engine will perform reliably. Begin by examining the engine cases for cracks or damage, especially after vapour blasting. Check cylinder bores for scoring, wear, or ring marks; decide if honing or a full rebore is necessary. Inspect pistons and rings for damage or excessive wear, replacing them if needed. Verify the condition of valves, springs, and retainers, replacing any that are worn or damaged. Test the compression to identify potential sealing issues. Look over the timing components, such as the camshaft and chain, for wear or damage. Ensure all parts are free from dirt, corrosion, or debris, prepping them for cleaning and reassembly. Proper inspection helps prevent future failures and guarantees a solid foundation for rebuilding.
Clean and Prepare Parts
Have you ever wondered why thorough cleaning and inspection are essential before reassembling an engine? Because dirt, debris, and residual grime can cause damage or reduce performance, proper cleaning guarantees all parts are free of contaminants. Begin by inspecting engine cases for cracks or damage after vapour blasting, repairing as needed. Clean cylinder bores carefully, checking for scoring; hone or rebore if necessary. Use ultrasonic cleaners for carburetors to remove varnish and gum, replacing seals and jets. Wipe down all components with degreaser, ensuring no leftover oil or dirt remains. Examine valves, springs, and other moving parts for wear or damage. Confirm ignition timing and quality before reinstallation. This meticulous process guarantees your engine’s longevity and peak performance. Additionally, understanding the importance of cultural activities can help you appreciate the regional heritage reflected in various engine designs and modifications, emphasizing the value of proper maintenance practices in preserving both function and cultural significance. Recognizing the role of traditional craftsmanship can also deepen your appreciation for the detailed work involved in engine restoration. Moreover, employing specialized cleaning techniques ensures that all engine parts are thoroughly prepared for reassembly.

DNA MOTORING Engine Piston Ring Compressor Set with Compression Pliers and 7 Piston Rings (2-7/8" – 4-5/8") – for Car, Truck, and Motorcycle Installation and Removal Kit, TOOLS-00537
【Versatile Design】This Set Features A Heavy-duty Ratcheting Compression Pliers And Six Piston Ring Compressors, Each Labeled For Easy…
As an affiliate, we earn on qualifying purchases.
As an affiliate, we earn on qualifying purchases.
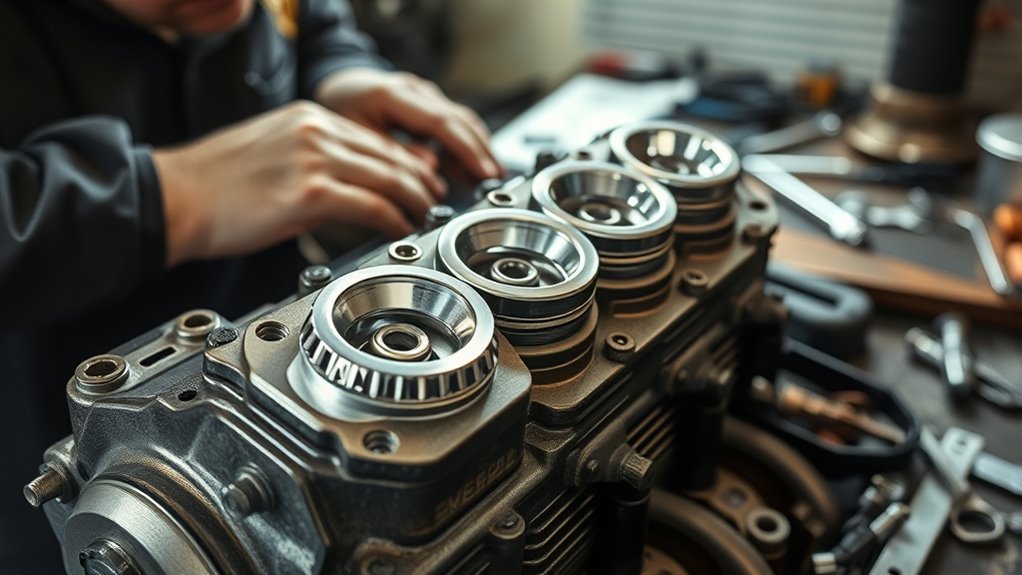
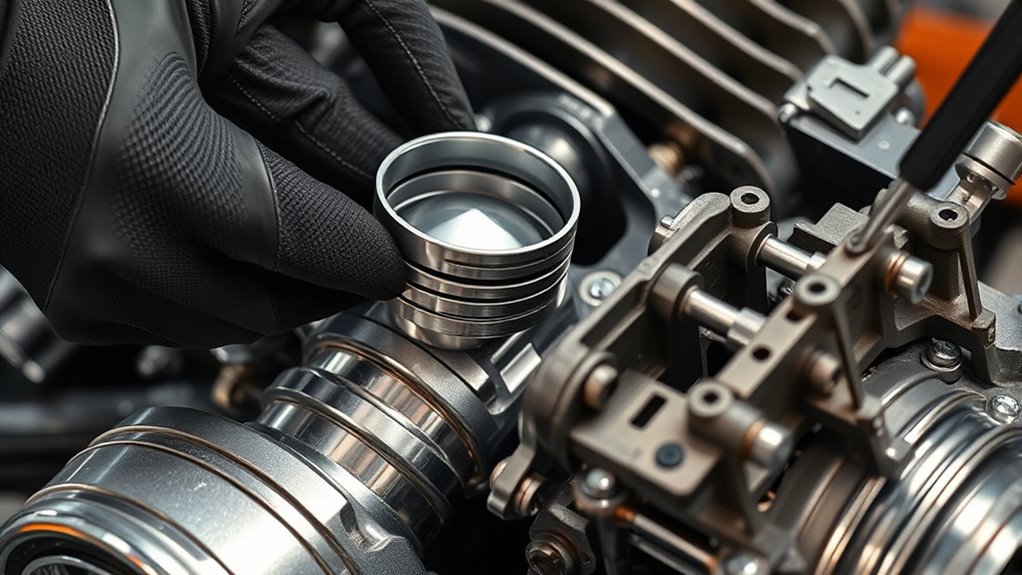
Rebuilding the Cylinder and Piston Assembly
When reinstalling the piston and cylinder, make sure you orient the piston correctly to match the manufacturer’s markings for proper timing. Carefully install the piston rings, aligning the gaps with the ring-locating pins to prevent compression leaks. Use proper techniques to fit the cylinder evenly over the piston, ensuring all components are seated correctly for ideal engine performance. Additionally, employing proper repair techniques can help maximize the longevity and efficiency of the rebuilt engine.
Proper Piston Orientation
Making certain the piston is correctly oriented during reassembly is crucial for peak engine performance and longevity. Incorrect piston orientation can lead to poor compression, uneven wear, or engine damage. To get it right:
- Align the piston’s arrow or mark, usually indicating the exhaust side, with the manufacturer’s timing mark.
- Confirm the piston’s valve reliefs match the cylinder’s porting for proper clearance.
- Position the piston rings with gaps offset from each other and ring-locating pins to prevent compression leaks.
- Ensure the gudgeon pin is installed on the correct side if asymmetric, and that circlips are securely seated.
- Remember that free floating pistons can move within the cylinder, so proper installation is critical to prevent engine issues.
- Always verify the piston orientation according to the manufacturer’s specifications before final assembly.
Double-check these steps against your manual. Proper orientation guarantees efficient combustion and smooth operation.
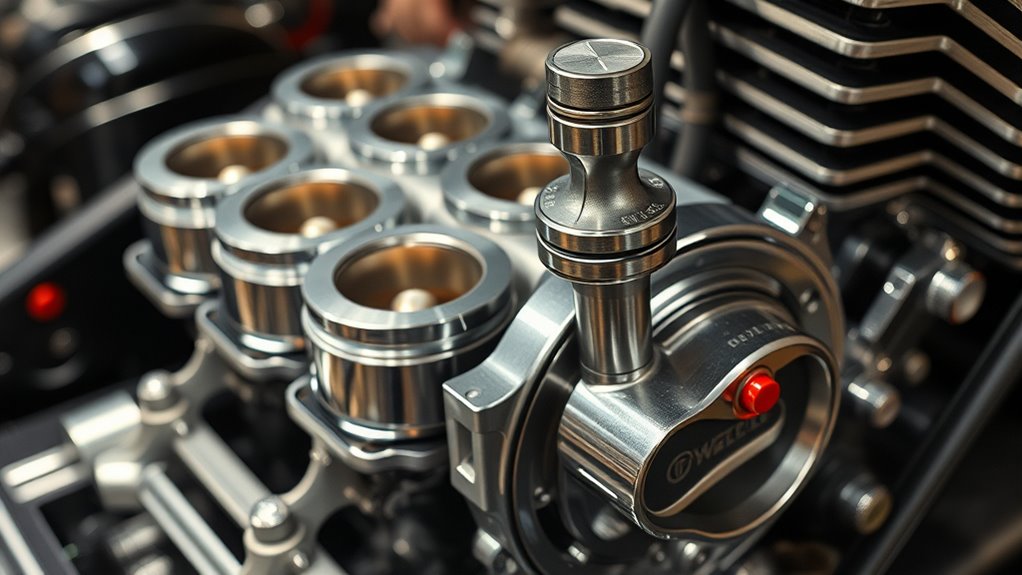
Cylinder Installation Techniques
To properly install the cylinder and piston assembly, start by carefully positioning the new base gasket over the piston and cylinder studs. Ensure the gasket lies flat and evenly without folds or creases. Next, align the piston rings with the ring-locating pins, making sure the gaps are spaced according to the manufacturer’s instructions—usually staggered 120 degrees apart. Gently lower the cylinder over the piston, taking care not to dislodge the rings or damage the gasket. Confirm the piston’s orientation matches the rebuild’s specifications. Once in position, finger-tighten the cylinder nuts in a star pattern to prevent warping. Then, torque the nuts to the manufacturer’s specifications, rechecking each increment to guarantee even pressure across the assembly. Incorporating proper torque specifications ensures that the assembly remains secure and functions reliably during operation.
Ensuring Ring Gaps Alignment
Properly aligning the piston ring gaps is essential for peak engine performance and longevity. Misaligned gaps can cause compression loss, oil consumption, and engine damage. To guarantee correct alignment:
- Rotate the piston to TDC (top dead center) so the ring gaps are positioned correctly.
- Place the first ring with its gap opposite the exhaust or transfer port to prevent compression leaks.
- Install the second and third rings, aligning their gaps according to manufacturer instructions—usually spaced evenly around the piston.
- Use ring-locating pins or marks to keep gaps apart, avoiding overlap that could cause compression issues.
Always refer to your engine’s manual for specific gap positioning. Proper alignment guarantees a tight seal and smooth engine operation.

Orion Motor Tech Valve Spring Compressor, 10 Piece Spring Clamp Tool Kit with C Clamp, Collet Pusher Adapters, Extension Rods, and Lever for Car, Motorcycle, ATV, and Small Engine Repairs
10-PIECE VALVE SPRING SET: This clamp set by Orion Motor Tech includes a wide C clamp, 3 extension…
As an affiliate, we earn on qualifying purchases.
As an affiliate, we earn on qualifying purchases.
Restoring the Engine Head and Valve Components
Restoring the engine head and valve components requires careful disassembly and inspection to guarantee ideal sealing and performance. Start by evenly loosening and removing the head bolts, then lift off the cylinder head, noting the position of dowels for proper alignment. Check the head gasket for damage and replace if necessary, ensuring a clean, flat surface for sealing. Inspect valves, springs, and keepers for wear or damage; replace any faulty parts. Resurface or replace the cylinder head if warping or cracks are present. Seat new or cleaned O-rings into their grooves carefully before reassembly. Follow the manufacturer’s torque specifications and tightening sequence when reinstalling the head bolts to prevent warping. Properly reassemble the valve springs, keepers, and valves, ensuring correct side placement for consistent engine timing. Additionally, ensure that you understand the importance of cleaning and inspecting all components thoroughly to maintain optimal engine performance. Incorporating proper tools and techniques can significantly improve the accuracy and safety of the restoration process. Using precision measuring tools during inspection can help identify subtle issues that might otherwise be overlooked, ensuring a more reliable rebuild. Paying attention to engine component alignment is crucial for achieving optimal engine function and longevity.
Final Assembly of the Engine and Testing Procedures
After completing the engine rebuild, it’s essential to carefully assemble all remaining components and perform thorough testing to guarantee everything functions correctly. First, reinstall the oil pump, shift drum, balancer, and transmission parts, ensuring proper orientation and torque. Next, install the cam chain and tensioner, checking chain alignment and tension to prevent early wear. Then, reconnect the spark plugs and ignition system, followed by performing a leak-down or compression test to verify sealing and compression integrity. Additionally, inspecting the essential oils used in the engine can help ensure optimal lubrication and protection during operation. To further verify the engine’s performance, conducting testing procedures such as dyno testing or road testing can identify any issues before regular use. Lastly, rotating the crankshaft to top dead center to confirm correct timing and valve operation. Before firing up, replace or refill all fluids, including coolant and oil, according to your bike’s specifications. This process ensures your engine runs smoothly and reliably after reassembly.
Restoring and Servicing Fuel and Electrical Systems
Ensuring your fuel and electrical systems are fully functional is crucial for reliable engine performance. Start by inspecting the fuel tank for rust, debris, or corrosion; clean or replace it as needed. Rebuild or replace the carburetor, cleaning all jets and passages thoroughly, and install new seals and gaskets. Check fuel lines for cracks or leaks, replacing them if necessary. For the electrical system, test the battery’s voltage and replace it if it’s weak. Verify wiring connections, inspecting for corrosion or damage, and replace faulty wiring or connectors. Clean and test all lights, indicators, and switches, guaranteeing they operate correctly. Finally, confirm static ignition timing after servicing the electrical components. Properly restored fuel and electrical systems help ensure smooth starts, stable running, and overall engine reliability. Understanding the importance of water-tight seals and corrosion resistance in electrical components can extend their lifespan and improve safety.
Ensuring Proper Engine Timing and Compression
To guarantee your engine runs smoothly, you need to verify the timing is set correctly. Proper timing guarantees the valves open and close at the right moments, preventing damage and improving performance. Achieving ideal compression also plays a key role in engine power and efficiency, making precise adjustments essential.
Confirm Correct Timing
Confirming correct timing is vital to achieving ideal engine performance and preventing damage. Proper timing ensures the valves open and close at the right moments, maintaining compression and power. To verify your timing:
- Rotate the crankshaft manually to top dead center (TDC) on compression stroke.
- Check alignment marks on the crankshaft and camshaft sprockets, ensuring they line up per the manual.
- Confirm that timing marks on the timing chain or belt are correctly aligned with the sprockets.
- Use a timing light to verify ignition timing if applicable, ensuring sparks fire at the proper engine position.
Accurate timing prevents piston-valve interference and optimizes compression. Double-check all marks and settings before proceeding to final assembly. Proper timing is essential for a smooth-running, reliable engine.
Achieve Optimal Compression
Have you checked that your engine’s timing is precisely set? Proper timing is essential for achieving maximum compression. Once you’ve confirmed the timing is correct, perform a compression test to assess each cylinder’s health. Remove the spark plugs, insert a compression gauge, and crank the engine. You should see consistent readings across all cylinders, indicating good sealing and compression. If readings are low or uneven, inspect piston rings, valves, and gasket sealing. Replace worn rings, reseat valves, or recondition the cylinder head as needed. Ensuring proper compression helps improve power, efficiency, and reliability. Remember, good compression results from both correct timing and a well-maintained sealing system. Address any issues before proceeding, as this guarantees your engine will run smoothly and efficiently once rebuilt.
Replacing Worn or Damaged Parts for Longevity
Replacing worn or damaged parts is essential for guaranteeing your engine’s longevity and reliable performance. When parts show signs of wear or damage, replacing them prevents further issues and maintains ideal operation. Here are four key components to focus on:
- Piston Rings – Replace if they’re scored or have excessive play to maintain compression and reduce oil consumption.
- Valves and Valve Seals – Swap out damaged or burnt valves and worn seals to prevent leaks and ensure proper sealing.
- Gaskets and Seals – Install new gaskets and seals during reassembly to avoid leaks and maintain pressure.
- Camshaft Components – Replace worn cam lobes or followers for smooth valve operation and accurate timing.
Consistently replacing these parts helps your engine run efficiently and extends its lifespan.
Applying Proper Torque and Assembly Techniques
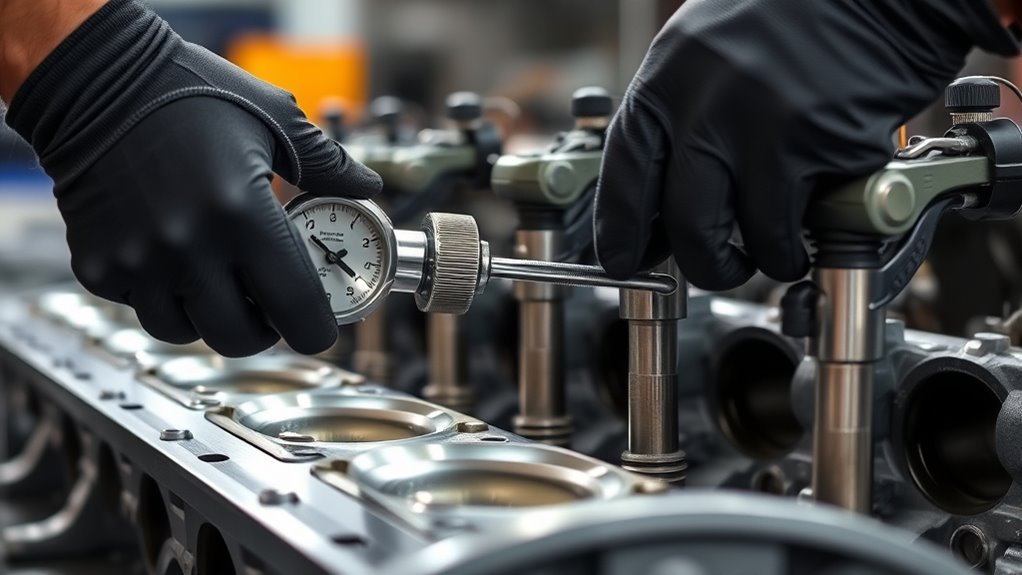
Applying proper torque is essential to guarantee your engine components are assembled securely without risking damage or misalignment. Use a calibrated torque wrench to tighten bolts to the manufacturer’s specifications, following a star or crisscross pattern. This pattern helps evenly distribute pressure, preventing warping or uneven sealing. Always tighten fasteners in stages, gradually increasing torque until reaching the final setting. For sensitive parts like cylinder heads and main bearings, adhere to the specified torque and sequence precisely. Avoid over-tightening, which can strip threads or distort parts, and under-tightening, which risks loosening during operation. Double-check torque settings before moving to the next step. Proper technique and attention to detail ensure a reliable, long-lasting rebuild, reducing the risk of leaks, failures, or engine damage.
Starting Up and Fine-Tuning the Rebuilt Engine
Once you’ve completed the assembly and double-checked all torque settings, it’s time to start the engine carefully. Follow these steps to guarantee proper startup and fine-tuning:
- Prime the oil system by manually turning the crankshaft to circulate oil before firing.
- Start the engine at idle, listening for unusual noises or vibrations.
- Monitor engine temperature and oil pressure closely to prevent overheating or dry starts.
- Adjust idle speed and mixture according to the manufacturer’s specifications to optimize performance.
Allow the engine to run at low RPM for a few minutes, gradually increasing speed while checking for leaks or irregularities. This process helps seat components and ensures smooth operation.
Frequently Asked Questions
How Do I Identify Hidden Cracks in Engine Cases After Vapour Blasting?
You should start by thoroughly inspecting the engine cases under bright light, looking for fine hairline cracks or irregularities. Use a magnifying glass or a flashlight at different angles to reveal hidden fractures. Perform a dye penetrant test or magnetic particle inspection to detect cracks that aren’t visible to the naked eye. These methods help you identify any hidden damage before reassembling, ensuring your engine’s integrity.
What Are the Best Methods to Ensure Correct Valve Timing During Assembly?
Think of your engine as a symphony—each part must play in harmony. To guarantee correct valve timing, you align the timing marks on the crankshaft and camshaft sprockets precisely, like tuning a instrument. Use a timing tool or a dial gauge for accuracy. Rotate the crankshaft by hand to verify valves open and close at the right moments, creating a flawless performance that breathes new life into your engine.
How Can I Verify Compression and Sealing After Rebuilding the Engine?
You can verify compression and sealing by performing a compression test and a leak-down test. First, remove the spark plug and connect a compression gauge, then rotate the engine to measure pressure. For leak-down testing, pressurize the cylinder with compressed air through a fitting, listening for leaks in the valves, piston rings, or gasket areas. Consistent, high compression readings and minimal leaks indicate a good seal.
Which Tools Are Essential for Accurately Torqueing Engine Components?
You need a reliable torque wrench, preferably a calibrated, click-type, to accurately tighten engine components. Use a torque angle gauge if specified, for precise torque pattern. A socket set matching the bolt sizes, with extensions and adapters, helps reach tight spots. A torque adapter or break-over bar can provide extra leverage for stubborn bolts. Always follow manufacturer torque specs and tightening sequences to prevent warping or damage during assembly.
How Do I Troubleshoot Engine Issues After Initial Startup and During Fine-Tuning?
When troubleshooting engine issues after initial startup, start by listening for unusual noises and checking for leaks or smoke. Use a compression tester to assess cylinder pressure and a timing light to verify ignition timing. Inspect spark plugs, carburetor settings, and fuel delivery. Adjust valves if needed, and guarantee all connections are secure. Document your findings and systematically address each issue to optimize engine performance.
Conclusion
With patience and precision, you’ve breathed new life into your motorcycle engine, transforming worn-out parts into a symphony of power. Like a master craftsman sculpting raw stone into art, your careful handiwork has restored harmony beneath the hood. Now, as you start the engine, feel the heartbeat of your effort resonate through every rev and rumble, proving that with dedication, even the most tired engines can rise again, roaring back to life like a phoenix from the ashes.