
To pick a good starting point for restoration, begin by conducting a thorough site assessment to identify structural weaknesses and areas needing immediate attention. Evaluate techniques based on material types and environmental conditions, ensuring you choose methods that won’t cause further damage. Recognize hidden issues early to prevent surprises later, and carefully plan your approach by prioritizing the most compromised sections. If you want to learn how to make this process more effective, keep exploring these key steps.
Key Takeaways
- Conduct a thorough site assessment to identify structural weaknesses and moisture issues.
- Evaluate the extent of damage to determine the most appropriate starting area.
- Prioritize severely compromised sections to prevent further deterioration.
- Consider environmental factors and material types to select suitable initial techniques.
- Develop a strategic plan addressing hidden problems and potential challenges upfront.
Choosing the right starting point is essential for a successful restoration project. When you begin, you need to carefully evaluate the techniques you plan to use and conduct a thorough site assessment. This initial step ensures you’re making informed decisions that will streamline the process and maximize results. Technique evaluation involves analyzing the methods suitable for your specific situation, considering factors like material types, environmental conditions, and the extent of damage. You want to select approaches that are both effective and appropriate, avoiding methods that could cause further harm or be inefficient for the task at hand.
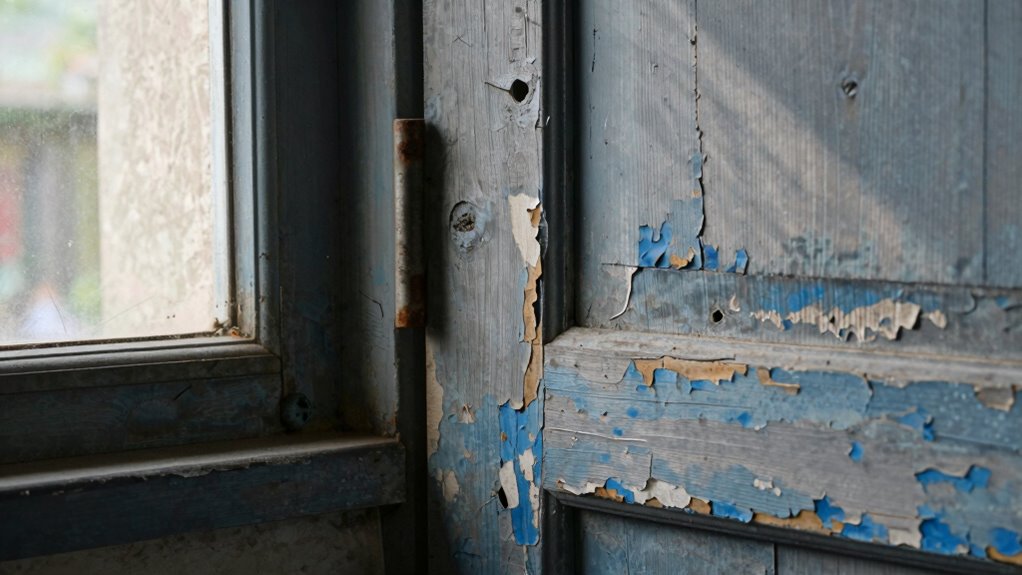
A comprehensive site assessment is equally crucial. As you survey the area, look for signs of structural weaknesses, moisture intrusion, or areas that require special attention. This assessment helps you identify the most strategic starting point, where intervention will be most impactful. It’s about pinpointing the zone that, when addressed first, will set the stage for smoother progress across the rest of the project. During this evaluation, take note of accessibility issues, potential hazards, and the location of critical features that might influence your approach. The goal is to develop a clear understanding of the environment so you can plan your next steps with confidence. Recognizing environmental conditions early can help you select the most suitable techniques for the job.
In addition, understanding the infrastructure of the site can reveal underlying issues that need to be addressed upfront, saving you time and resources later. Incorporating a comprehensive assessment can also help identify hidden problems that might not be immediately apparent but could impact the restoration process. Conducting a thorough assessment allows you to identify structural weaknesses and other critical issues that might not be visible at first glance. It is also beneficial to consider hidden problems that may not be immediately obvious but could compromise the project’s success. When you combine technique evaluation with a detailed site assessment, you create a solid foundation for your restoration efforts. For example, if you notice that a particular section is severely compromised, you might prioritize that area to prevent further deterioration. Or, if certain techniques are better suited for specific materials or conditions, you’ll know exactly where to deploy them first. This strategic approach helps you avoid wasting time and resources on less critical areas, allowing you to focus your energy where it matters most.
Choosing your starting point based on these assessments also means you can anticipate challenges before they arise. You might discover structural issues that need immediate attention or environmental factors that could hinder progress. Addressing these issues early keeps the project moving smoothly and prevents small problems from becoming major setbacks. It’s about setting yourself up for success right from the beginning, ensuring that each step builds logically on the last.
In the end, your careful technique evaluation and site assessment will guide you to a strategic starting point that enhances efficiency, safety, and overall quality. It’s the foundation on which a successful restoration is built, and taking the time to do it right can make all the difference between a project that simply gets done and one that truly restores the integrity of the space.

Klein Tools ET140 Pinless Moisture Meter for Non-Destructive Moisture Detection in Drywall, Wood, and Masonry; Detects up to 3/4-Inch Below Surface
WATER LEAK DETECTOR detects relative moisture content from leaks and flooding
As an affiliate, we earn on qualifying purchases.
As an affiliate, we earn on qualifying purchases.
Frequently Asked Questions
How Do I Evaluate the Current Condition of My Property?
You evaluate your property’s current condition by reviewing its property history to identify past damages or repairs. Check the structural integrity by inspecting for cracks, sagging, or water damage, and consider hiring a professional for a thorough assessment. Pay attention to foundation stability, roof condition, and signs of deterioration. This all-encompassing approach helps you determine necessary restoration measures and pinpoint a good starting point for the project.
What Tools Are Essential for Assessing Restoration Needs?
Think of your tools as your restoration toolkit’s compass. Essential items include a moisture meter for damage assessment, a thermal imaging camera to detect hidden issues, and a digital camera to document conditions. A flashlight helps identify damage in dark corners, while measuring tapes ensure accurate planning. These tools guide your restoration planning, helping you accurately evaluate the damage and make informed decisions to restore your property effectively.
How Can I Identify Hidden Damages Before Starting?
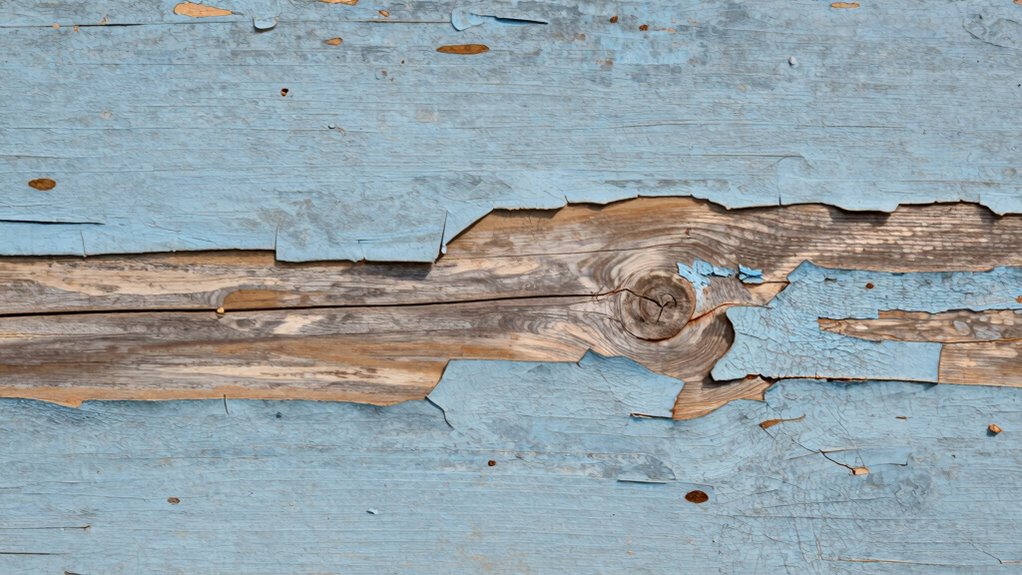
You can identify hidden damages by thoroughly inspecting structural integrity and moisture levels. Use moisture meters to detect hidden water intrusion or mold behind walls and ceilings. Look for subtle signs like unusual stains, warping, or soft spots that indicate compromised structure. Checking these aspects helps you uncover unseen issues early, ensuring your restoration efforts address all underlying problems and prevent future damage.
Should I Consult a Professional Before Choosing a Starting Point?
You should definitely consult a professional before choosing a starting point, especially since studies show that 80% of restoration projects face unforeseen issues. Expert advice helps you perform a thorough risk assessment, minimizing costly mistakes. A professional can identify hidden damages, recommend the best starting spot, and guarantee your project begins on solid ground. Don’t risk missing essential details—getting expert input can save you time, money, and frustration.
How Do Environmental Factors Influence the Starting Point Selection?
Environmental factors, like environmental impact and climate considerations, considerably influence your starting point choice. You need to assess how local weather patterns, pollution levels, and natural habitats might affect restoration efforts. For instance, choose a location less vulnerable to flooding or extreme weather. By understanding these factors, you guarantee your restoration project is sustainable, resilient, and minimizes negative environmental impacts, leading to more successful and long-lasting results.

DMITER Concrete Crack Width Gauge Set, Standard Crack Gauge Width Ruler & High-Precision Concrete Crack Gauge Measuring Tool, Portable Crack Width Gauge for Structural Inspection (2-Piece)
Complete Crack Assessment Kit: Includes 1 Standard Concrete Crack Width Gauge and 1 High-Precision Crack Width Ruler ideal…
As an affiliate, we earn on qualifying purchases.
As an affiliate, we earn on qualifying purchases.
Conclusion
Remember, choosing the right starting point is like gently guiding a delicate bloom toward the sun. With patience and a keen eye, you’ll find that initial step becomes a quiet foundation for something truly beautiful. Trust your instincts, stay attentive to the subtle signs, and let your careful choices lead the way. Before long, your restoration journey will blossom into a vibrant new chapter—one crafted with care, patience, and a gentle touch.

J. J. Keller & Associates, Inc. L/XL Personal Protective Equipment (PPE) Safety Kit – Includes Safety Glasses, Earplugs, Hard Hat, Nitrile Safety Gloves & Safety Vest – J. J. Keller & Associates
Safety kit includes essential personal protective equipment to keep your employees safe.
As an affiliate, we earn on qualifying purchases.
As an affiliate, we earn on qualifying purchases.
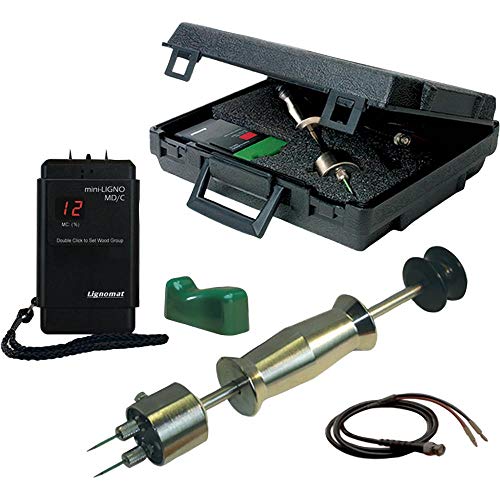
Lignomat Pin Moisture Meter M2-M package, mini-LignoMD/C, E-12, pins, cable, case. Quality control, Lumber Drying, Woodworking, Furniture Production, Flooring, Restoration Flooring Inspection.
mini-Ligno MD/C moisture meter has durable design: Built to Lignomat’s premium quality standards with a two-year product warranty…
As an affiliate, we earn on qualifying purchases.
As an affiliate, we earn on qualifying purchases.